


DIY Kids Teepee {Step-by-Step Tutorial}

by
Jessica
I absolutely adore Indoor Teepees, they are the perfect hideaway for kids, and let's face it, all kids need a place where they can go and hide out. So...I decided to make Riley a DIY Teepee for Christmas. I wasn't exactly sure what I wanted Riley's DIY Teepee to look like, so I went to Pinterest for inspiration and after looking at so many amazing DIY Tutorials I found that most were made using a canvas drop cloth, so that's what I decided to make Riley's Teepee with.
Only, I completely botched the first teepee, so I decided to make a pattern and start over. It was frustrating to have to start over (to say the least) but after everything was said and done, it was well worth it!!
So, I wanted to share my experiences and a quick tutorial in hopes that it will help you make your kid's their very own Teepee!
Okay, here is what you need:
o 7 yards of fabric
o 4 dowel rods
o Sewing Machine OR you can use hem tape (I used both)
o Rope (tying the dowel rods together)
o Embellishments for decorating the front panel (Optional)
o Fabric Glue
o Pattern (if you decide to make a pattern you’ll need wax paper, ruler, tape, sharpie)
o Transfer Paper
o Tracing Wheel
o Push Pins
Unfortunately I didn’t have pictures for Step 1 and Step 2 so I included those steps below
Step 1: Start by setting up your dowel rods (this is the frame of your teepee) so you want to be sure you set them up so that they are stable. There are several ways to do this, but I think having holes to string your rope through adds stability to the overall teepee frame.
Step 2: Once you have your Teepee Frame setup measure the dimensions for your teepee. You need to measure the distance (width) between the dowel rods at the top, then you need to measure the distance (width) between the dowel rods at the bottom of the teepee frame and lastly you need to measure the height from top to bottom.
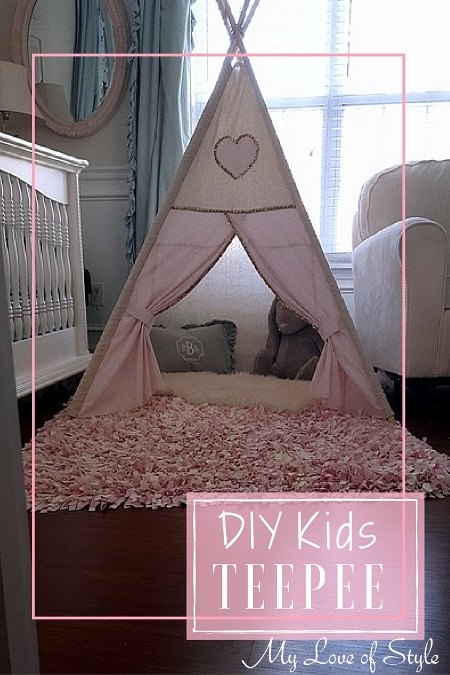
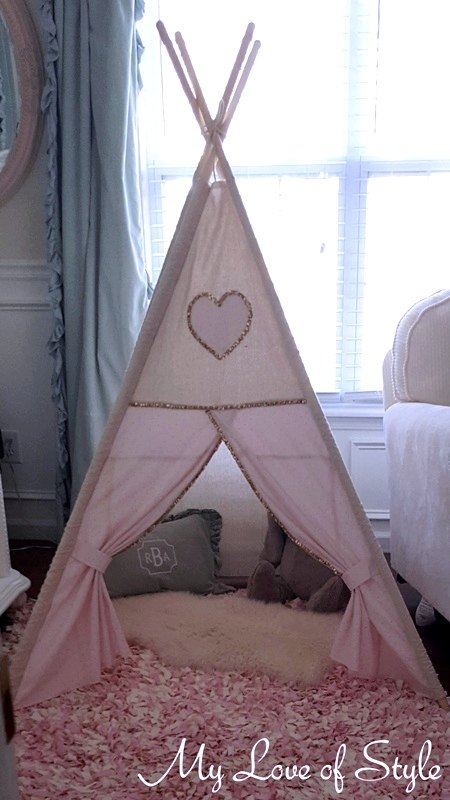
Here is Riley's DIY Teepee. I thought my second attempt turned out great, and Riley LOVES it, so that's really all that matters!!
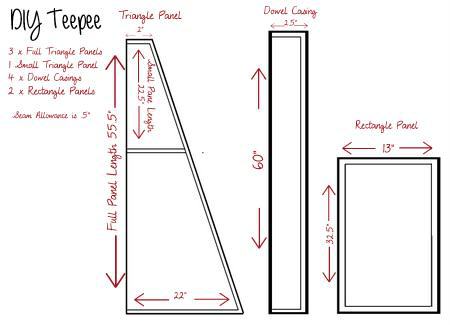
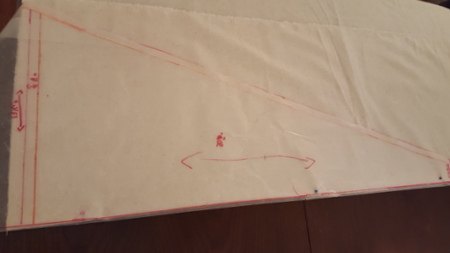
Step 3: Make a pattern for your teepee (this may take a little more time, but it was definitely worth it for me). I included a drawing I made to show the 3 patterns I made for my Teepee Panel. The drawing includes the measurements for each pattern. As a side note, these are not drawn to scale; I just thought it would help if you could visualize the pattern shape with the measurements.
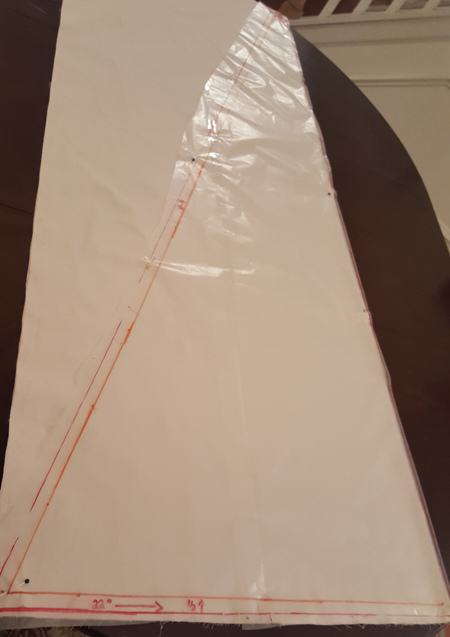
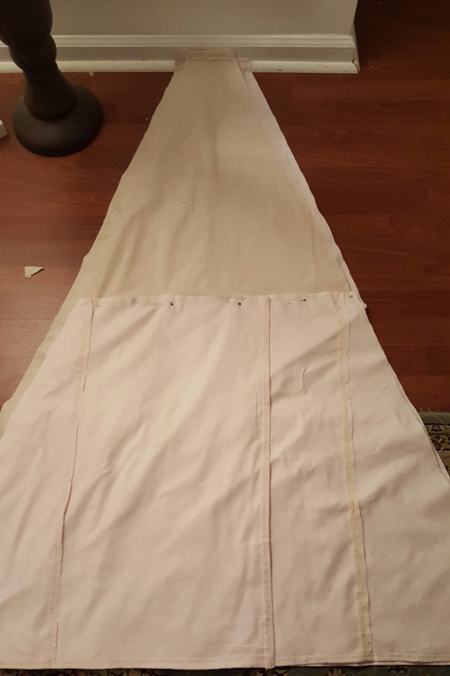
Step 4: Fold your fabric (wrong-side out) in half vertically and Pin your full panel pattern to your fabric. Be sure that the fold line on the pattern is even with the fold of the fabric
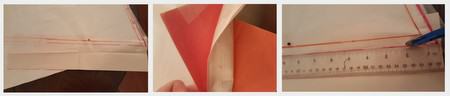
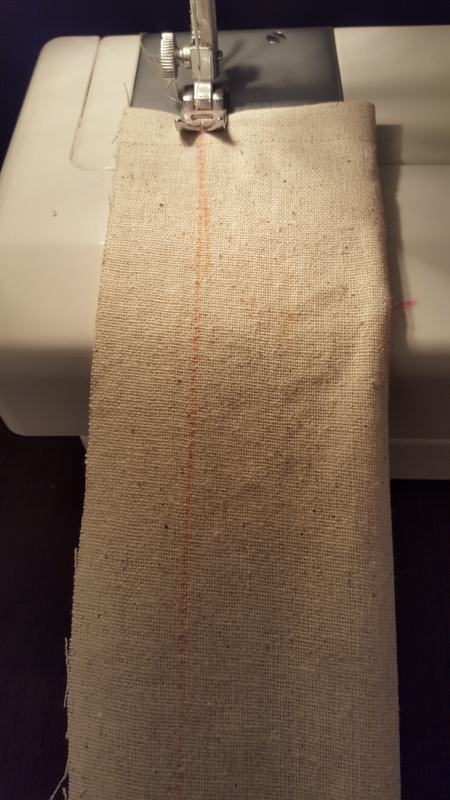
Step 5: Use transfer paper to trace the panel pattern onto the fabric. I pinned a piece facing up on the bottom on the fabric and facing down on the top of the fabric (that allowed me to mark the hem line for both sides at once).

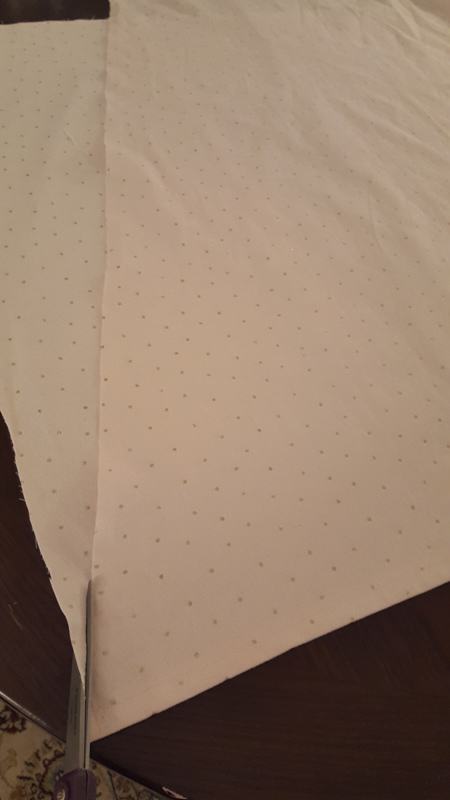
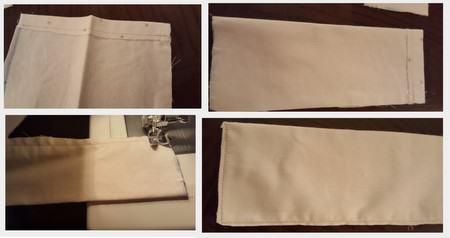
Step 6: Cut out your panel (do this before unfolding your fabric)
Make your Dowel rod casings.
Step 9: Make your front panel – to do this you will need to cut one piece of fabric that is the same shape as the other teepee panels (It’s referenced as the “small panel” on the pattern outline). This piece is the top of the front panel.
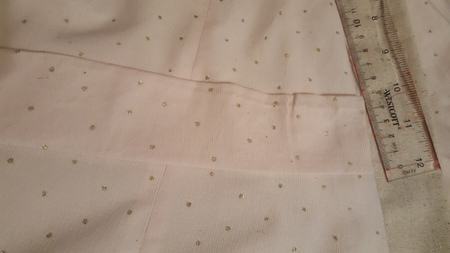
Step 10: Make your teepee doors by cutting two rectangle pieces of “decorative fabric” (Follow the same steps you followed for the panels and casing to pin, transfer and cut your rectangle panels). Hem the bottom and the two inside edges of the rectangle pieces (fold fabric edge over 1/4″, then another 1/4″ and either stitch or use hem tape).
Step 11: Take your small triangle piece and pin your two front pieces to the back of the triangle piece so that they are about 1/2″ higher than the hemmed edge of the triangle piece. The front panels should overlap about 2 1/2 inches (this makes the front look pretty when you tie the panels back). Attach the front panels to the top panel
Step 12: Cut two pieces of decorative fabric (5″ x 8″). Then fold each of the rectangular pieces in half horizontally (right sides together), and sew down one short side and the long side. Turn them right-side-out and press to form a strap piece. Then you need to fold the side with the raw edge so that it folds in.
Step 13: Pin the raw edge of one of the tiebacks to one side of the curtain. I pinned mine so it was about half way down the curtain piece. Then sew a small piece of velcro (hook side) onto each tie back, and another small piece (loop side) onto the wrong side of the curtain that’s about 2″ from the seam and in the same spot vertically as the tie back. Repeat with the second tie back and curtain.
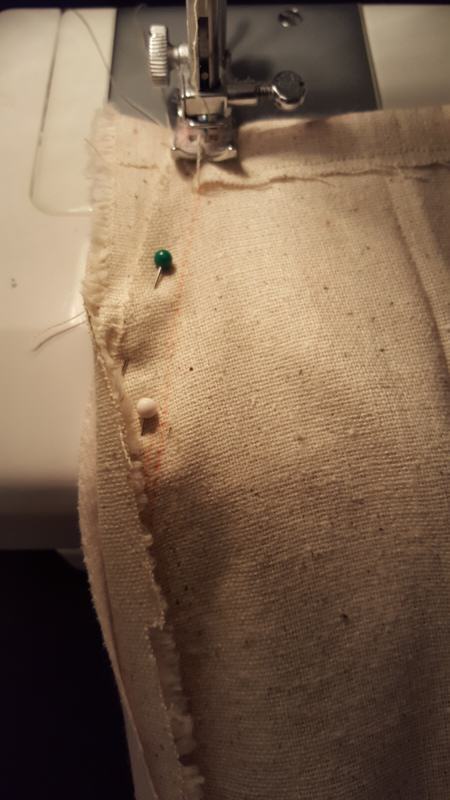
Step 14: Now you will sew all of the triangular panels and casing sleeves together to make your teepee shaped tent. In-between each triangle panel will be a casing sleeve. Match the hem line together for the two triangle pieces and the casing sleeve that goes in-between them and pin them in place. Sew the panels and casing together (I went ahead and sewed the pieces together before moving on to the next one). Follow this step until you have all four panels and casing sleeves stitched in place.
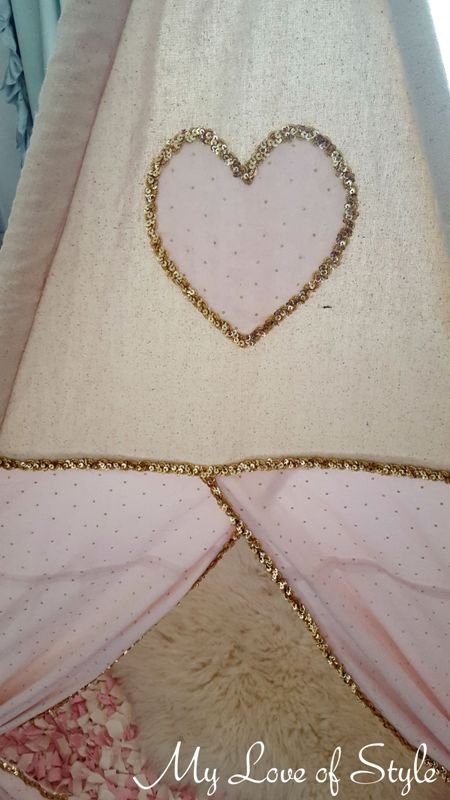
Step 15: Embellish your Teepee. I used decorative trim to embellish the front of the Teepee. I used fabric glue to adhere to the trim to the front panel.
Step 16: Turn your Teepee right side out and Place the dowel rods into each of the casing sleeves. Now you can stand your teepee up and arrange the dowel rods. Place your rope through the holes and wrap the rope around all the dowel rods and tie them in place.
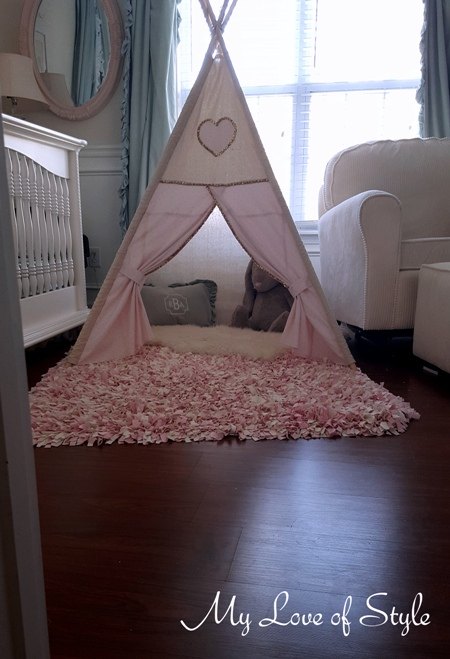
Riley's DIY Teepee goes perfectly with her DIY Shag Rag Rug!!
Want more details about this and other DIY projects? Check out my blog post!
Comments
Join the conversation
2 of 15 comments
-
very cute! thx :)
-
I am struggling with these directions. Has anyone made the tent from these directions?


Frequently asked questions
Have a question about this project?
What seam allowance did you use? Is this included in your diagram piece measurements or did you add it afterwards? Thank you x