


DIY Pull Down Under Cabinet Cookbook / IPad Shelf
In my quest to clear the clutter from my kitchen countertops, I needed to get my cookbook or iPad off the counter.
Click HERE to see all of my DIY kitchen de-cluttering storage projects.
All of the store bought under cabinet cookbook shelves were too small to hold my largest cookbooks...and those are the ones that take up the most countertop space... So I decided to make my own.
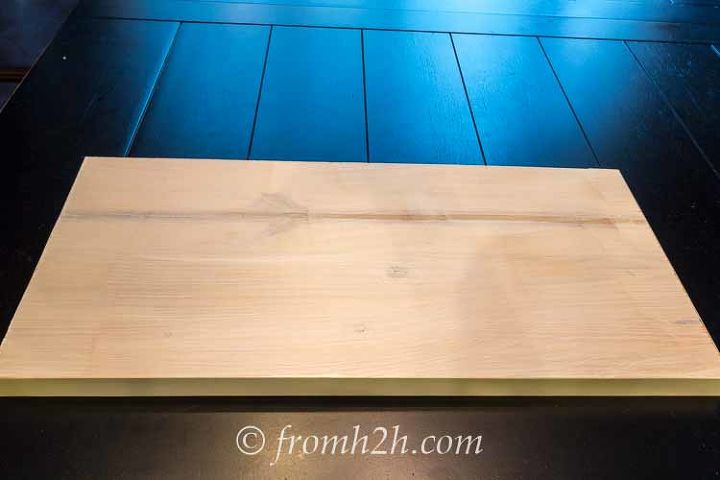
Start with a shelf that is wide enough and deep enough to fit your largest cookbook.
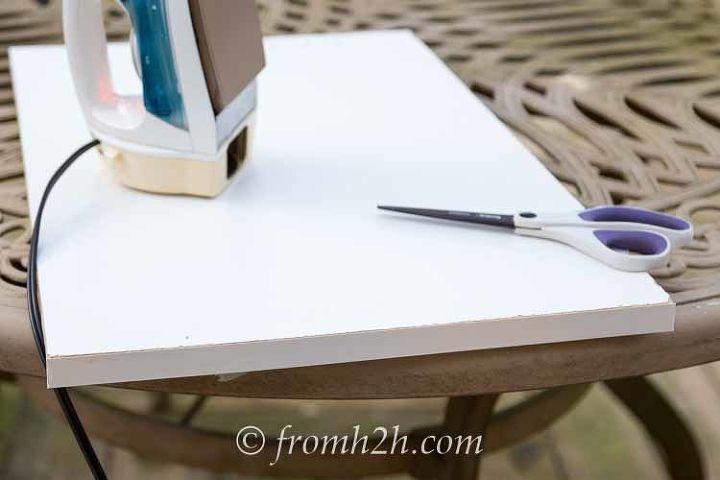
Paint the shelf. If you are using white, you can use iron on melamine edging to finish the edges.
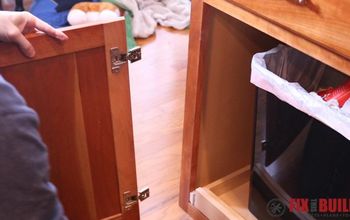
Add left and right lid hinges to the sides of the shelf, near the front. Attach an eye hook to the sides of the shelf, near the back.
Add one magnet to the back of the shelf.

Attach the other end of the hinges under the cabinet near the front. I used a stack of books to hold up the shelf while I was installing the hinges on the cabinet. These hinges will help the shelf fold up when you aren't using it.
Attach another eye hook under the cabinet. Then attach about a 5" length of chain between the eye hooks on the side of the shelf and the ones under the cabinet. Now the shelf is suspended under the cabinet.
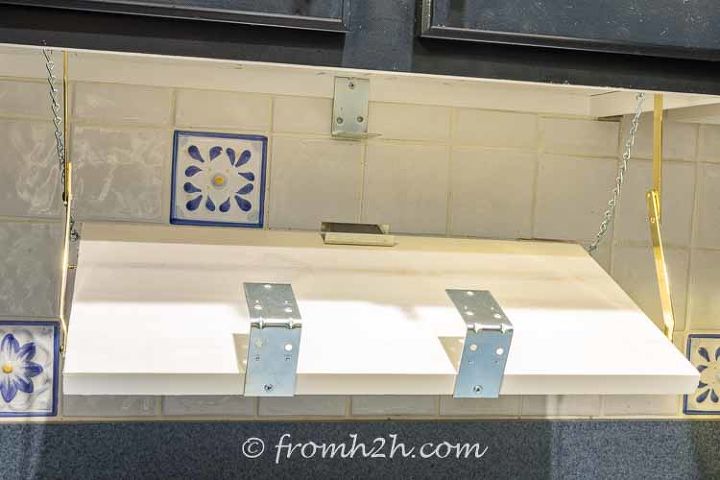
Position 1 L-Bracket at the back of the shelf so that it lines up with the magnet on the shelf (that will help to keep the shelf closed). Use 2 L-Brackets to hold the book in place. Attach magnets under the cabinet that line up with these brackets (again to help hold the shelf closed) I used really big L-brackets because I have a few cookbooks that are 4" thick. If you don't own such thick books (or only use an iPad), you can use much smaller L-brackets that are a little less obvious. Painting them would probably also help make them blend in a bit more. I'm going to be re-doing my backsplash shortly, so I will paint the whole thing as part of that project...and will post an update then.
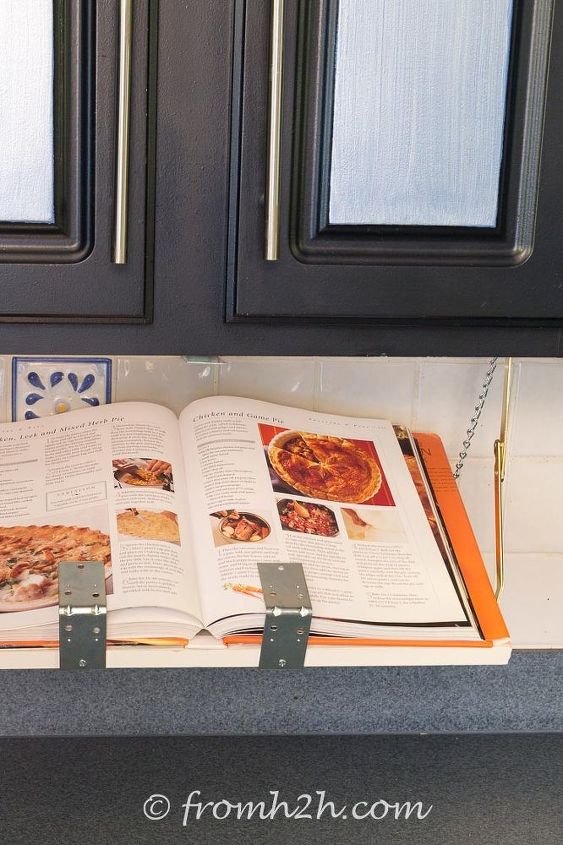
Here's the shelf with a cookbook on it.
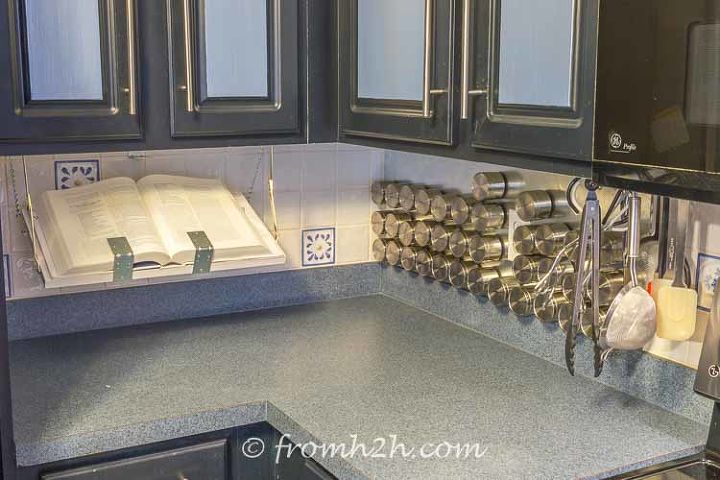
And here's my now clear countertop! Mission accomplished!
For more details and step-by-step pictures, click HERE to go to my blog post.


Comments
Join the conversation
-
I’m always ready to try and learn about new products , new technologies, new techniques and love to share my knowledge and experience .
-
My dad made one of these for my mom in the 70’s when he remodeled the kitchen. I have similar things (made from plastic) that hold spices in my kitchen.


Frequently asked questions
Have a question about this project?
Yes, your spice rack is exactly what i need. How did you make that? Is that just metal sheet?