


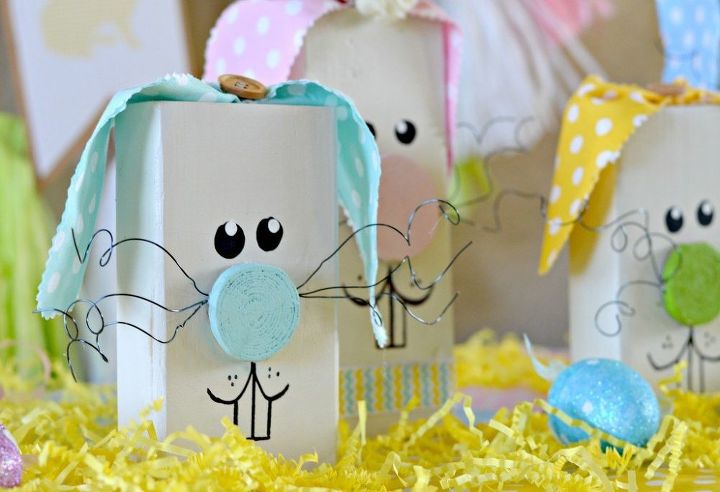
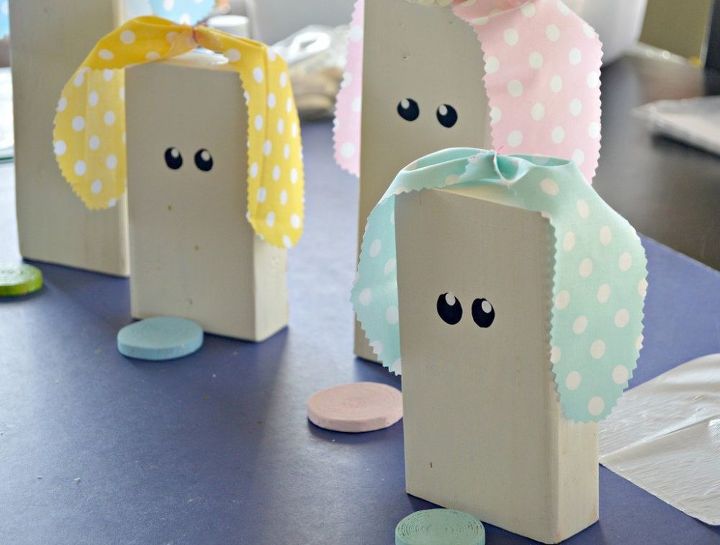
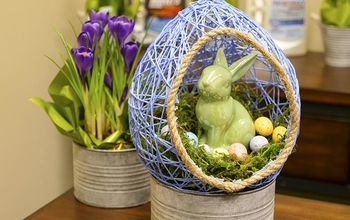
Wooden Easter Bunny Tutorial
$20
2
Easy
I love decorating my house for every holiday and season of the year. These wooden Easter Bunnies are pretty easy to make, are inexpensive, and are so cute! A full list of materials and additional images can be viewed at the blog link below.
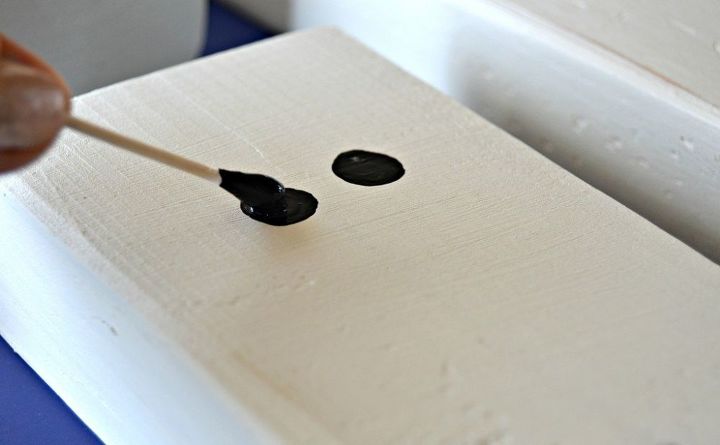
STEP 1
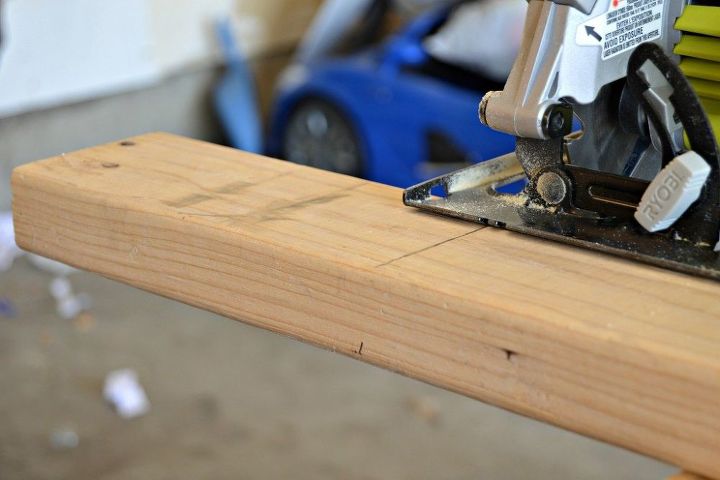
STEP 2
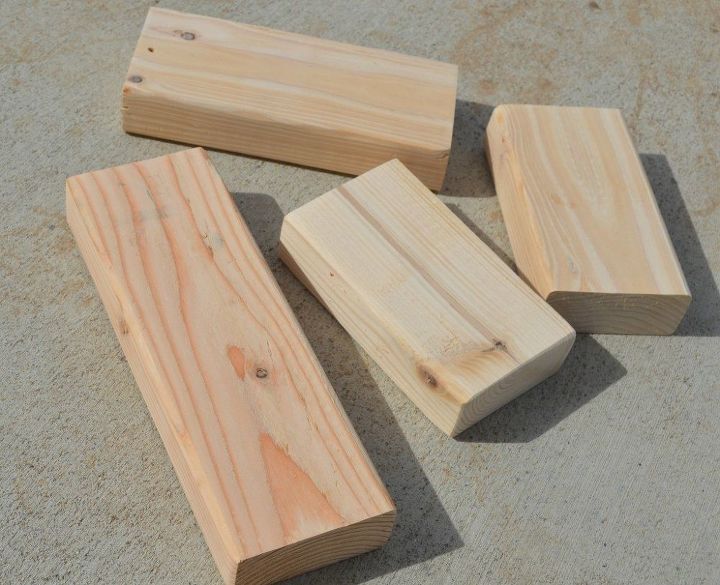
STEP 3

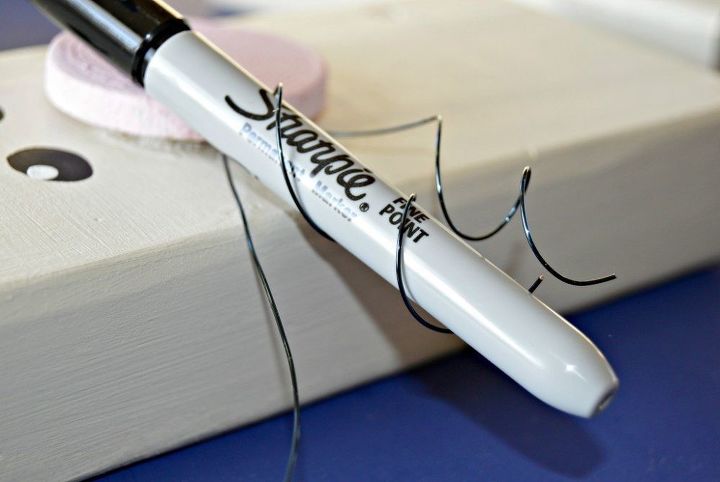
STEP 4
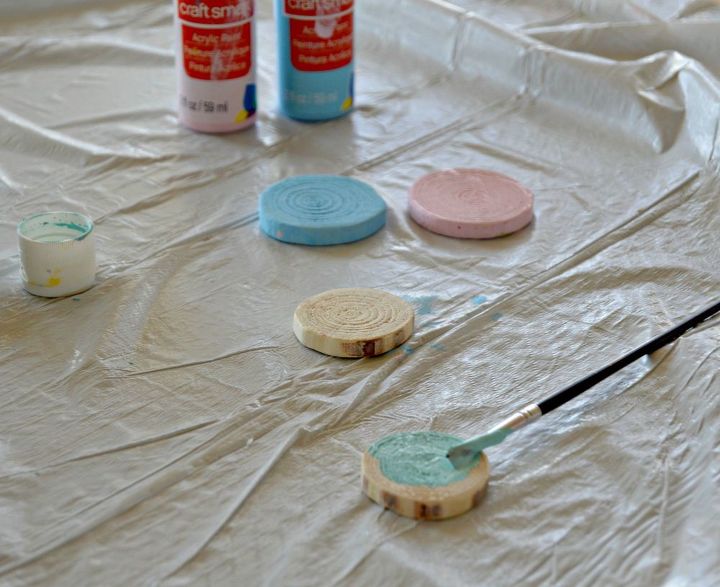
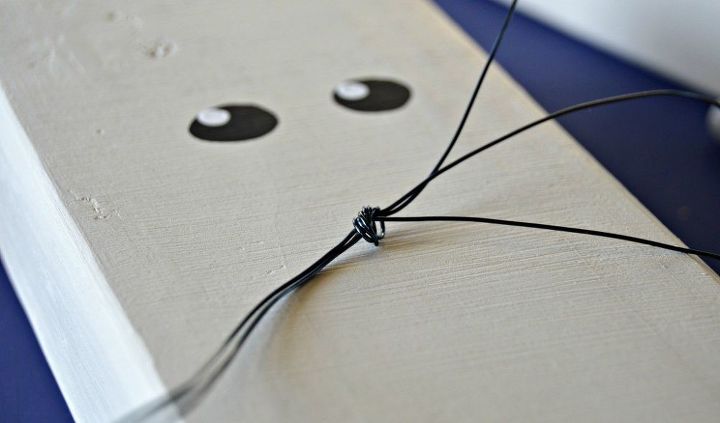
STEP 5
STEP 6
STEP 7
STEP 8
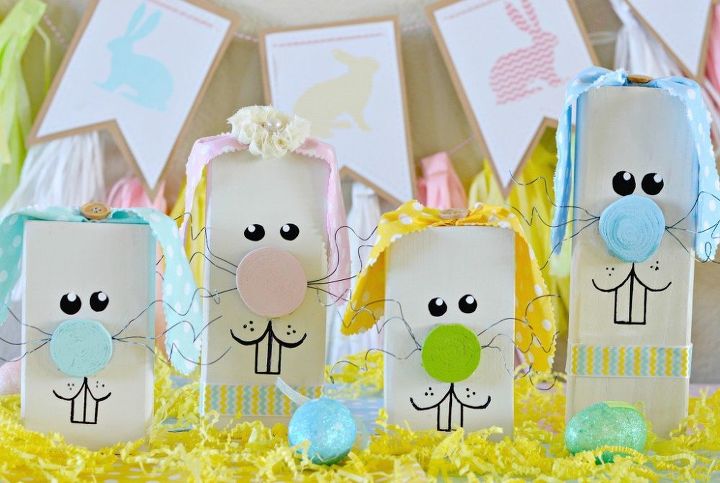
I hope that you have enjoyed this tutorial! For a full list of materials and additional images (or if you want to read in Spanish), head on over to the post on my blog listed below!

Want more details about this and other DIY projects? Check out my blog post!
Comments
Join the conversation
2 of 42 comments
-
these are darling!!
-
What a great idea and so cute!


Frequently asked questions
Have a question about this project?