


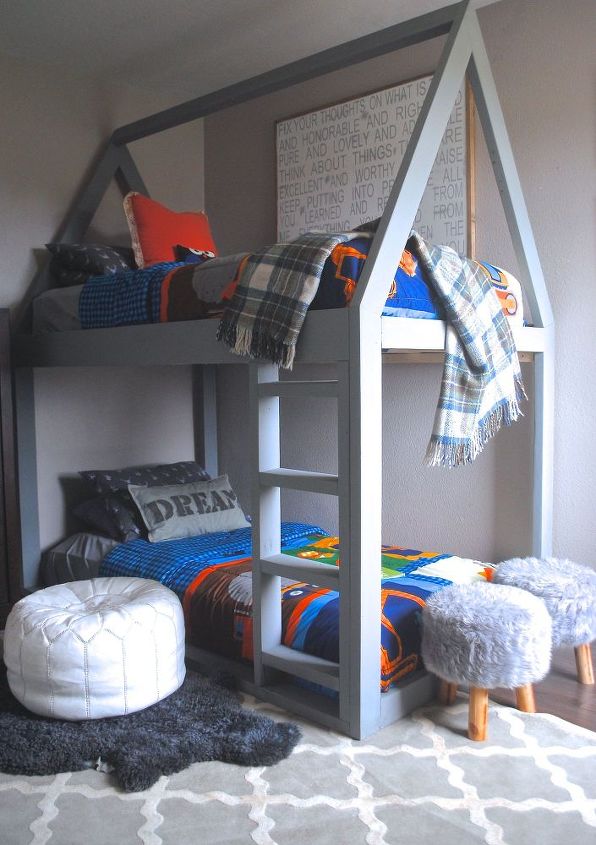
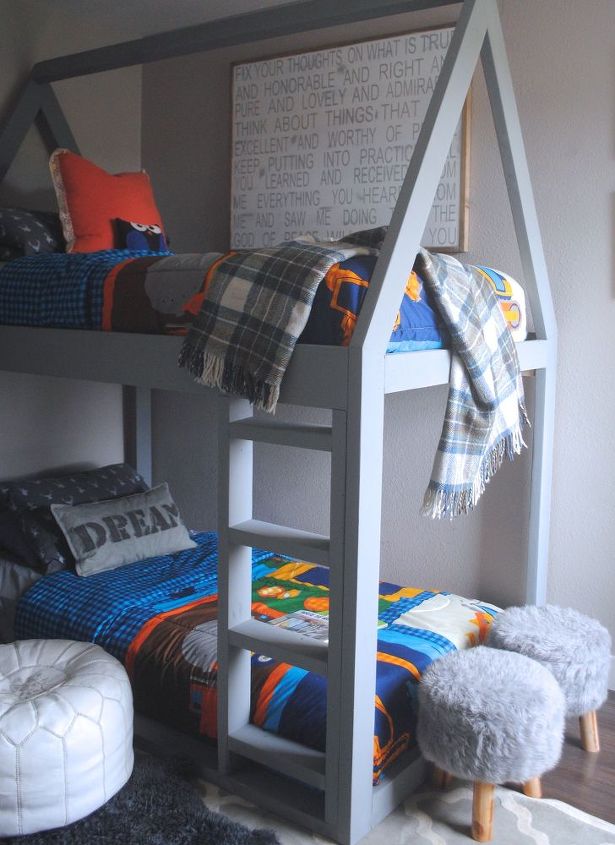
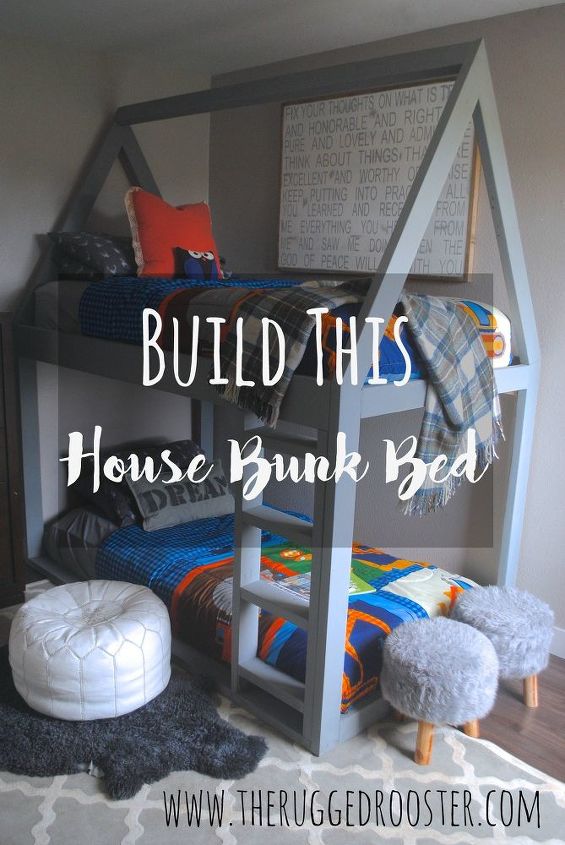
Build A House Bunk Bed
$53.00
4 Hours
Medium
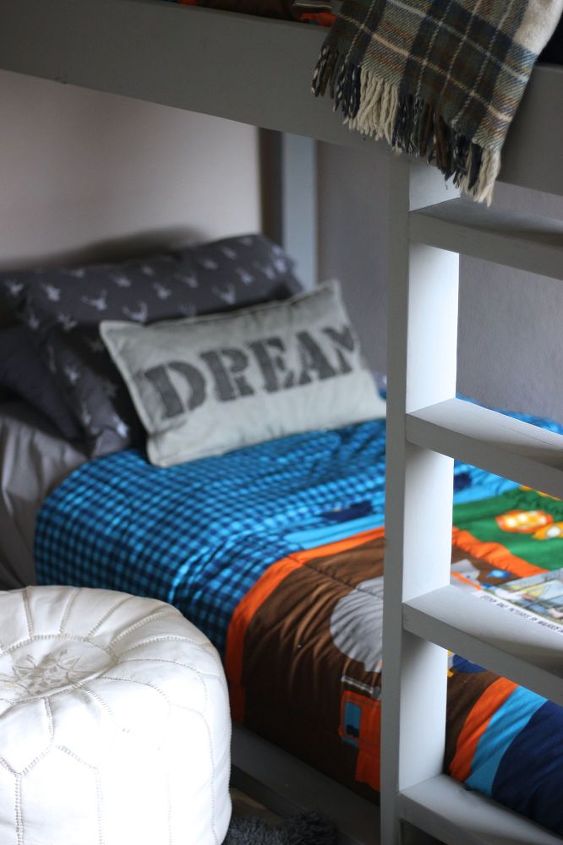
** Just adding a mini edit** We've had a lot of comments in regards to not having a guard rail. We do, we have a plastic rail we use at night. It just isn't on for the photos**
House Beds are a huge trend right now. I saw my first house bed over a year ago and I fell in love and I swore that as soon as we built our daughter a toddler bed someday, I would make a super cute pink house bed, decorated in cute pom pom buntings and it would be perfect. Well, fast forward a year, and she's only 16 months, still a ways away from being in a toddler bed. Then I had a idea! We are in the process of decorating our boys bedroom. and we needed to build them a new bunk bed set as their old set was massive and took up half their room.
House Beds are a huge trend right now. I saw my first house bed over a year ago and I fell in love and I swore that as soon as we built our daughter a toddler bed someday, I would make a super cute pink house bed, decorated in cute pom pom buntings and it would be perfect. Well, fast forward a year, and she's only 16 months, still a ways away from being in a toddler bed. Then I had a idea! We are in the process of decorating our boys bedroom. and we needed to build them a new bunk bed set as their old set was massive and took up half their room.
Idea - Wheels Spinning - Husband Groaning..
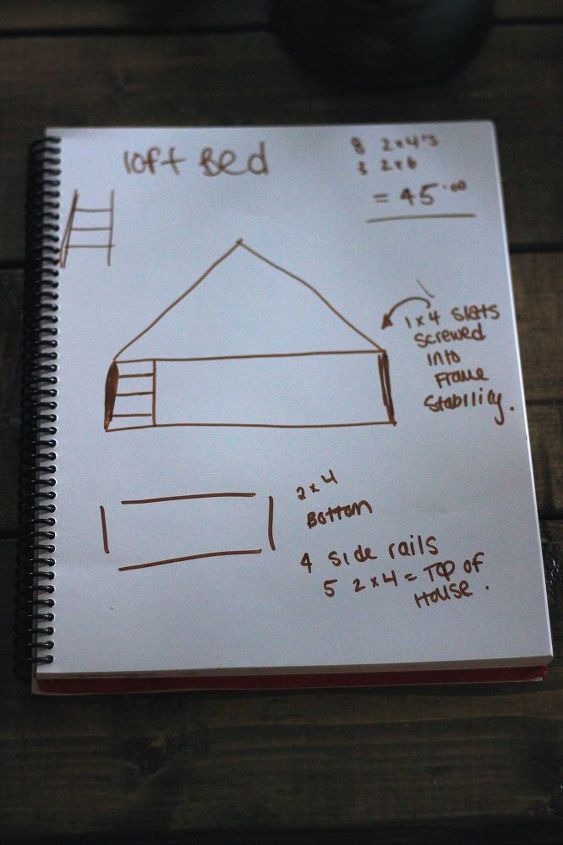
I sent Glen off to the Home depot to purchase eight 2 x 4's, three 2 x 6's & a paint brush. Pretty much that's all we needed as we already had our own tools, wood filler, screws and poly.
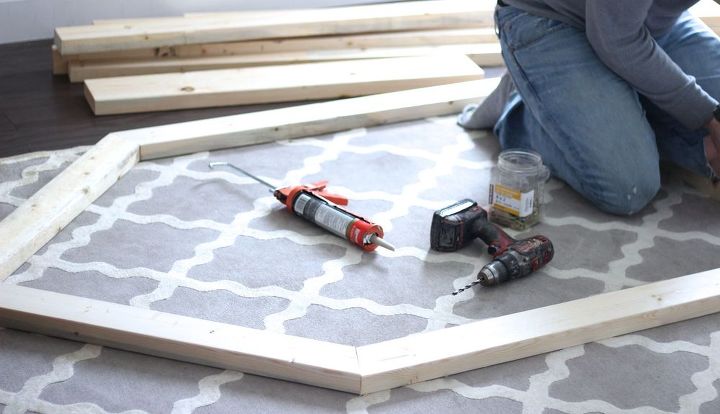
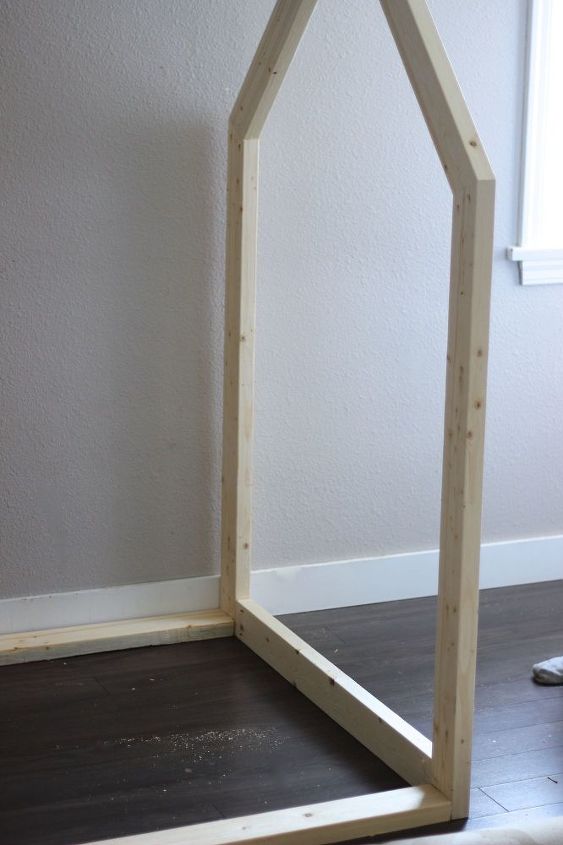
You want to go ahead and make both end panels, we call them the "houses" When Glen was cutting the angles for each side, he numbered everything. It is a good idea to do. Or you could cut as you go.
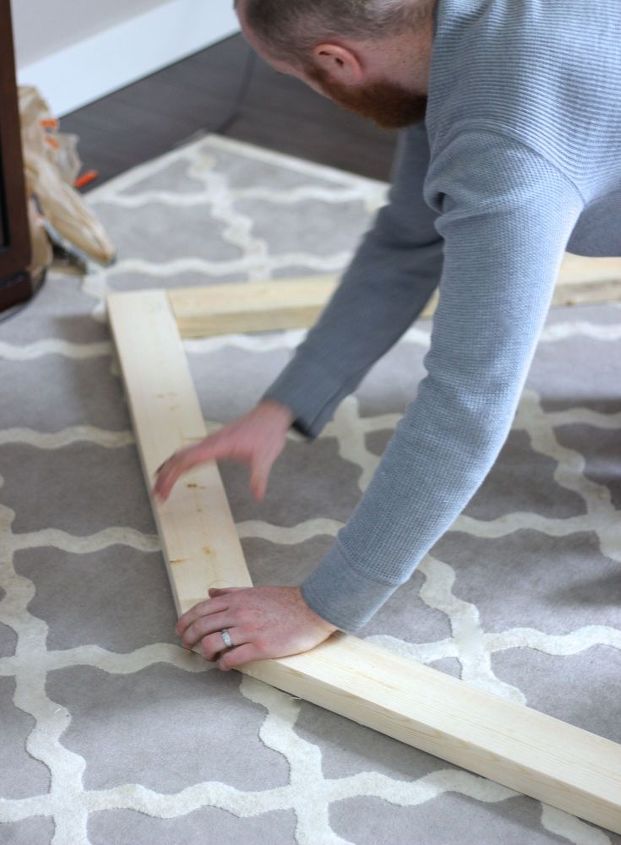
Lay your house on the ground and line it all up. Once in form, you will be making all your pocket holes. 2 on each cut. We also siliconed between every cut. You want this bed to be extra strong. Especially if you have kids like us that live life hard.
Once both of your end panels are complete, you'll want to stand them up. If you're alone, you can lean one side up agains the wall and clamp the two ends & the bottom pieces together. But I was helping Glen, so we didn't need clamps for this stage.

We just screwed straight from the outside Panel into the 2 x 4 side rail. We drove 2 2" screws into each side. You want to make sure you drive them deep. The top of the screw should be 1/4 deep.
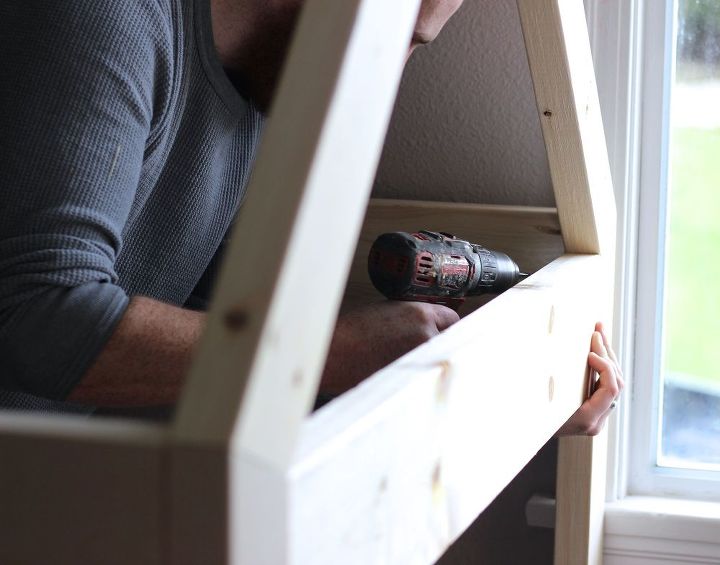
Once both sets of side rails are screwed on, it's time to put on the bottom of the triangle on the ends. Start making your pocket holes on each side, we only used two on each end.


Want more details about this and other DIY projects? Check out my blog post!
Comments
Join the conversation
2 of 118 comments
-
Your bunk bed is beautiful and so sturdy your children must love sleeping now.
-
I had full sized bunk beds made by a carpenter...the very first thing we did was add a wooden railing. Plastic temporary is NOT a safe solution. Suppose during the day the kids go up to play? Not worth the risk. It will look fine and leave room by the ladder..easy. Great job on the beds...looks awesome !


Frequently asked questions
Have a question about this project?
How tall is your ceiling? Trying to figure out if these measurements will fit in my daughter’s room.