


Oh Say Can You See?
$0.00
3 Hours
Easy
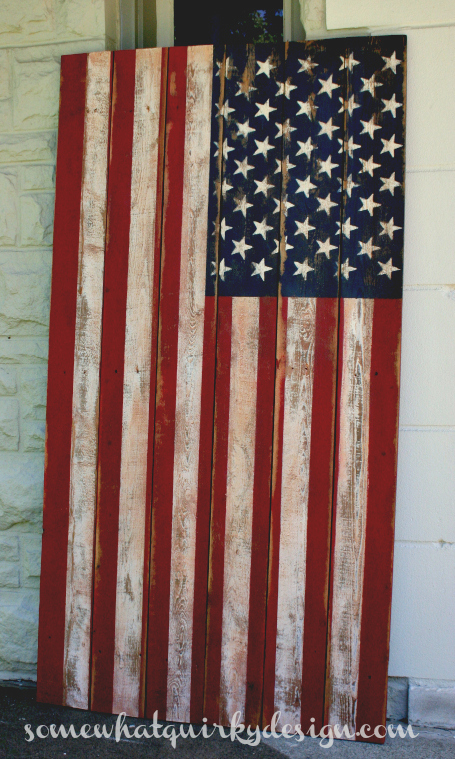
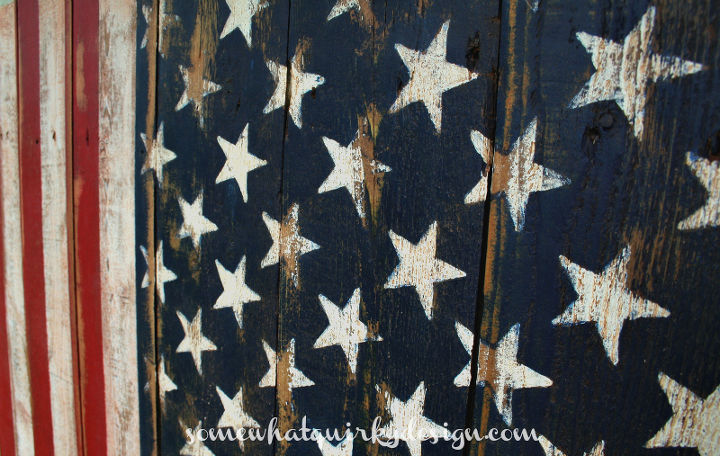
I'm really excited about my new 62"x 34" wooden flag! I made it out of an old fence section I found in a neighbors garbage. Simple instructions on the blog.
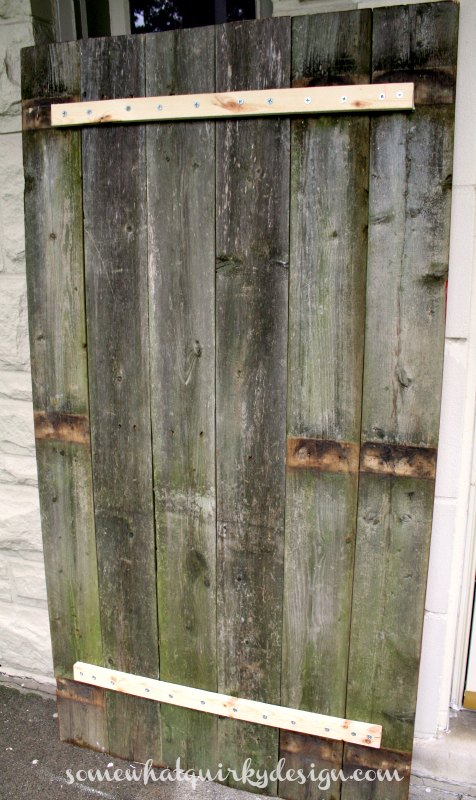
To make this flag I used some pretty rugged fence boards. They are connected together by 1x2s screwed to the boards. Then I sawed off all the rotten and crooked ends with a circular saw.
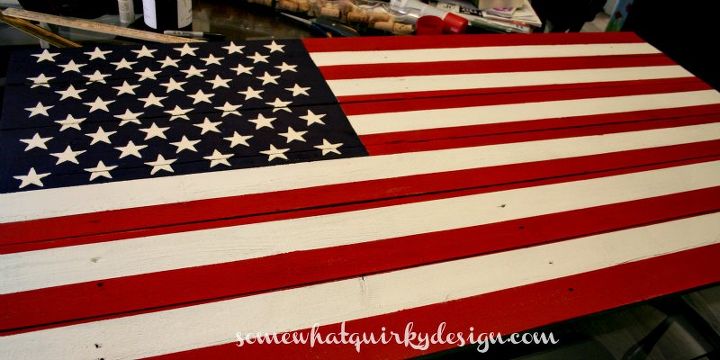
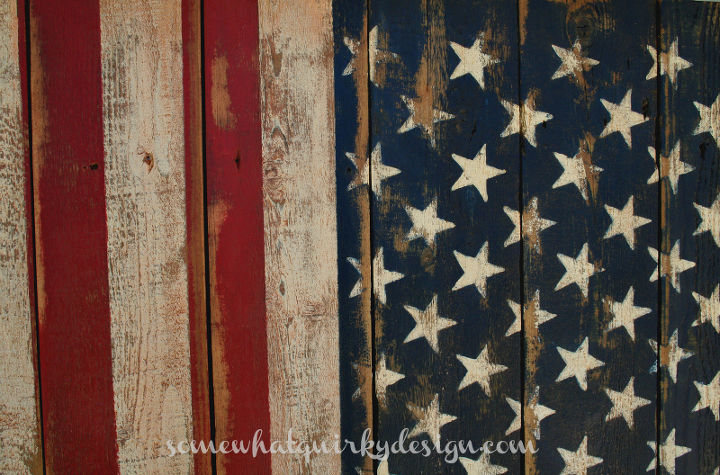
I used a navy acrylic paint for the background of the stars. I used Old White Chalk Paint and Emperors Silk Chalk Paint for the stripes. Then I distressed heavily with my orbital sander. The whole flag was then waxed with CeCe Caldwell Light Antiquing Wax.
The information and methods about how I measured and spaced the stars and stripes to make it anatomically correct are on the blog.
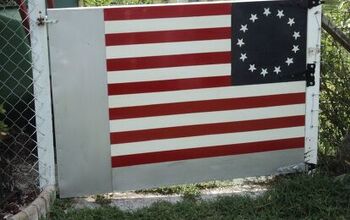
IMPORTANT: Thank you to all those who took the time to inform me that while this flag is fine when used horizontally, if I use it vertically the stars go to the upper right - and is incorrect form. The stars should always be in the upper left corner. If I want a flag to hang vertically I need a second flag!

Want more details about this and other DIY projects? Check out my blog post!
Comments
Join the conversation
2 of 14 comments
-
When I painted this flag on my gate everybody said I put the stars in the wrong corner I just tell them that when viewed from the other side of the gate the stars are in the correct corner. {;o) Charlene I love the old "barn wood " look that you gave it, fabulous.
-
Thanks so much. Funny, I was just outside getting boards prepared for a new vertical flag. One with the Stars in the right place!


Frequently asked questions
Have a question about this project?