


Re-purposed 5 Qt. Icecream Tub Flower Pot/ Mini Plant Stand.
This flower pot mini plant stand also with a decorative bird house ( if you like ) uses a plastic ice cream tub that nicely fills the roll of a plant pot.
It is true that this does not fall in the true miniature class but it is much smaller overall than my previous post '' Bird house plant stand'' that is over 42'' tall for some of them.
It is true that this does not fall in the true miniature class but it is much smaller overall than my previous post '' Bird house plant stand'' that is over 42'' tall for some of them.
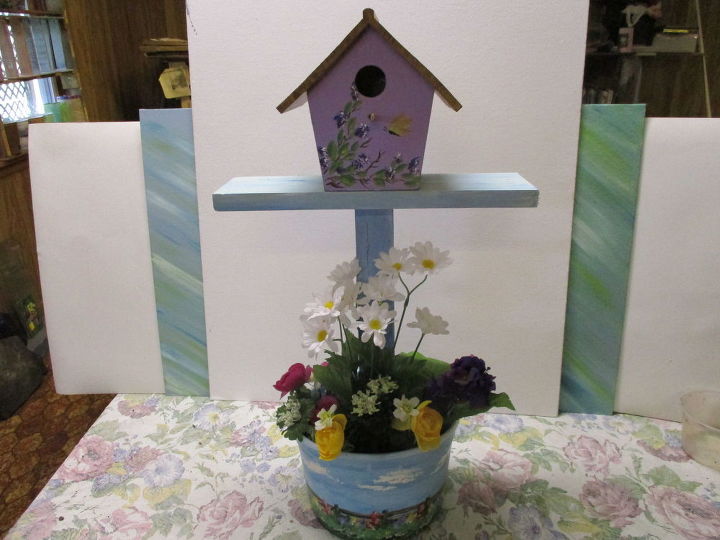
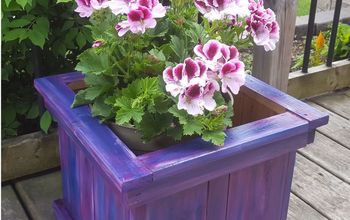
This is one of the finished stands, though the bird house is not fixed permanently , and I borrowed some of my mother's artificial flowers to see how the setup looked nearly done. Actually artificials will work fine too.
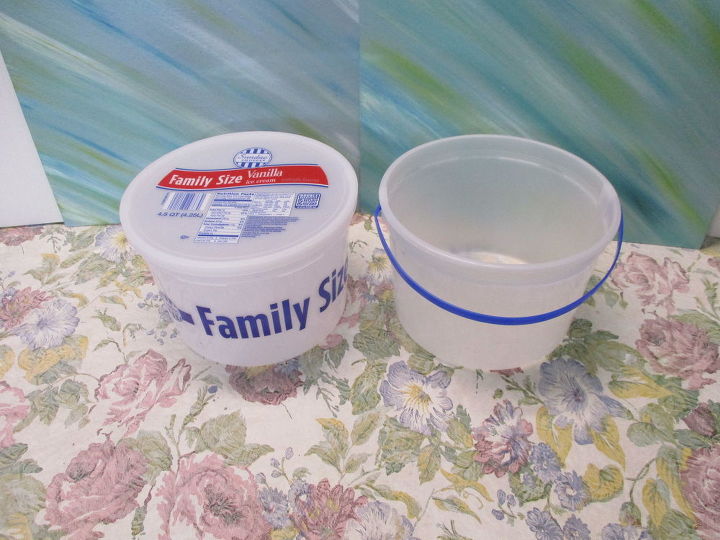
Needed for the project is; an ice cream tub of course; a 16'' piece of a tree branch, or 2 by 2, a 14'' piece of 1'' by 6'' by 14'' pine or other board. a 1/2'' by 3 1/2'' by 6'' piece ( simply a 1/2'' piece of scrap wood to secure to the bottom of the post to help it stand in place in the tub. say 4'' across. 4 / 2 1/2'' or 3'' deck or dry wall screws. Zinsser primer, or Acrylic gesso ( a primer) one or more colors of acrylic paint. a decorative bird house , ( Walmart, A C Moore, Michael's ? have them). Gravel or small stones, potting soil and Flowers of your choosing.
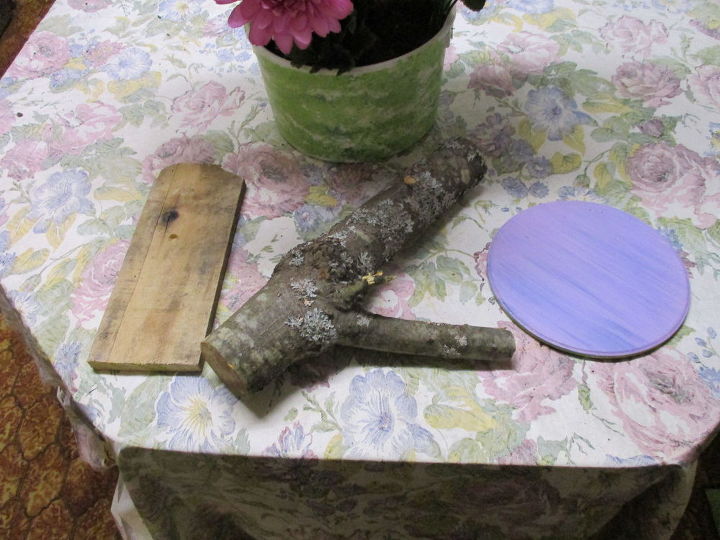
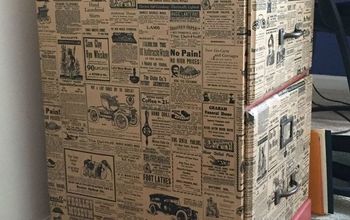
The 7'' dia plaque piece was handy , and used for the top of one of the plant stands. for 97 cents + - at Walmart this piece could simply be used for the bottom support as well as the top piece, eliminating the need for the 1'' by 6'' by 14'' piece. I show a tub in the previous photo w/o the lettering. this is optional since the paint will cover the print. I used paint thinner on a disposable towel to see how it would work on the tub.
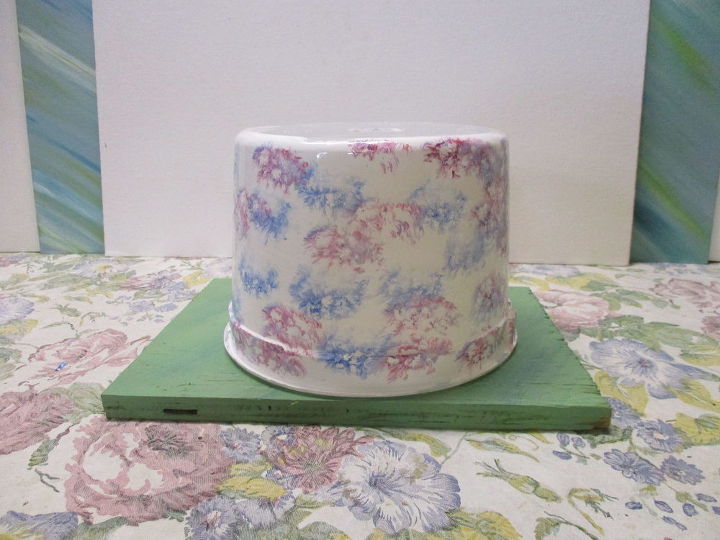
Though I have painted a number of landscape scenes on ice cream tubs, a fairly simple process is to base coat the outside of the tub with the primer , then dipping the tip of the bristles of a utility brush in one of the colors begin dabbing the paint on the wet basecoat. Here I used thalo blue, then crimson. Once you have some color applied you can take and and w/o cleaning the brush unless you have too much color on it, begin blending the color some more.
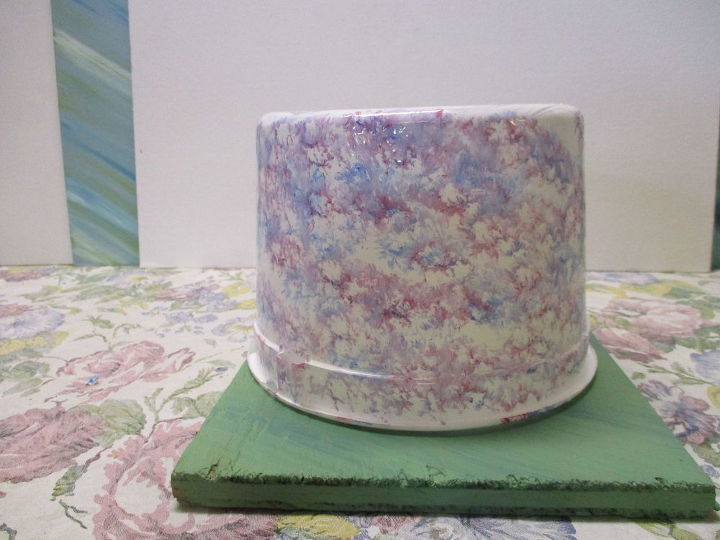
Don't over blend so that the texture will show. This process works well with individual colors applied to the white neutral, and when two or more color is applied. Simply do not over blend so that the color doesn't go to grey.
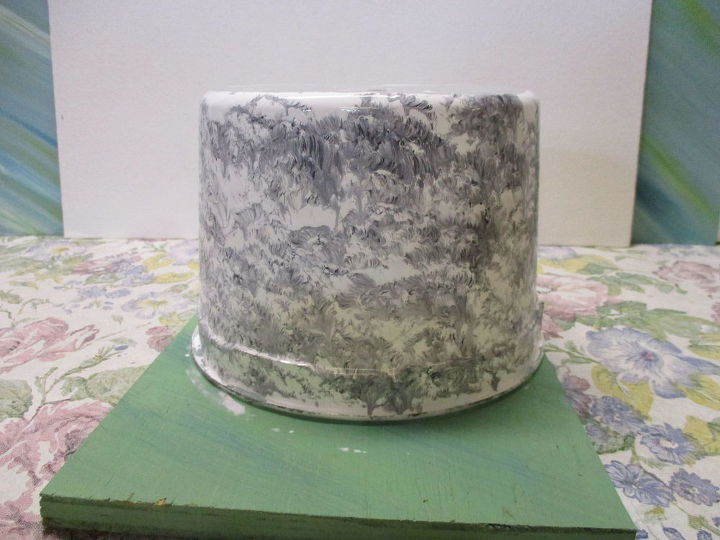
For this one, black was dabbed on. A faux marble look can be improved by wadding up some heavy paper or plastic dipping it in the paint lightly then stamping it on the tub also.
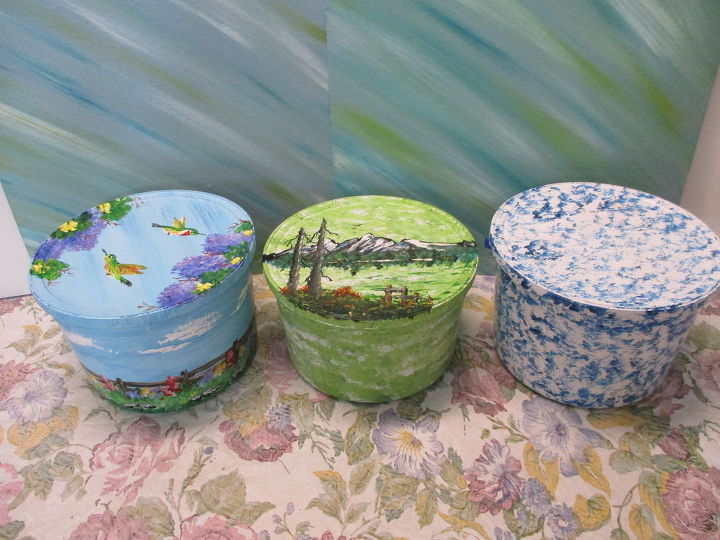
A number of the ice cream tubs were done as seen here, and used to store plastic ware and napkins and other things for tractor club meetings and events.

Using a number of the tubs for planters , I have several nicely painted lids to be hung somewhere.
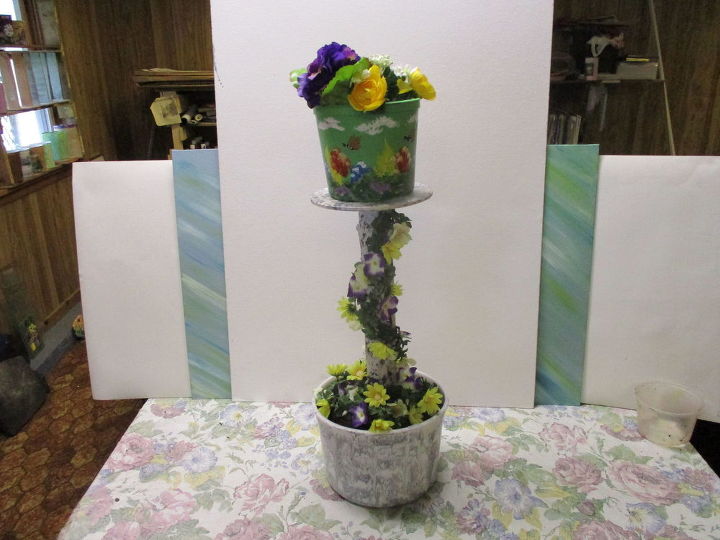
This shows another way to put the planter together . I used what was handy so the final piece will be set up with other flowers. If you check out the short project post at my blog site, look up Decorative bird house/mini plant stand, to locate it . The full size bird house plant stand project is featured here at Hometalk as well as at the site.
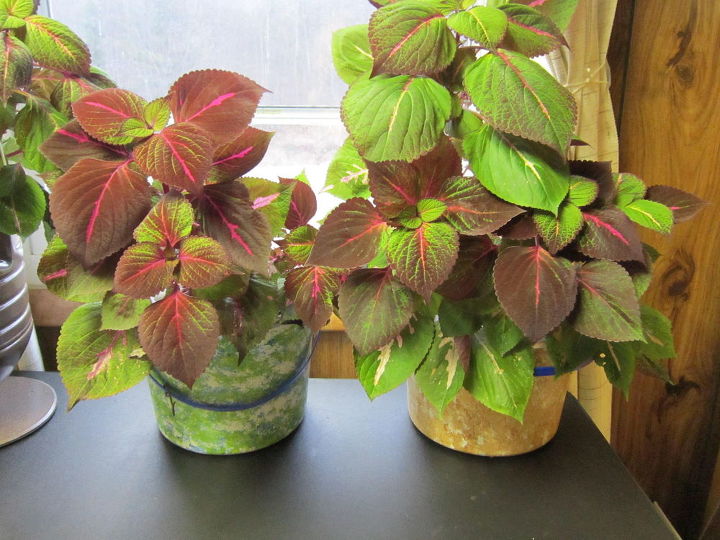
Here are two tubs I started some coleus branches in .

Want more details about this and other DIY projects? Check out my blog post!
Comments
Join the conversation
4 of 31 comments
-
Love this idea very creative
-
This is a great idea for recycling as well as artistry! Great idea. All that ICE CREAM !
 . The containers are great to paint on even though they will not last years mainly because they are handled often. I am using some of the containers now for hydroponic gardening ( still a work in progress/ I tend to want to put too many plants in the container ). Included will be a photo of one unit that has a tomato plant that has yielded two small fruits so far.
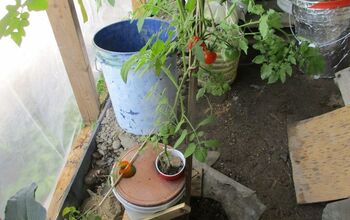


Frequently asked questions
Have a question about this project?
Thanks, I recently wrote in for suggestions to use the 20 or so ice cream containers that I have. This suggestion was a thousand times better that the ones I received. Iwould like to know if you put holes in the bottom for drainage or some type of material to absorb excess water? Can I send my 20+ containers to you? You are fantastic.