


Paint Chairs - The Easy Way
2 Materials
$17
4 Hours
Easy
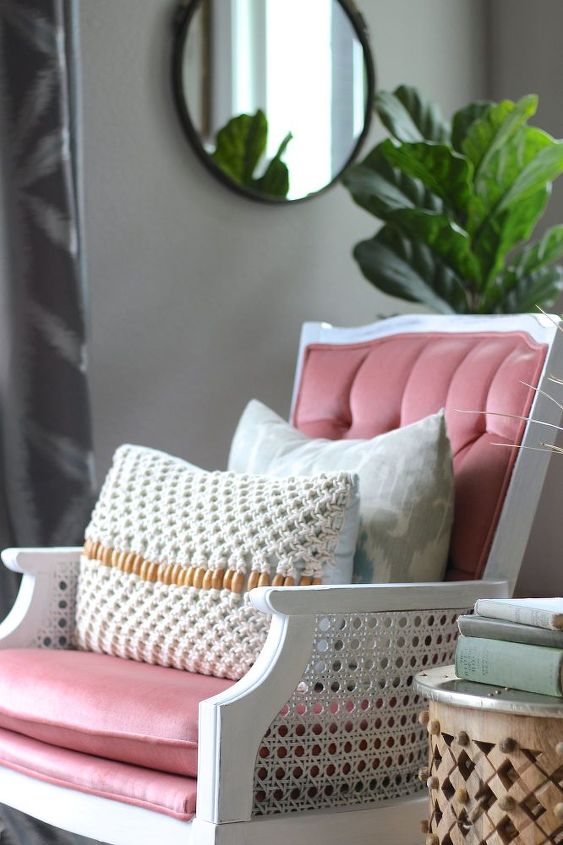
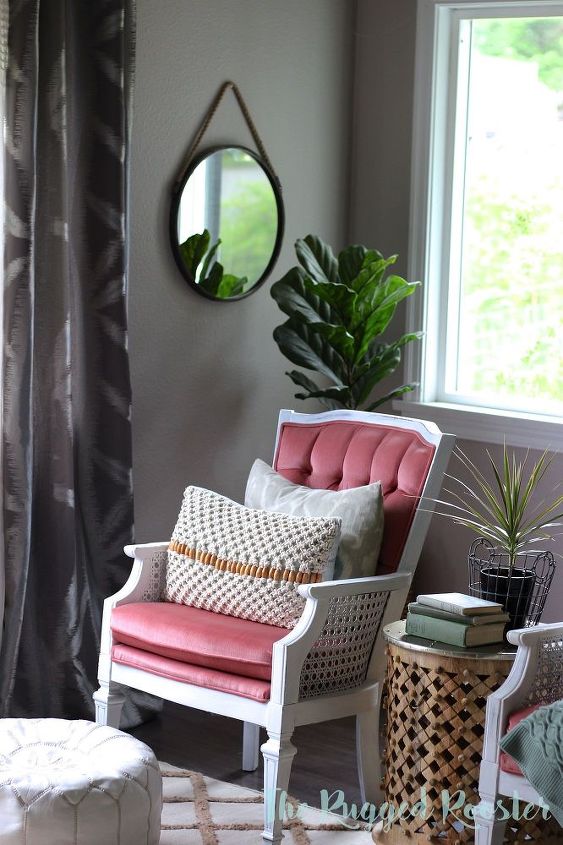
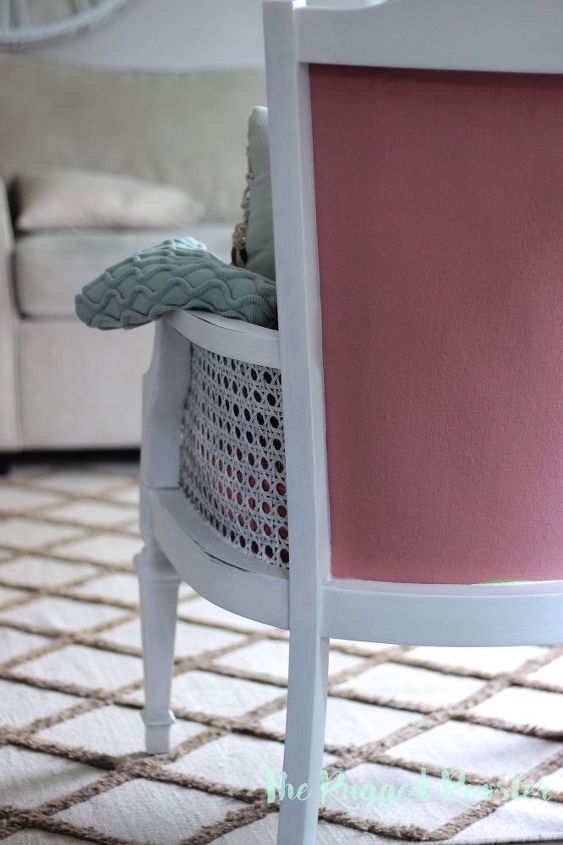
I recently found these chairs on craigslist for 50 dollars each. Are you serious? I’ve seen them go for six times that price & I knew that I had to snag them. I picked them up and had a clear purpose for them – they needed a few white coats of paint & light distressing. Right now blush is totally in. It’s okay if you haven’t jumped on that train, but this was my excuse to enter some pink into my living room. I’ve always dreamt of having some pink accents in my space and it never really felt right. I felt bad that my boys would have to live with it. I know, that sounds so ridiculous!
Well, cue in these amazing chairs, I knew I had to snag them. To be honest, I didn’t even think about it. I’m pretty lucky as the top cushion easily pops off – but I’ve painted chairs that the cushion is sewn in.
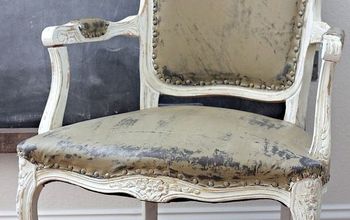
Basically I started doing a light sanding on the chairs. Please do not let this scare you off this project. It’s a light sanding and will take all of 5 minutes. Basically you’re just lightly ripping up the varnish so the paint sticks a bit better. You can skip these step, but you will need more coats of paint as the paint wont stick as well the first coat. make sense? So you will save lots of time in the long run doing a quick sand!
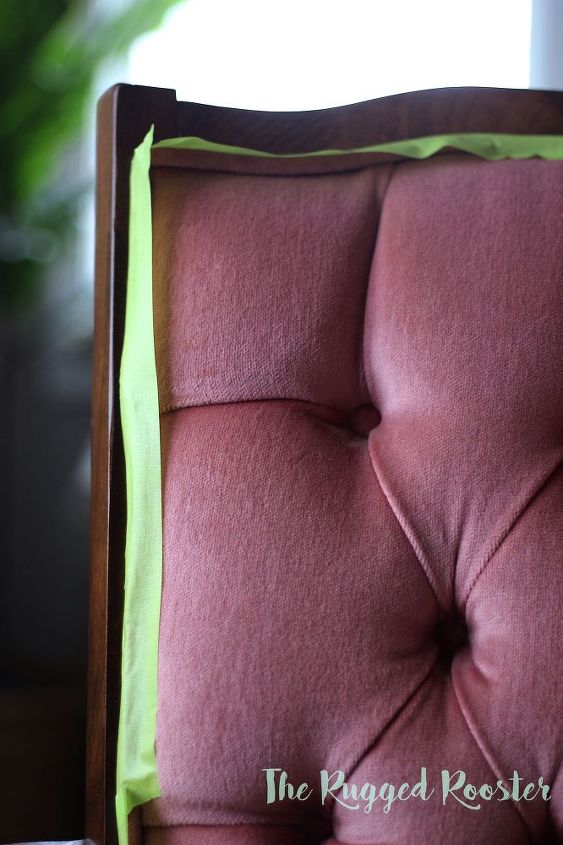
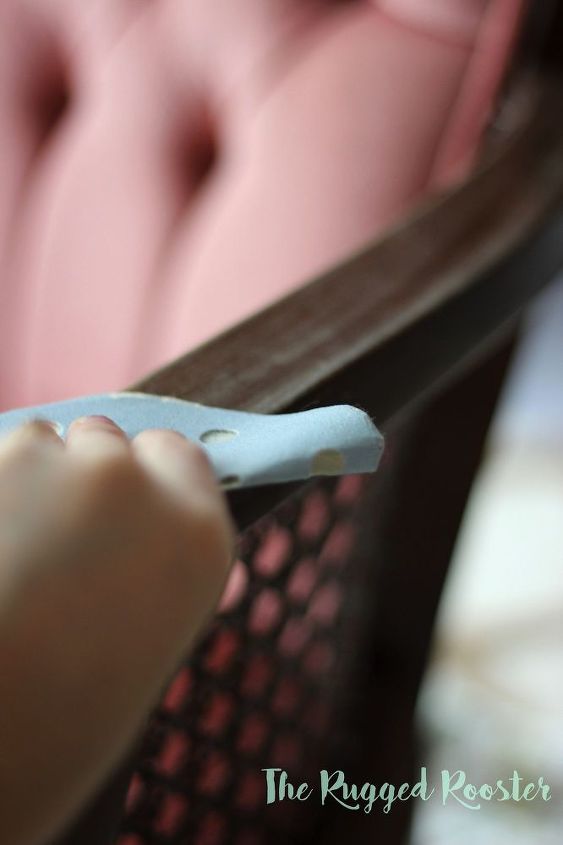
Now That you’ve done your quick little sand, time to put on the tape. I use the cheapest green tape you can buy. But I’ve heard amazing things about frog tape too for a clean edge! Tape all the parts that are remotely close to the fabric.
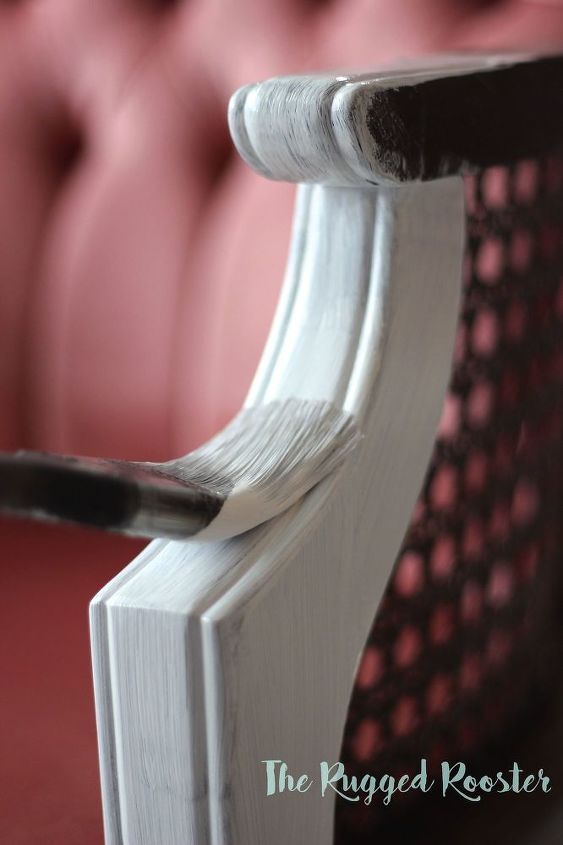
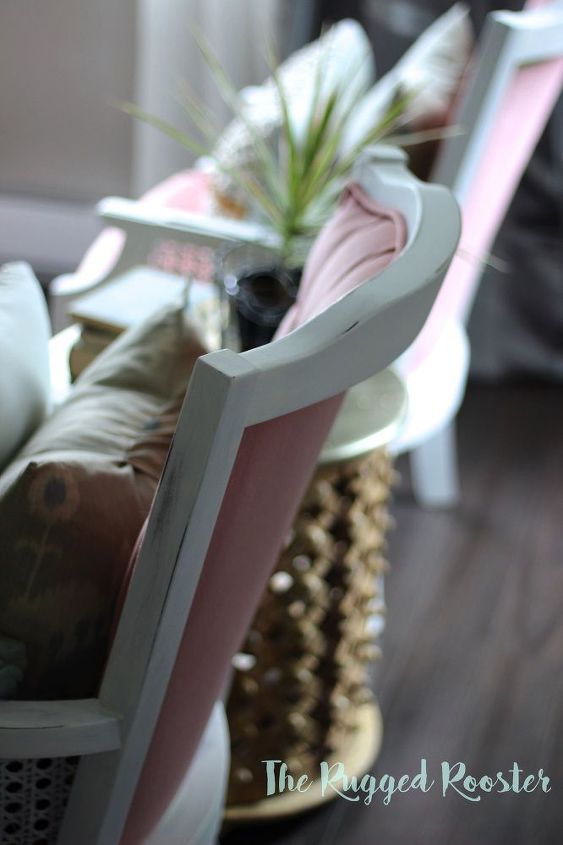
Now the fun begins – painting! I used Chalk White from The Fat Paint Company It goes on super smooth and creamy, also distresses beautifully. When applying your paint, you need to make sure you’re painting all in the same direction. At least I do. It ensures you are going to have a job well done. Nothing is worse than seeing streak marks, globs etc. Less is more. Have you ever heard that saying? Well it’s true with paint too. Another awful paint job is when the painter applies way too much paint. It dries really yucky. Gobby, and there are usually drip marks everywhere. I’m using a cheap angled brush that you can buy at any hardware store, but apply your paint in long strokes, in one direction. It may take an additional coat to get the coverage you want, but it will look so much better. I needed three coats for these chairs. Only because they had a really really glossy varnish on them.
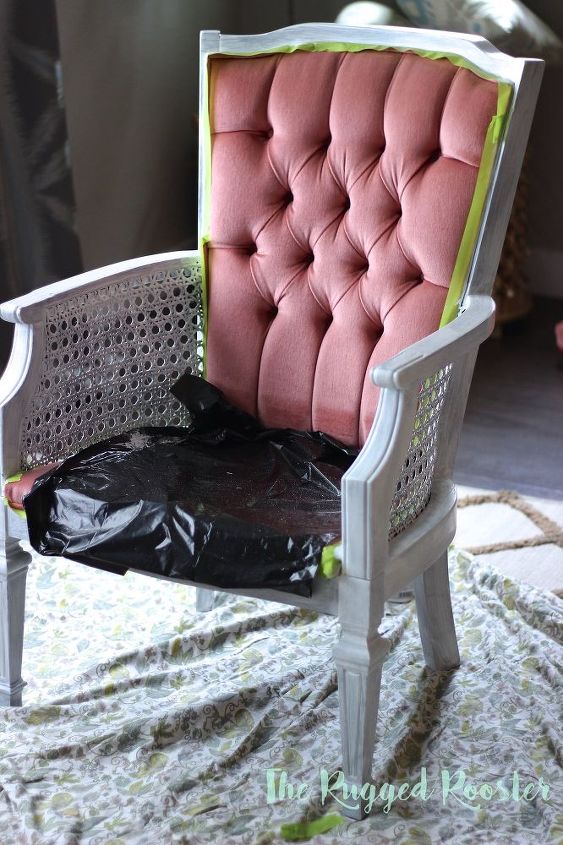
The garbage bag is the best trick for this kind of chair. See all that rattan? The dreaded rattan.. It looks so pretty but is a pain to paint! It splatters everywhere as it’s so hard to get in the cracks. So make sure you have a garbage bag, or some type of plastic to throw over your upholstery. This is probably a good idea even if your chair doesn’t have rattan. Basically any cane chair will be the same concept.
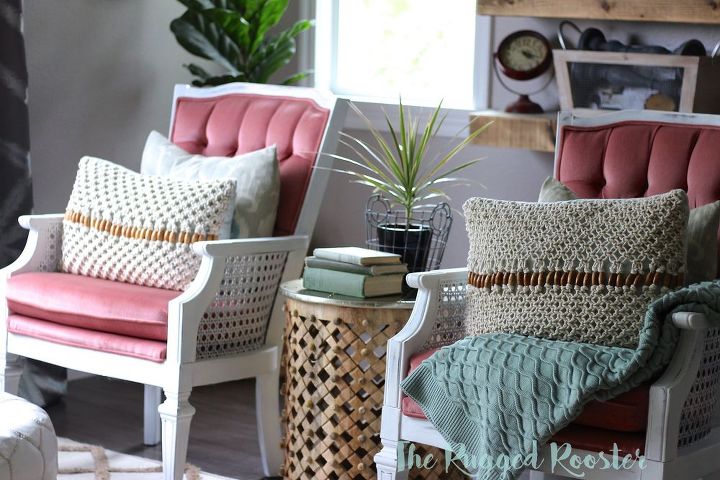
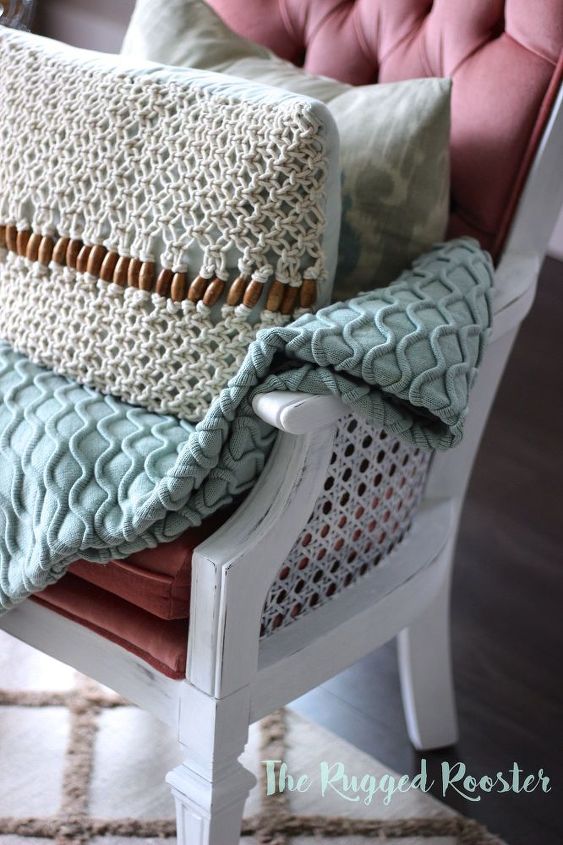
Here’s how our chairs turned out. I absolutely love them, now I just need a pink pillow for our sofa so it ties in. But look, we created something out of furniture that was useless to another person, and something you could never find in the store.

Want more details about this and other DIY projects? Check out my blog post!
Comments
Join the conversation
3 of 5 comments
-
These chairs are just beautiful
-
Omg I need these chairs in my life!


Frequently asked questions
Have a question about this project?