


DIY Pipe Bookshelves AND Desks
We were SHORT on storage in our girls’ playroom. While we are very, very fortunate to have a dedicated playroom, we found ourselves needing more storage for puzzles, games, legos, books, etc. And we wanted it to be STYLISH storage that would grow with our girls and still be utilized once they no longer need a playroom. We decided to build some super stylish industrial, DIY pipe shelves with built-in desks. We are IN LOVE with how they turned out and they provide TONS of much-needed storage
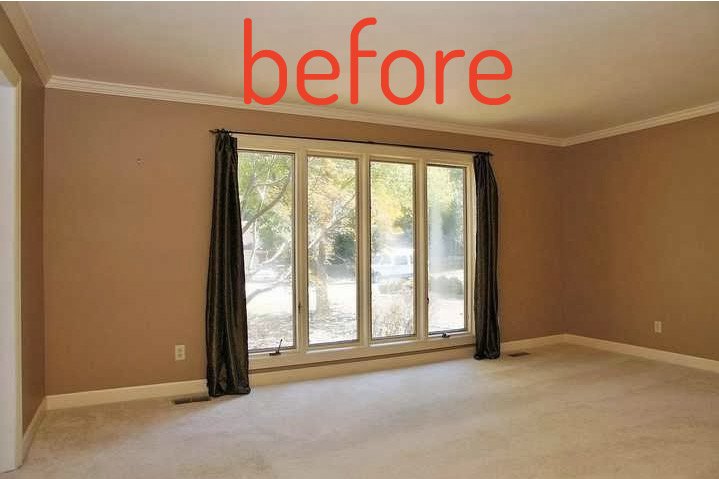
We had plenty of wall space on either side of the large window in the room to add the shelves/desks.
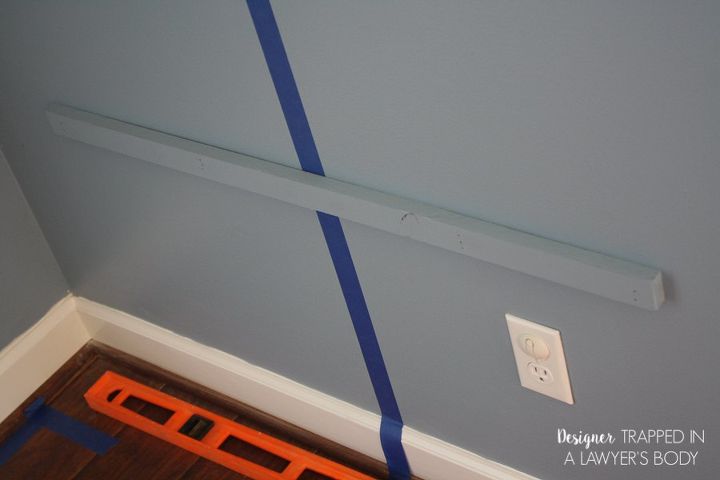
The back of the desks are also supported by a strip of wood attached directly to the wall.
We attached the top of the shelving unit to the wall using floor flanges. We attached the bottom of the units to the floor using floor flanges.

We used 3/4 inch iron pipe (used for gas lines since it is already black)-- you can see exactly what I am referring to by clicking here (aff link). The amount needed and sizes needed vary depending on your project size. You can see the exact dimensions and lengths we used for our project and many more details in the full blog post--the link to the full blog post is at the bottom of this Hometalk post. We assembled the pipe first to make sure everything would fit the space correctly. You can see the exact dimensions and lengths we used for our project and many more details in the full blog post--the link to the full blog post is at the bottom of this Hometalk post.
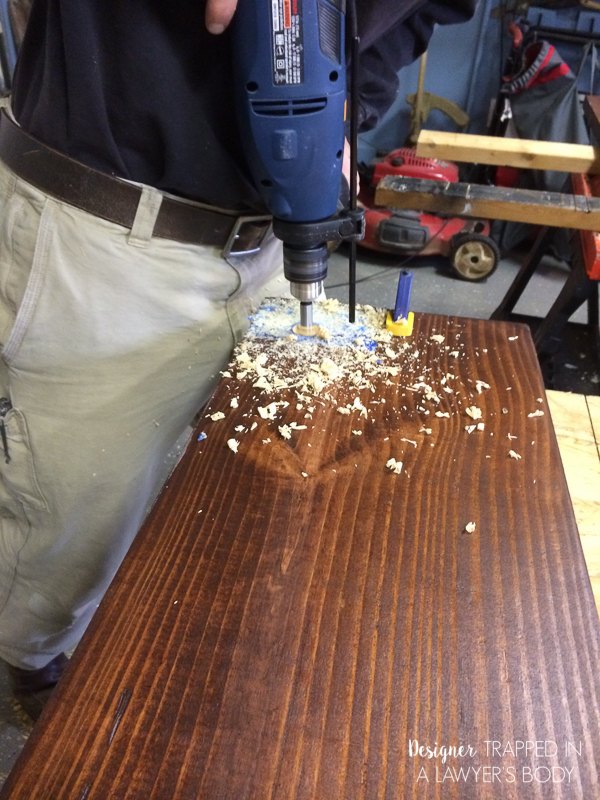
For the shelves we used 2 x 12 pine boards, cut to length and stained. We used General Finishes Brown Mahogany Gel Stain which you can find by clicking here (aff link). For the desks, we joined two boards together to make them the correct depth. We used a hole saw to make holes for the pipe to fit through the front of each shelf. The back of each shelf is supported by elbow joints.
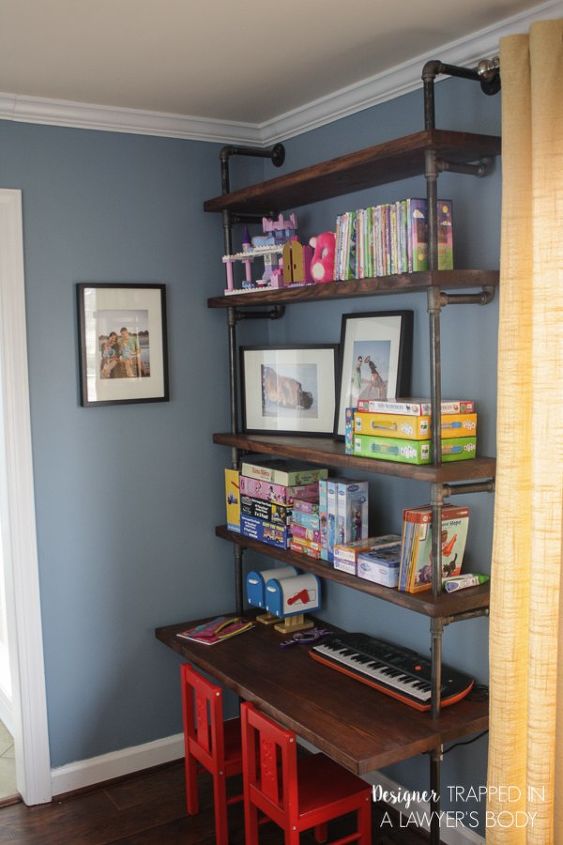
As you can see in this photo, the back of each shelf is supported by pipe and elbow joints, so there is no need to drill holes on the back portion of the shelves.
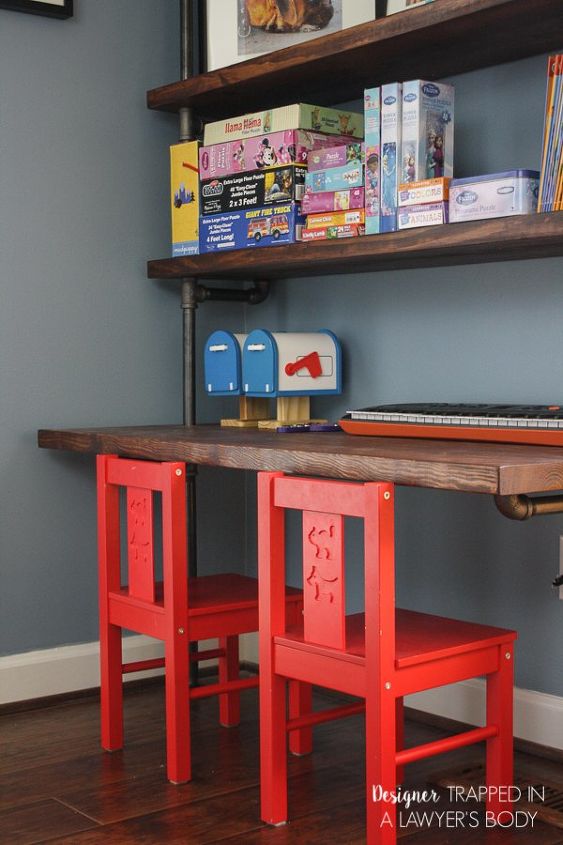
The desks are supported the same way, but the pipe faces forward instead of backward.
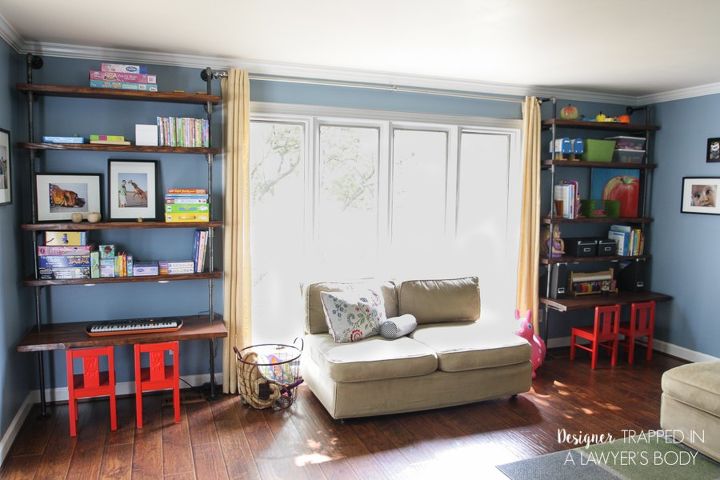
The end result is TONS of storage that is also nice to look at! You can find the in depth tutorial with step-by-step photos in the full blog post--the link to the full blog post is at the bottom of this Hometalk post

Comments
Join the conversation
-
beautiful and nice desk space
-
The link to show us the pipes is actually a link to go daddy/yourlink.com. I'm sure an honest mistake but I would like that link please.


Frequently asked questions
Have a question about this project?
Would this work on carpeting? Any recommendations for that??? Cause I LOVE this!
I love this. It looks fantastic! I want to do this too! Can i secure it to a floor with carpet?
Very, innovative and lovely! Don't the girls each need a desk? As they get older, have homework to do, they'll need their own desks. I really like the look. Can't imagine the cost if copper was used.