


How to DIY Faux Coral!
2 Materials
$10
1 Day
Easy
Don't buy those real coral pieces, or spend tons of money on the faux ones to decorate with. You can totally DIY your own!! That's just what I did for this month's Monthly DIY Challenge. Using just a couple simple supplies you can get your sculpture on, channel your inner artist, and start building away!
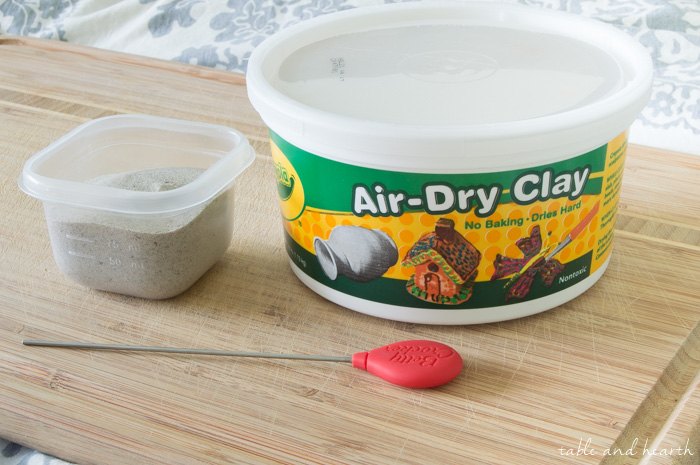
Our material this month was air dry clay. The only supplies I needed were it, some toothpicks, and something you can use to smooth and smush the clay (I used a cake tester).
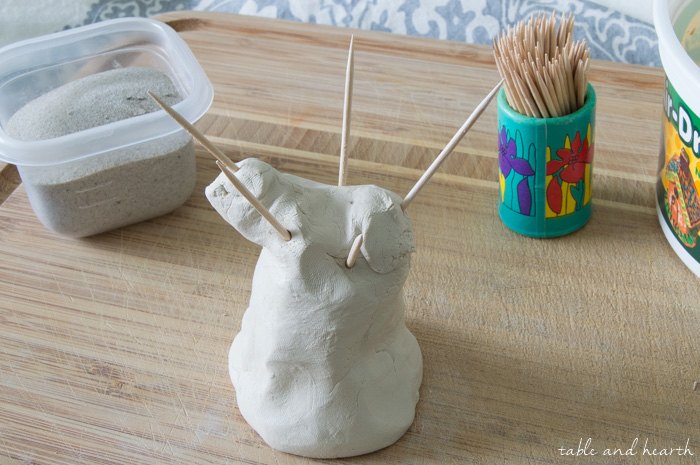
I did have an issue with weight after I put all the branches on, so if I were to do this again, I would make the base with toothpicks where branches will go and let it dry before putting the branches on. That way it will be strong enough to support them.
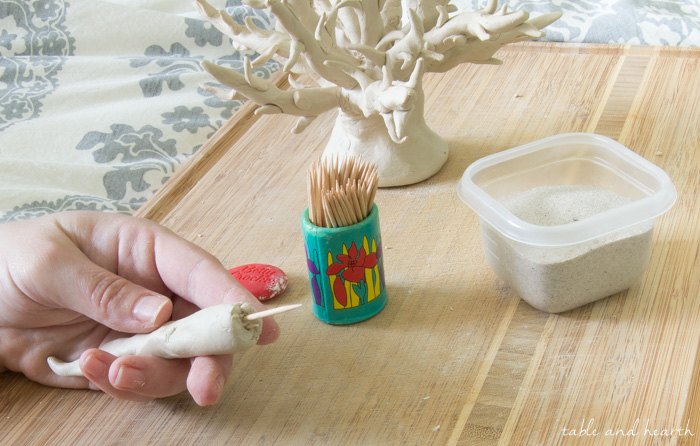
To make the branches, I just rolled long lengths of clay and reinforced it with toothpicks as needed. I then added smaller little spikes to each one to make it even more branchy and then stippled little "polyps" all over it with the end of the cake tester.
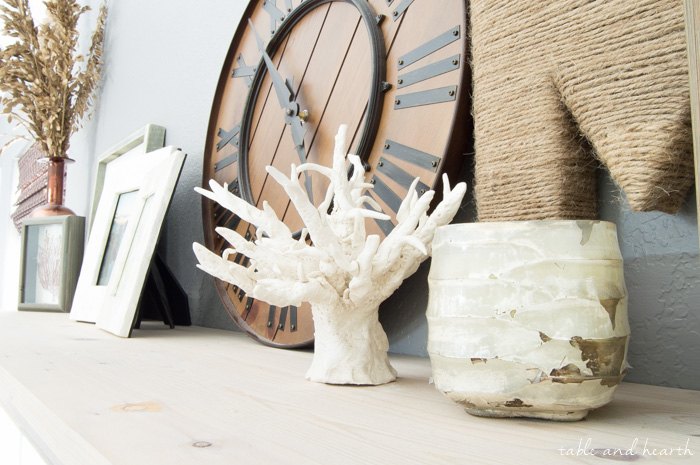
It takes about 24 hours for this clay to completely dry and after it is, you can spraypaint the piece if you would like, or just leave it natural.

Want more details about this and other DIY projects? Check out my blog post!


Frequently asked questions
Have a question about this project?