How to Clean, Prep, and Paint Vinyl Shutters

Megan Aubrey
by Megan Aubrey
My 1960s ranch home was looking its age with its maroon shutters and maroon and cream door. It was time to try and modernize this brick house. The first step was taking down the shutters, cleaning them, and then painting them. Here's how I went about it.
Here it is with the maroon. Hello grandma.
Brick side of the house with the maroon shutters.
Vinyl side of the house with maroon shutters.
First step, hose off the shutters and scrub then with a bristle brush and soapy water.
My final cleaning was with a deglosser.
Outdoor Sherwin Williams paint in black.
Make sure you have room for the shutters to dry.
I brought the shutters inside to cure for a week.
Megan Aubrey
Want more details about this and other DIY projects? Check out my blog post!
Go
Frequently asked questions
Have a question about this project?
  2 questions
  • Kristen Kristen on Nov 03, 2016
    What's a deglosser?
  • Mommom Mommom on Jan 21, 2017
    Is there any problem taking the shutters down? My husband seems to believe the plug covering the screw is hard to get out and once the plug is in it can't be backed out. My daughter and I want to paint her shutters and were hoping we wouldn't run into any problems since it seems like a pretty easy project.
Comments
Join the conversation
4 of 19 comments
  • Annie Doherty Annie Doherty on Aug 27, 2016
    Lovely job, your shutters look like new, the colour us so smart and crisp beautiful.
  • Mindy Mindy on Jun 06, 2018

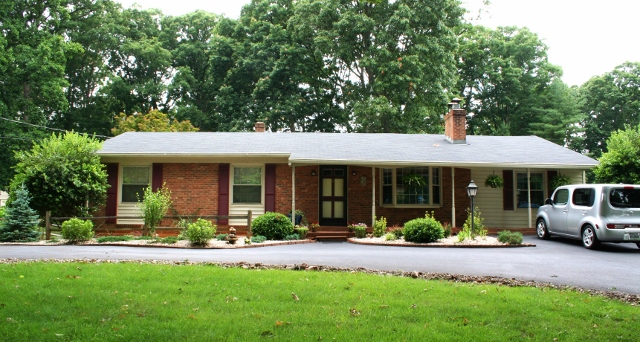
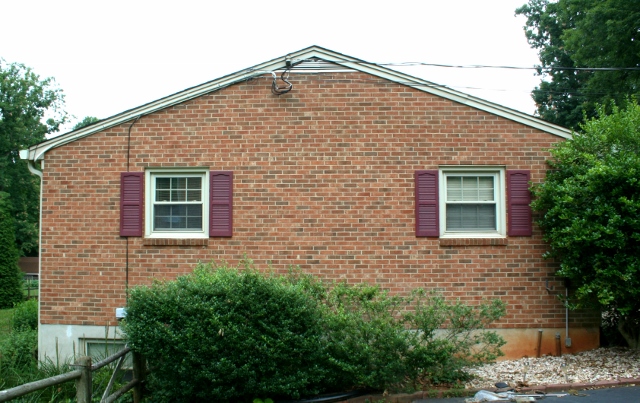
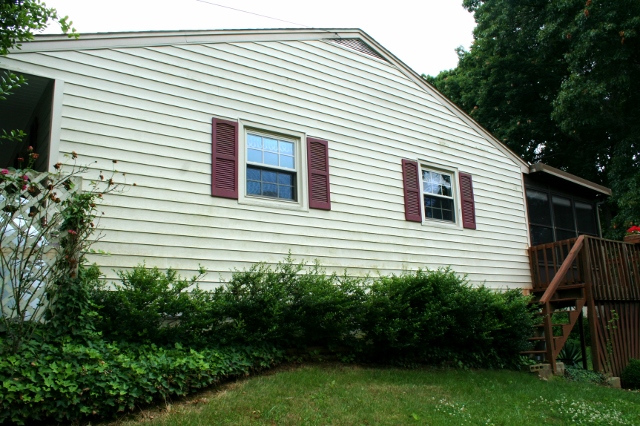
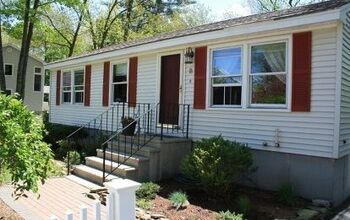
    I’m in the process of doing this myself! We too, had old (1980s-1990s) red maroon shutters on our 1984 ranch that just weren’t working for me. So we started by replacing the front door to a six light window model. I painted the door BM’s Wythe Blue and now I’m painting the shutters BM’s Bear Creek. Our vinyl siding was probably once a lighter tan that has faded to a very very light tan (almost white) due to the years of sun exposure.

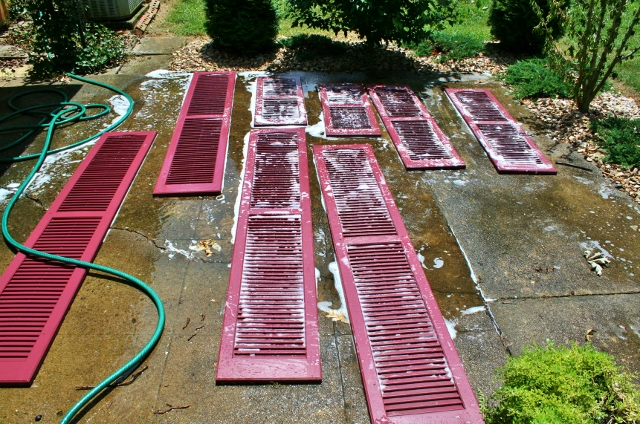
    I read up on a lot of tutorials before evening attempting this (including Megan’s!) and it gave me the confidence to give it a shot! Like I mentioned, I’m in the process of doing this, so I don’t have an “after” shot to share but will be sure to come back and share the final “ after” shot once it’s done. In the meantime, here are some before and during pics to “enjoy”.

    • Megan Aubrey Megan Aubrey on Jun 06, 2018

      WOW! That is so awesome!!! It's looking great so far!!

Next