


Giving a Tired Old Sewing Stand New Life!

by
Wonderiris
4 Materials
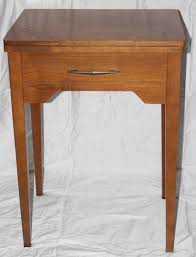
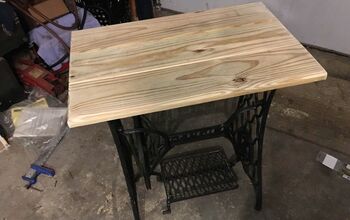
I had this sewing stand that was just boring. I didn't like much about the stand except that it was sturdy. I don't sew so keeping it for that purpose just didn't make any sense. I decided to strip it and turn it into something more useful.
First, I removed the sewing machine from the stand (now I have a sewing machine I won't use and now no place to keep it), but that is a problem for another day. Next, all the hardware was removed and I started sanding. I sanded and sanded and sanded until I finally decided that I was just going to chalk paint the base and I would do something different for the top.

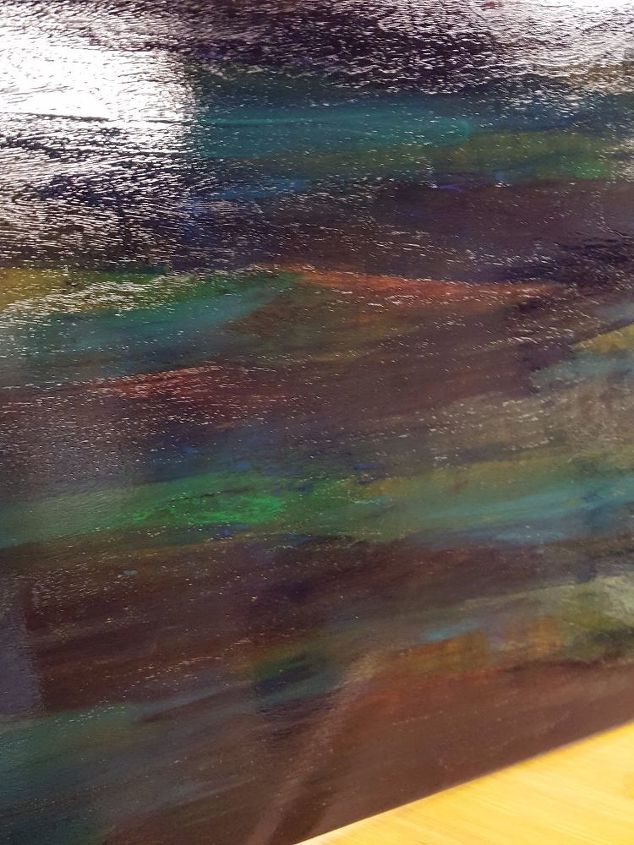
Unicorn Spit drying...
But, once you put the poly on it. The colors deepen and brighten and it is just gorgeous!
After poly is applied.
I love how the wood grain can still be seen through the colors.
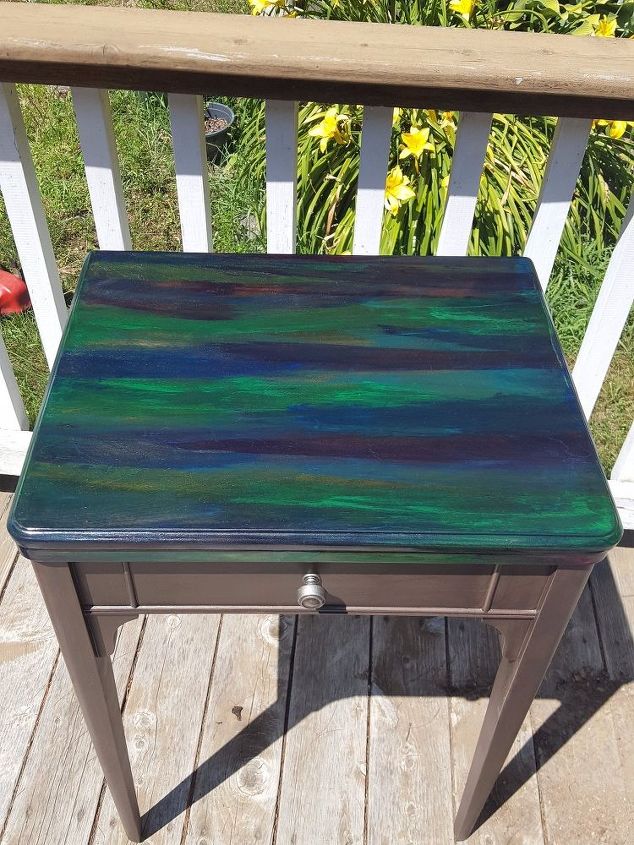
Here is the stand closed.
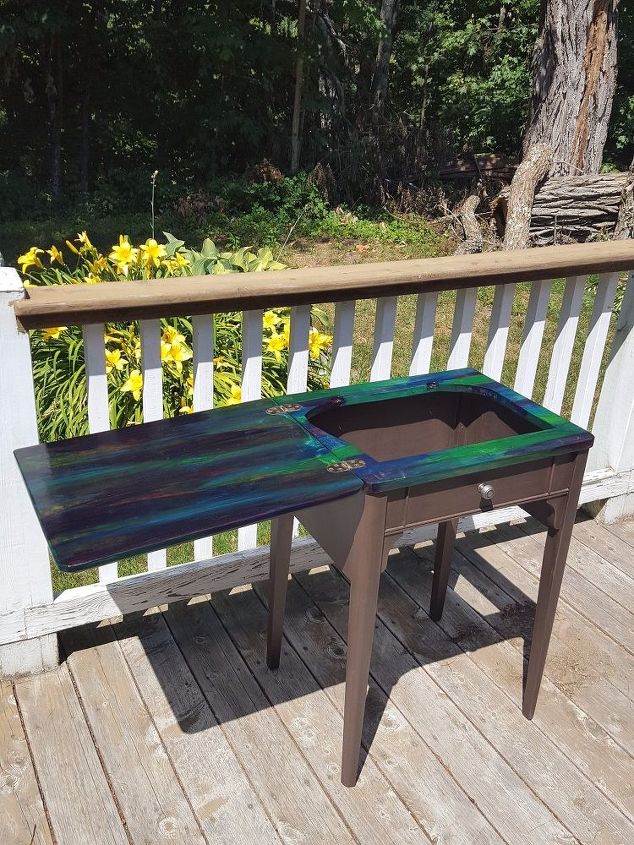
Here is is open.
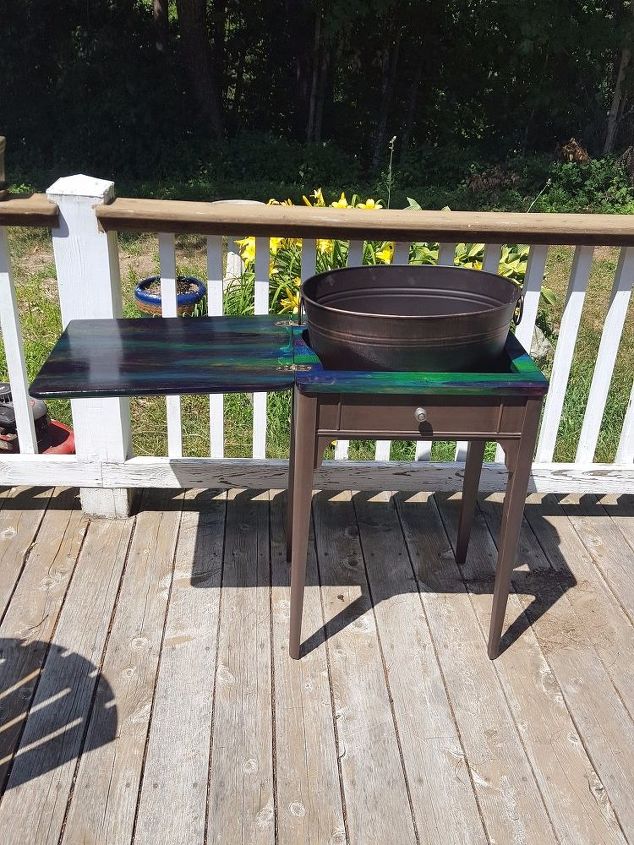
And here it is complete with copper bucket!! I can't wait for the next BBQ to use this. I used a varnish meant to repel water and moisture so the stand can remain on the deck without becoming damaged.
Comments
Join the conversation
3 of 5 comments
-
Great Job! The Unicorn Spit looks amazing!!
-
I love that it looks great both opened and closed!


Frequently asked questions
Have a question about this project?