


Faux Galvanized Hanging Planter

If there is one thing I love about the DIY world, it's giving an ordinary, cheap item a makeover and making it look like I spent more money on it than I did. I love the look on the faces of family and friends when they see something at my house, and the shock and excitement we receive from them when they find out that Rob or I have created or flipped these pieces ourselves. This cheap, plastic tub/bucket was given to me with random goodies inside at Christmas and I repurposed it for Bo's shoes before purchasing a nice basket for his room. This week I decided to give it a major makeover, and what was once an ordinary green plastic bucket is now an extraordinary planter hanging beautifully outside.
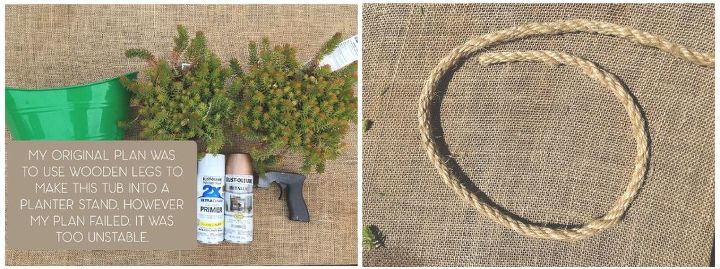
Supplies: -plastic tub/bucket (as mentioned before, I had this on hand but I've seen similar ones at Dollar Tree) -primer spray paint -metallic spray paint (I was shooting for metallic copper but they didn't have it at Home Depot so I grabbed the closest thing to it.) -plants/flowers -sisal rope *Optional: spray can attachment (I know I've mentioned this in previous posts but I love this little invention--it helps me spray the paint evenly and that definitely helps with my heavy hand!) ***NOTE: I apologize for the omission of my drainage holes photo. Please make sure to drill holes in the bottom of your tub/bucket before painting to create drainage for when you water your plants!
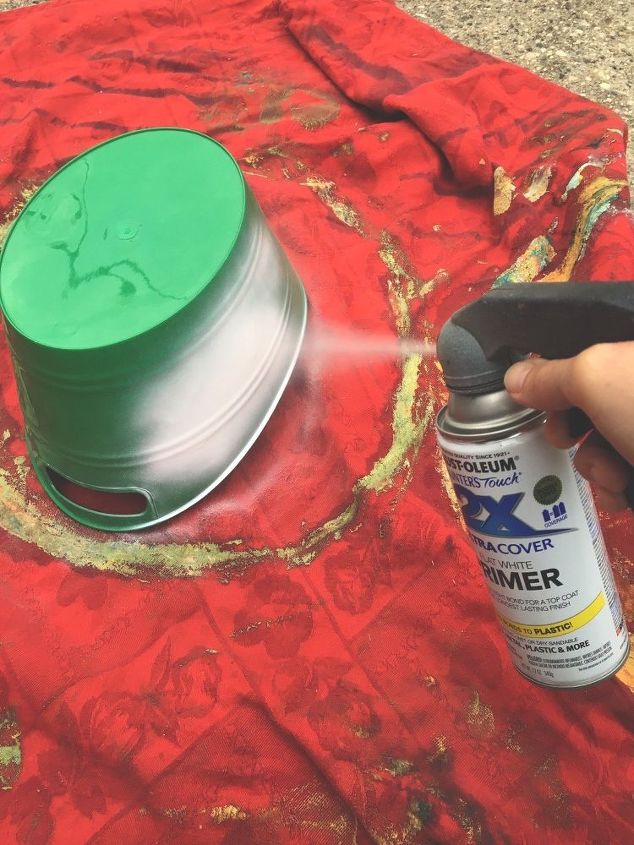
STEP 1: Primer First, you'll want to spray primer on your tub/bucket. This was recommended to me by the guy working in the paint department at Home Depot, because I was painting plastic. There are other spray paints that already have primer in them, and if you choose one of those, you can skip this step. I started by spraying the bucket upside down, letting it dry completely, then flipped it over and sprayed inside. I did a half hazard job inside because the plants would be covering it--I just wanted to make sure the edges were coated good enough.
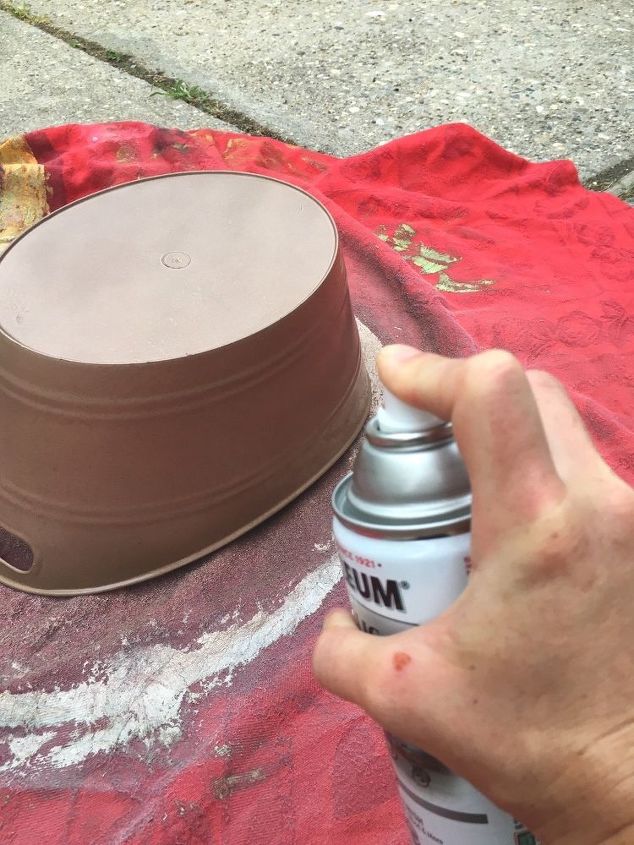
STEP 2: Spray color Once your primer is dry (if you purchased 2-in-1 primer/color spray, THIS WOULD BE YOUR FIRST STEP), spray on your color. Again, I started with the bucket upside down, then once the outside was completely dry, I flipped the bucket and painted the inside. Of course, it doesn't matter the sequence in which you spray.
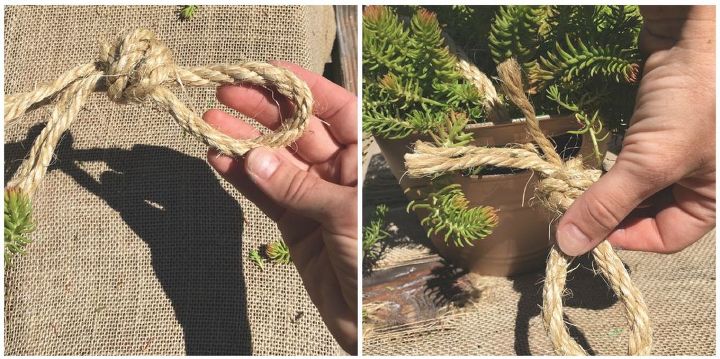
STEP 3: Tie knots Next, I took my rope and tied a knot onto itself on both ends. This allowed me to slip the knot through the handle in the bucket; the knot was big enough that I didn't have to worry about it slipping back through. You may experience some chipping with your paint, and if that's the case, you can spray a little paint onto a scrap piece of wood and dab a Q-tip in it to touch up any paint on the edges. I don't think I let my last coat of paint dry enough, which is why some of the paint rubbed off, but I wasn't super worried about it because once I arranged my plants and fluffed them out a little, no one would be able to tell.
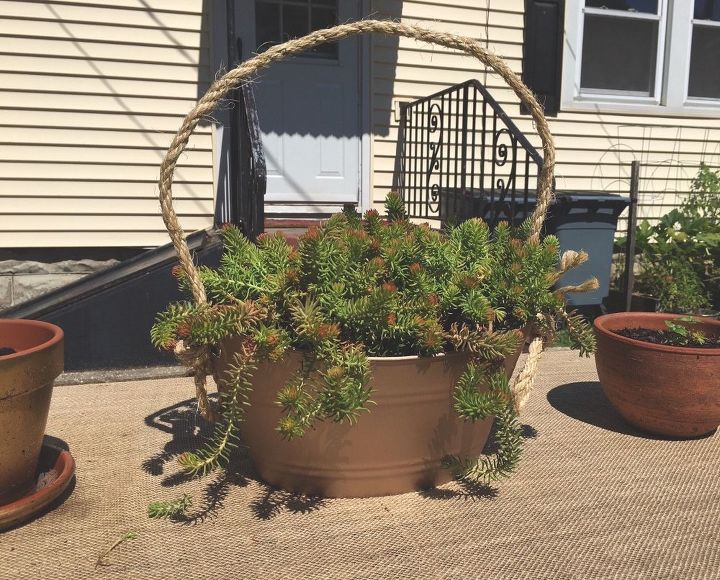
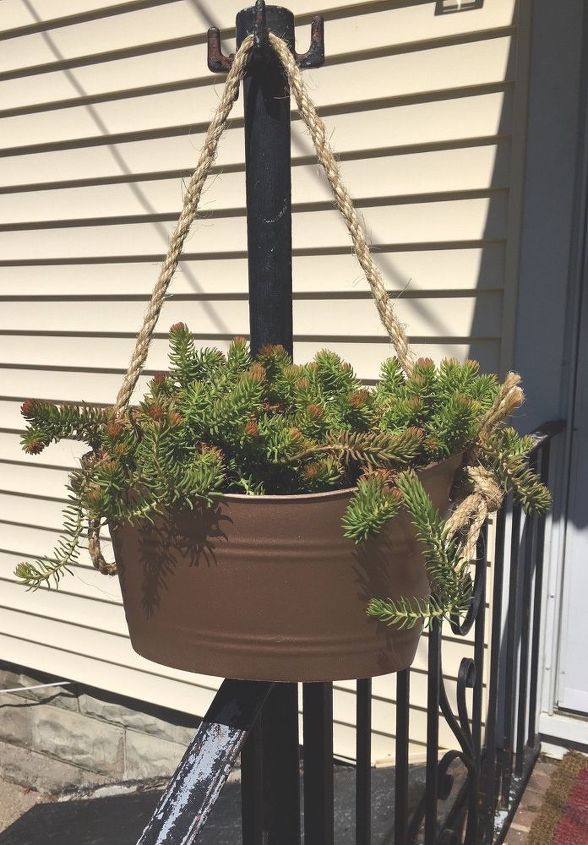
Step 4: Hang your planter Lastly, hang or sit your planter out for all to see and admire. I love love LOVE how simple and easy this project was and how the green plants pop against the muted copper planter. The rope gives it a touch of rustic classiness, and now my patio area is looking a little more ready for entertaining outside this fall.
My original plan was to attach wooden legs to the bottom of the bucket; however, it was just too flimsy and unstable. I looked around at things I had on hand and decided to use some sisal rope I had leftover from another project to create a hanging planter.
Resources for this project:
See all materials


Comments
Join the conversation
-
I would also add a few red berries to add some color. Beautiful piece. Nice job!
-
Beautiful. Could also add some battery or solar lights. May have to be under a roof or protected in some way.


Frequently asked questions
Have a question about this project?
Would the Dollar Store oval tin buckets work the same?
Hello Rob and Courtney, how did the paint last on plastic? The reason I’m asking is because I have a few plastic tubs that I want to use. I was thinking of maybe just painting some stripes or some other small areas on mine. If your paint lasted, I would rather change the whole colour. Kind regards, Edda.
What kind of plant is in your bucket it look really nice I just might make one