


Re-purposed Dollar Tree Placemat-to Hanging Wall Art
$2.00
1 Hour
Easy
A couple days back I took a trip to the local Dollar Tree store, initially to purchase some small hexagon and other shaped boxes. After picking up two hexagon boxes I headed over to the linen area to see what pillow cases were available( I also make cloth bookmarks re-purposing the pillow cases ). Coming across the placemats I thought that they would make an interesting support for a painting.
Two mats were picked out ..this dark brown one and a light tan one. ( I really wanted to pick up several but decided to make sure they would be okay to paint on ).
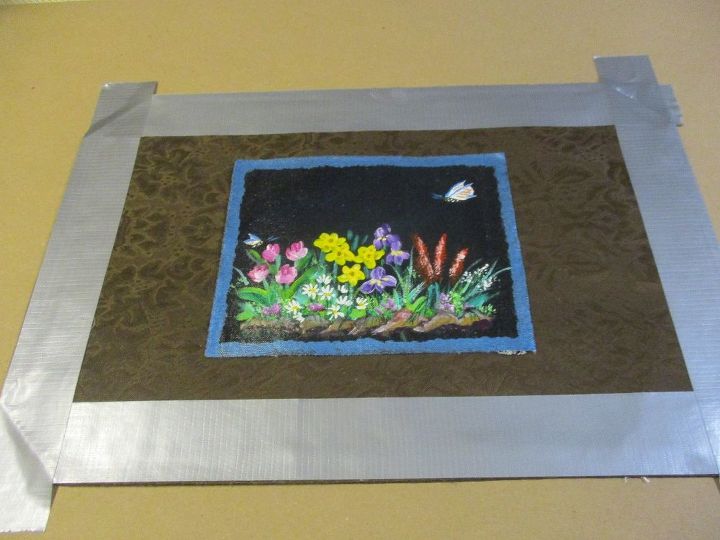
This was going to be a random painting since it is the first one on this kind of support, and I couldn't decide what type of scene to paint , only having the one dark mat. Coming across this simple canvas painting it was used for a reference to get things started.
( I used duct tape because my brand new roll of masking tape went into hiding ). Once the gold was painted around with the tape in place, the tape was removed and another trip around was added to have the outside edge rough too.
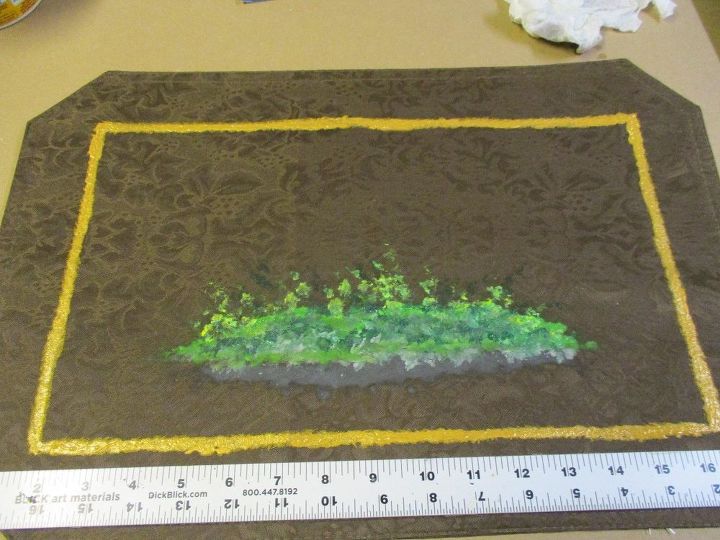
The placemat material is 100% polyester, so I was not sure how the water based acrylics would do. What was needed to be able to build up color and form was to allow the first application of paint time to dry completely. This was not a problem because this painting was started late in the evening. There was some concern that there would be bleed through but only a couple small spots of green went through.
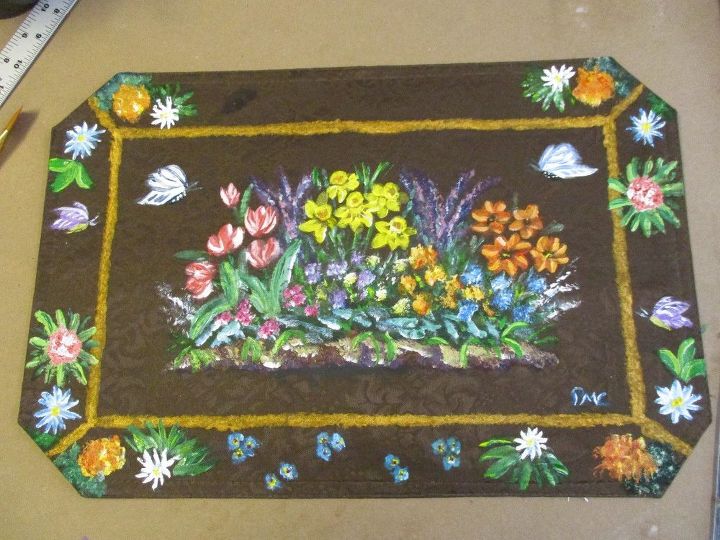
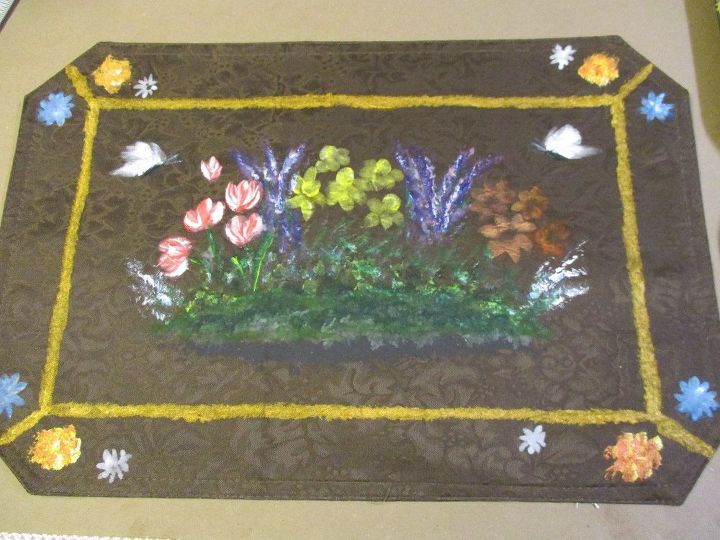
I was adding flowers to the composition randomly as well. Though these side items are okay, the structure of the flowers and leaves will be improved on in future paintings. Building a painting on this material meant that once it was on it could not be (easily) changed.
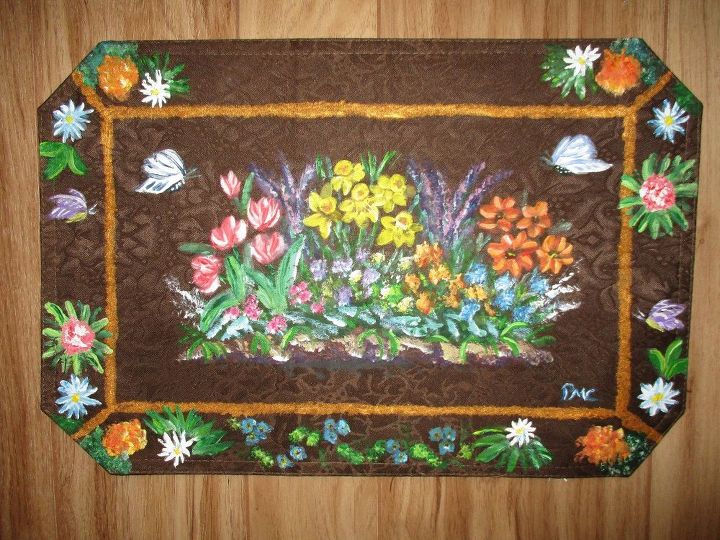
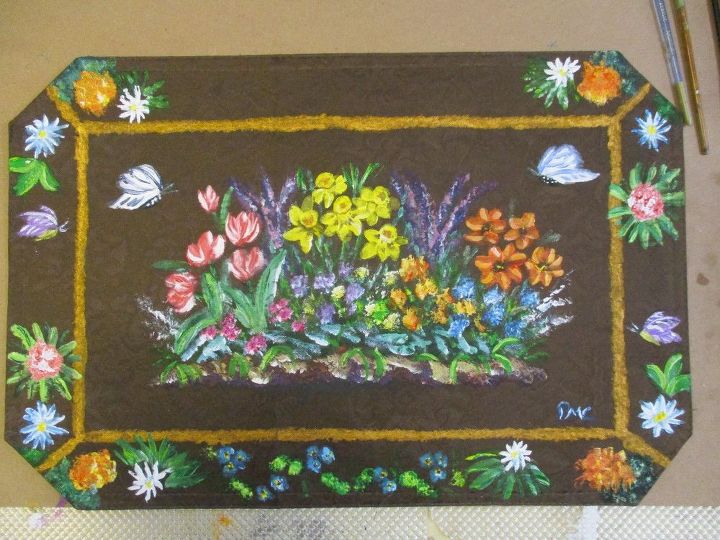
Here is the finished placemat. The colors were built up and more definition was added to the flowers , leaves , and butterflies. There is room at the top for a word or two to be added. The mat was hung for this photo using two 1/2'' by 1/2'' removable mounting tabs. It would take a few more to have one stay in place for an extended period of time.

Want more details about this and other DIY projects? Check out my blog post!
Comments
Join the conversation
3 of 6 comments
-
You are an artist! I love it!
-
Wow, wow. It’s all I can think to say. Such an artist. I wish I had your talent. I try to imagine you drawing that in one hour. I think it’s amazing. Thank you for sharing it with us. Stay safe have a great day.


Frequently asked questions
Have a question about this project?