


Home Sweet Home: DIY Handpainted Wall Art With Frame
$15
2 Hours
Medium
I've been trying to brainstorm ways to make my entryway more inviting. There's not very much room to put a table so I've tried coming up with some alternatives. I have a few ideas in the works but to start off I threw this super cute canvas picture together this weekend to get me started and motivated to finish it up soon. I'll make sure to post what I work on as I get the pieces put together.
Here's what I used and what I did to make my very own handpainted "Home Sweet Home" wall art.
Here's what I used and what I did to make my very own handpainted "Home Sweet Home" wall art.
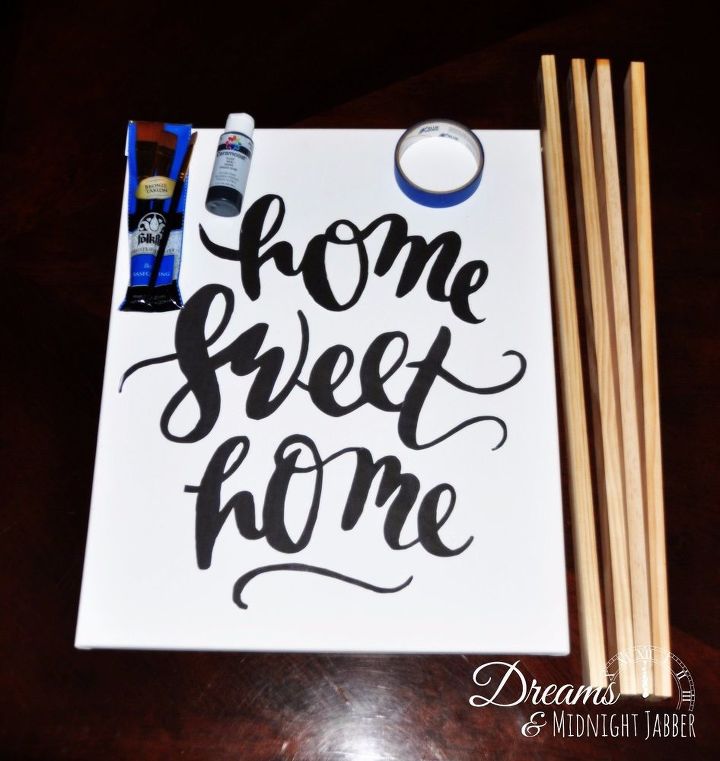
Supplies

First, I went to the Silhouette Design Store and purchased this "Home Sweet Home" template for 99 cents. I also downloaded the program on my computer so I could mess with the sizing. Confession: I don't have a Silhouette so I knew I was going to have to improvise on this one. If I lived closer to Misty (she has one -- I'm jealous) then I would have likely done a stencil version of this however, the more I thought about it I liked the idea of actually having it look more handpainted so I printed it off on regular printer paper (you'll probably have to piece it together depending on how big you want it to be on the canvas). In hindsight, I should have printed it off on cardstock or photopaper because once I cut it out it instantly started to curl....REALLY bad. :( Luckily, though, I have a laminator. Once I had them cut out I just ran it through that baby. Only downside is I had to cut it out AGAIN. But it wasn't too bad.
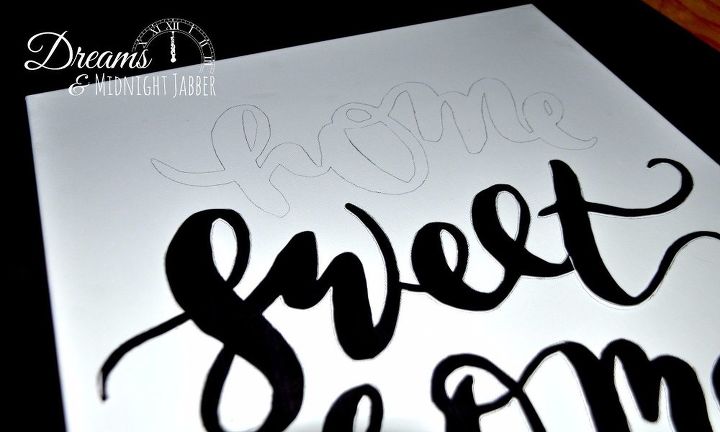
Once it was all laminated and cut out, I grabbed the painters tape and taped the backs of each word in a few spots. The tape kept it from moving as I traced around it. I placed the words where I wanted them, pressed firmly on the tape and traced around each word.
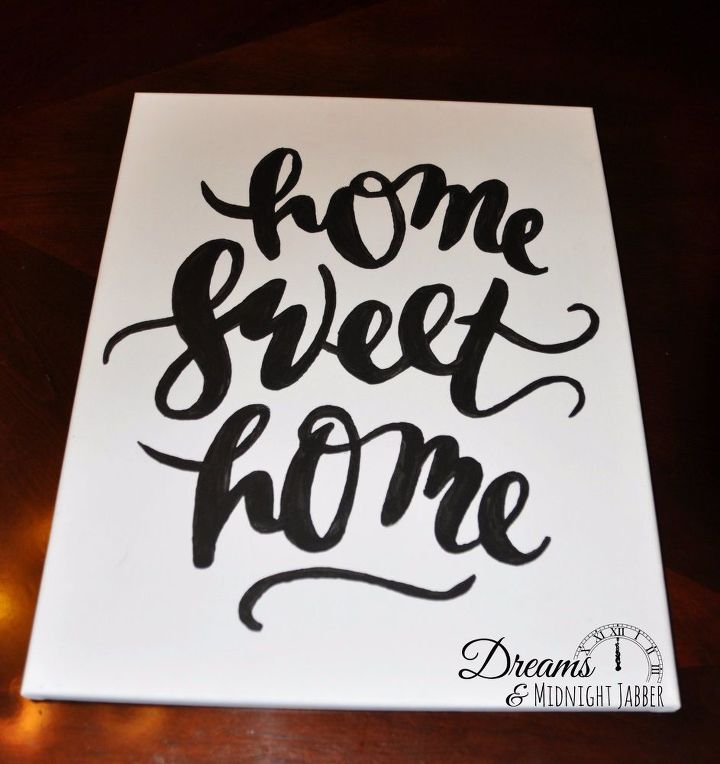
This is where the fun, somewhat tedious part comes in. Painting everything. I used a basic paint brush with the black acrylic paint and began -- carefully -- painting from left to right and top to bottom. It took awhile and a steady hand but honestly, I love the look of having it handpainted. Just remember to be patient. It's ok if it's not perfect. It's handpainted!

Now for the frame portion.
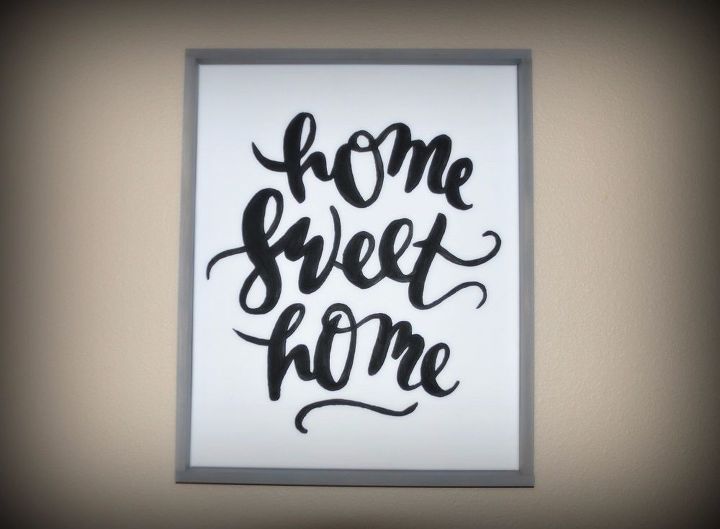
And that's it! This is what it looks like all done and hanging up on my wall. I LOVE it! This is a fairly simple project, even with handpainting the words. I'd seriously do this again and I'm actually ok not using a silhouette to help me. :)

Want more details about this and other DIY projects? Check out my blog post!
Comments
Join the conversation
3 comments
-
Cute!
-
Looks pretty, thanks for sharing


Frequently asked questions
Have a question about this project?