


Geometric Cement Fruit Bowl

3 Materials
$10
3 Hours
Medium
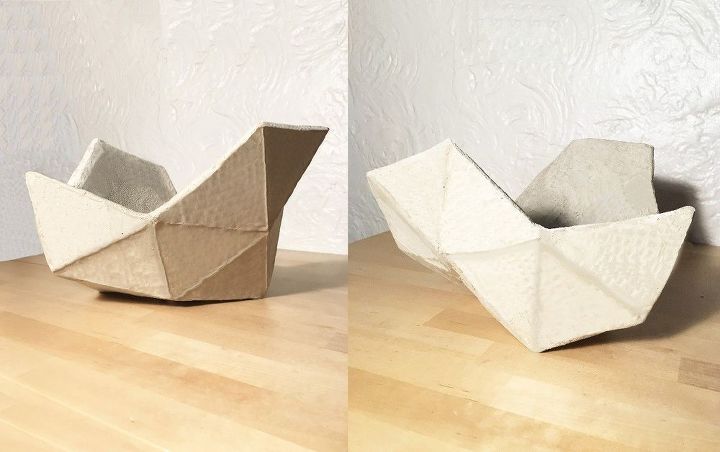
Ok so I obviously have an obsession with cement and geometric things... With that being said I am adding to the collection today with a geometric cement fruit bowl. You can use the cement to make a standard bowl shape, but why not go for something a little more unique? With a couple of triangular cardboard cutouts and quick set cement you can make a fun and interesting fruit bowl too!
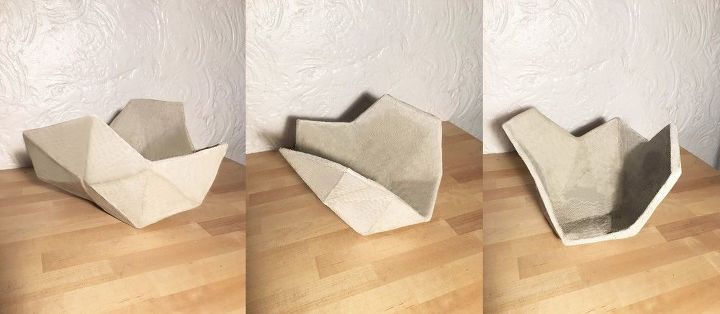
It almost looks like a paper sailboat or something. I love all the angles that you can see.
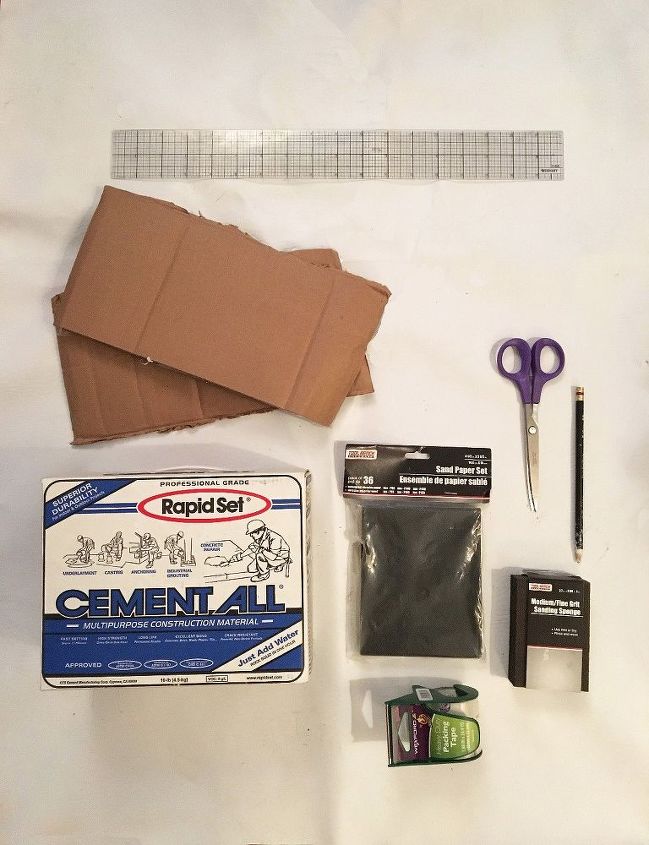
SUPPLIES:
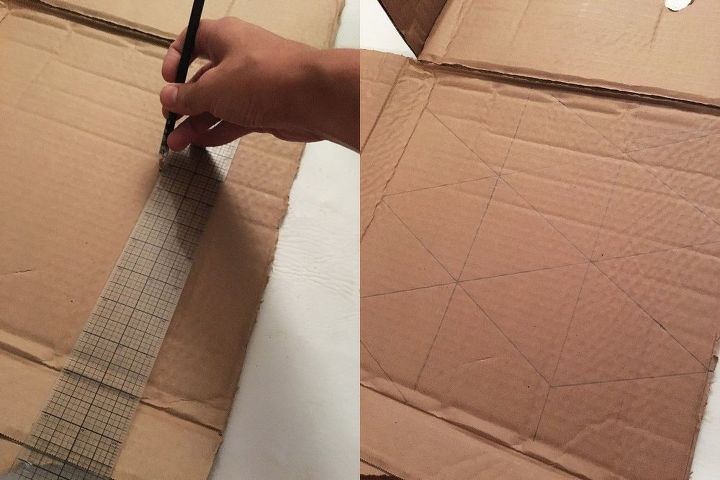
STEP 1: Draw a grid of triangles on your cardboard with a 4" base and 4.5" sides. You can obviously make different shapes if you are going for something else or make the triangles bigger or smaller depending on what you are going for.
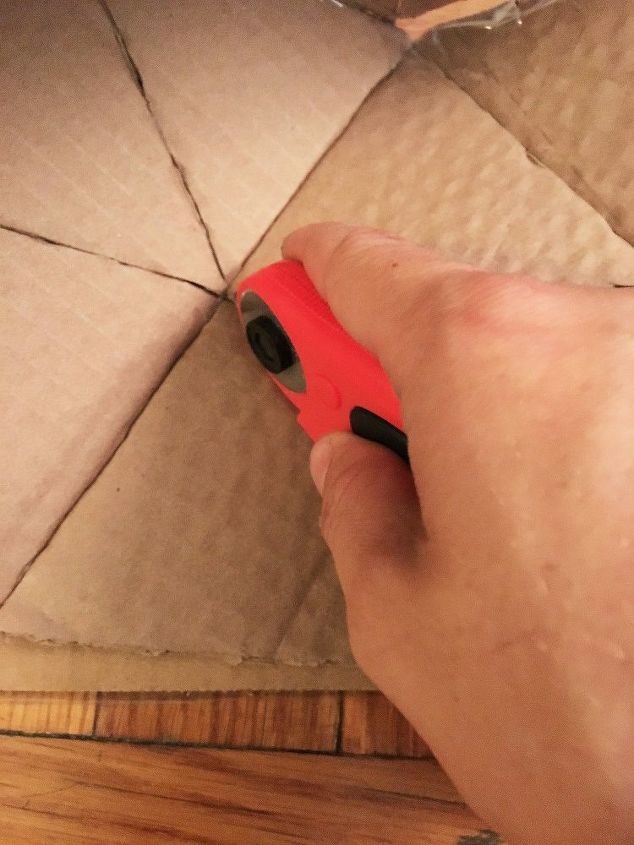
STEP 2: Cut out your cardboard shapes. I did mine as follows:
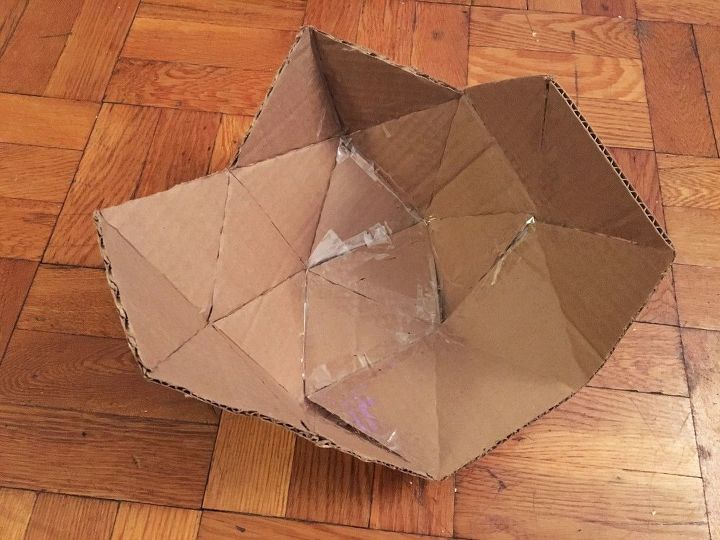
STEP 3: Tape your cardboard pieces together in the shape of your desire making sure there are no cracks or creases.
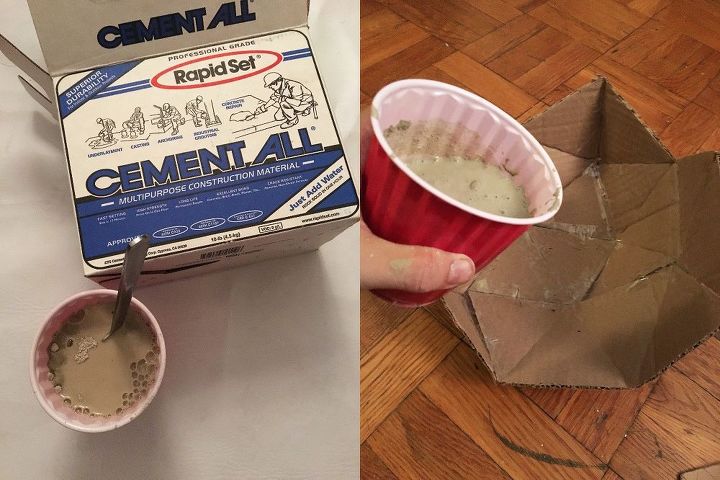
STEP 4: Mix your cement as the box directs.

STEP 5: Wait for the cement to set a bit and then turn your shape on it's side so you can pour more cement into the mold. Be sure to pour 1/3" again. Allow it to start setting and then turn it again and pour more cement in the mold until the entire thing is covered in 1/3" cement.

STEP 6: Allow the cement to dry completely!
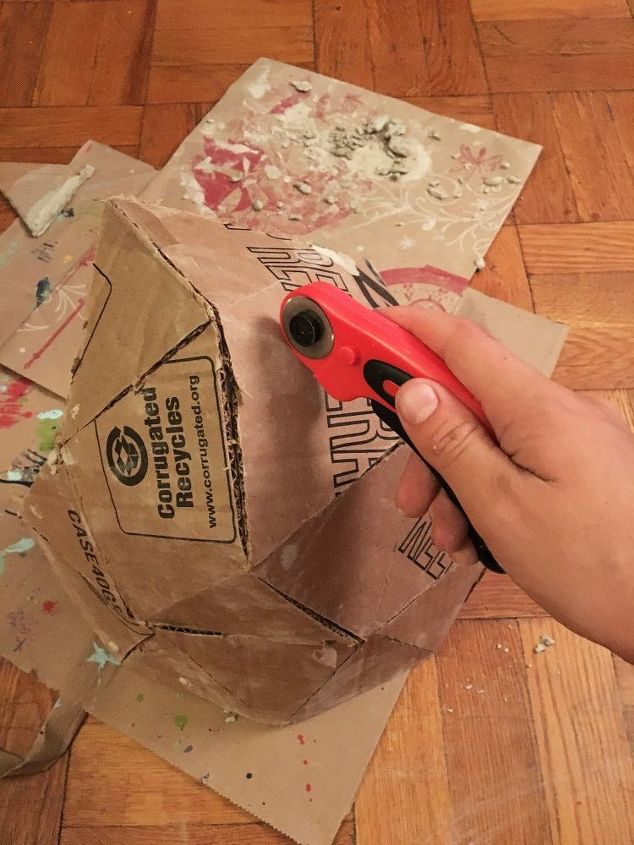
STEP 7: Cut the cardboard away from the cement and remove it and all tape that is attached.
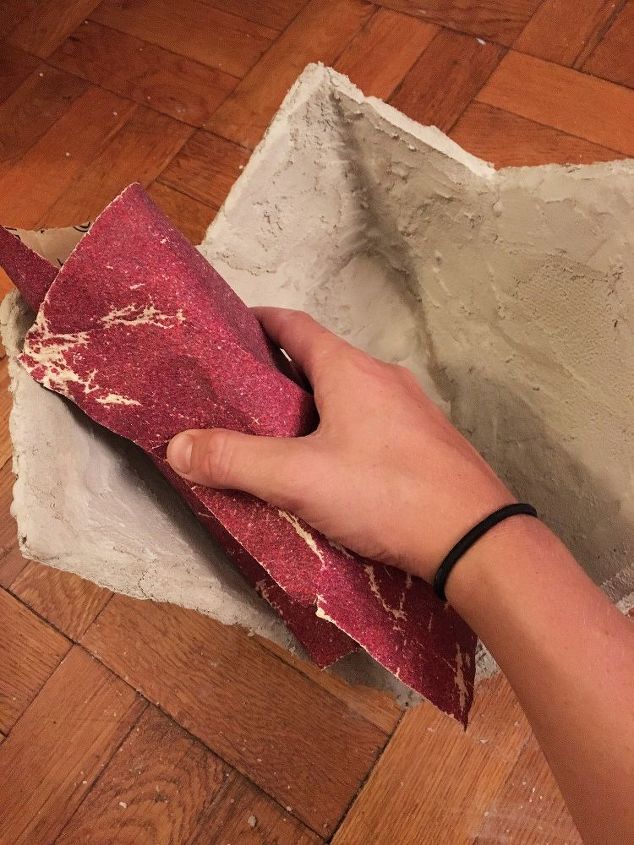
STEP 8: Sand down any rough edges and all the sides so they are nice and smooth.
I might need to hit the edges with a sander a bit more, but otherwise I'm pretty happy with the turnout.
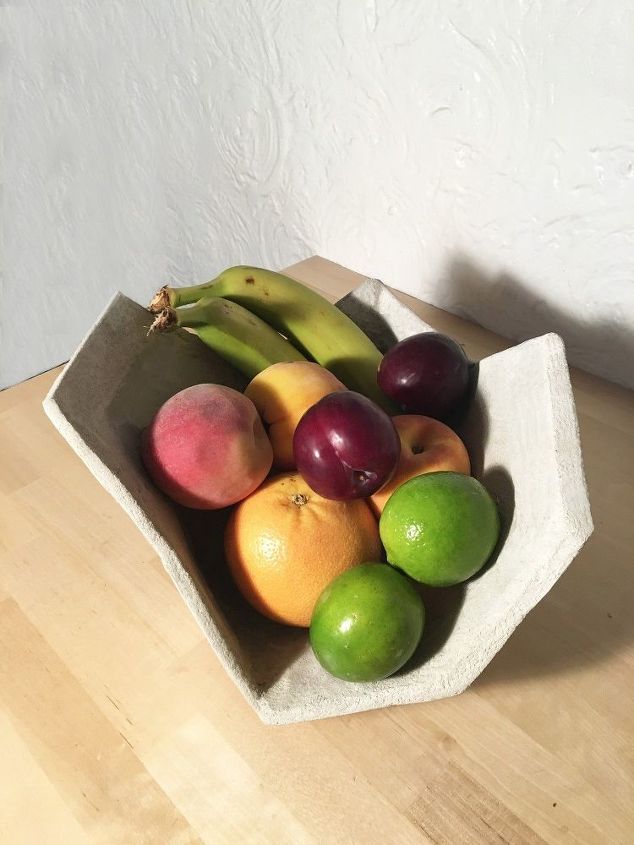
I may end up using this as a catch-all bowl, but all those colors do look pretty amazing in here!
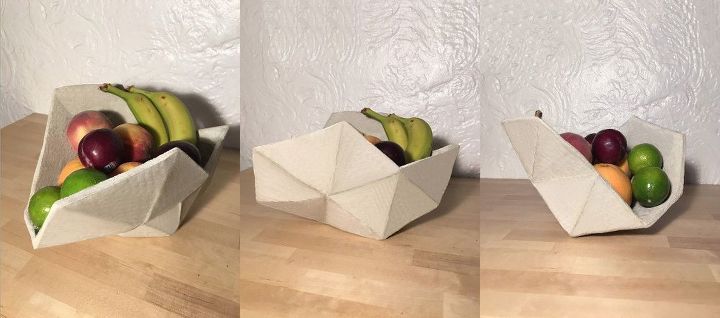
You could make almost any shape you want for this piece!
Comments
Join the conversation
2 of 29 comments
-
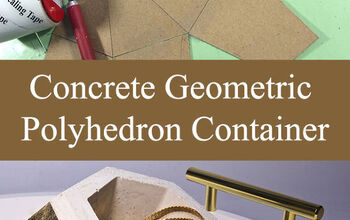
Great idea! I LOVE the shape! I hate what happens to cardboard when using concrete though. I have found a trick of using vinyl tile... see here:
http://www.madebybarb.com/2017/04/14/concrete-geometric-polyhedron-container-with-free-pattern/
-
Love it love it love it .❤️
I will defiantly be making this .l may make a couple of holes at the base and insert a straw in each before I pour the cement.Once the straw is removed it can be used to plant the plant of my choice.
🌵.


Frequently asked questions
Have a question about this project?