


DIY Paneling Installation at the Cabin
1 Material
Medium
I'm renovating a very small, one room cabin at a lake this summer. The goal of the project is to make smart yet affordable choices to totally update the space. Today, I want to share all about the DIY Paneling installation. It's bright and fresh and was pretty affordable!

If you want to check out where the disgusting cabin started at and get a list of the cabin posts so far... you can do that at this link!
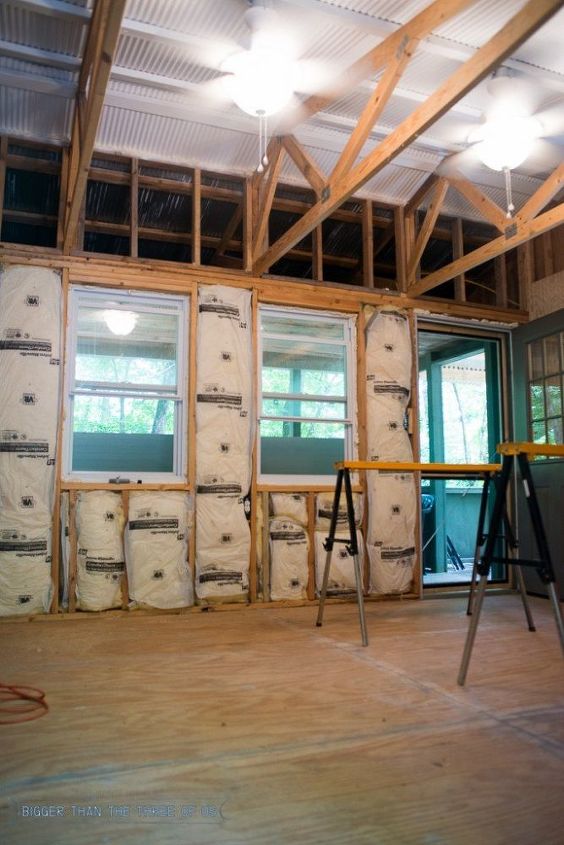
Let's get to the project. We prepped for the project by tearing down all the old, water-damaged paneling and took out all the nails. Next up, we sealed and took care of any water damage.
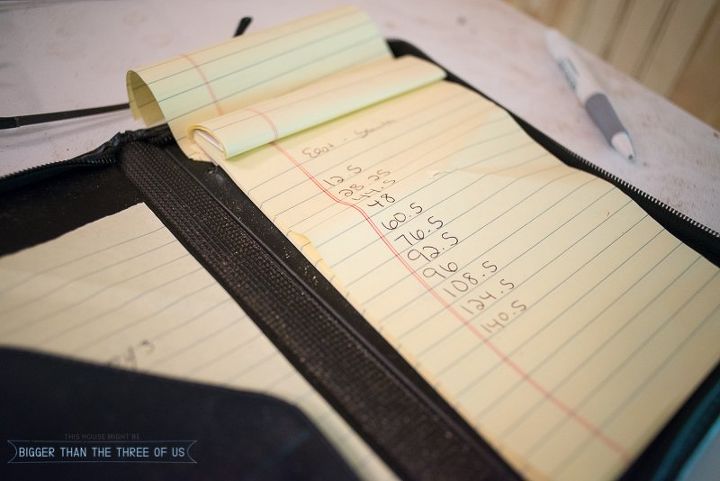
The first step to actually putting the paneling up was measuring where all the studs where. We went wall by wall and measured the distance and wrote them down.
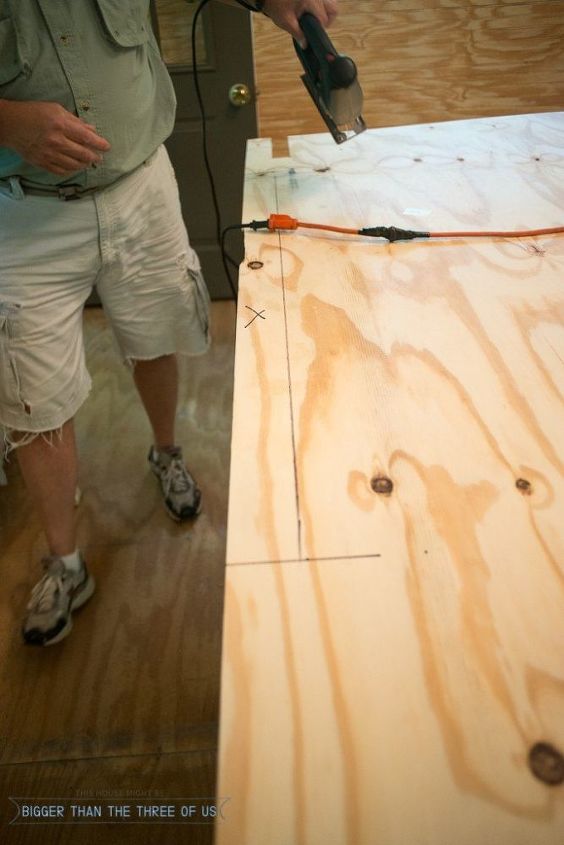
To start a wall, we used a jigsaw to cut the lip of the paneling off. You do this because you want the paneling to be flush against the wall.
Once you have made your cuts, push the paneling against the wall to see if you have a good fit. If you do, use a nail gun and nail the paneling in (to the studs which you marked).
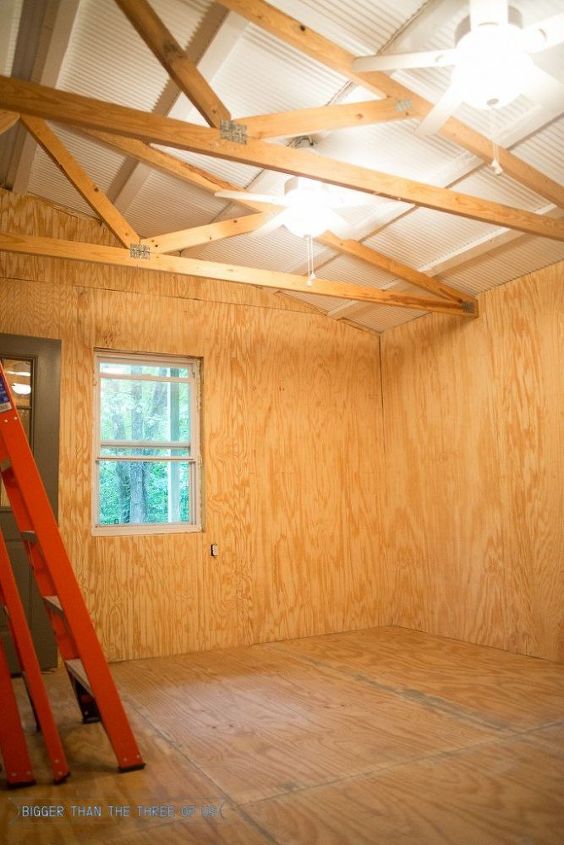
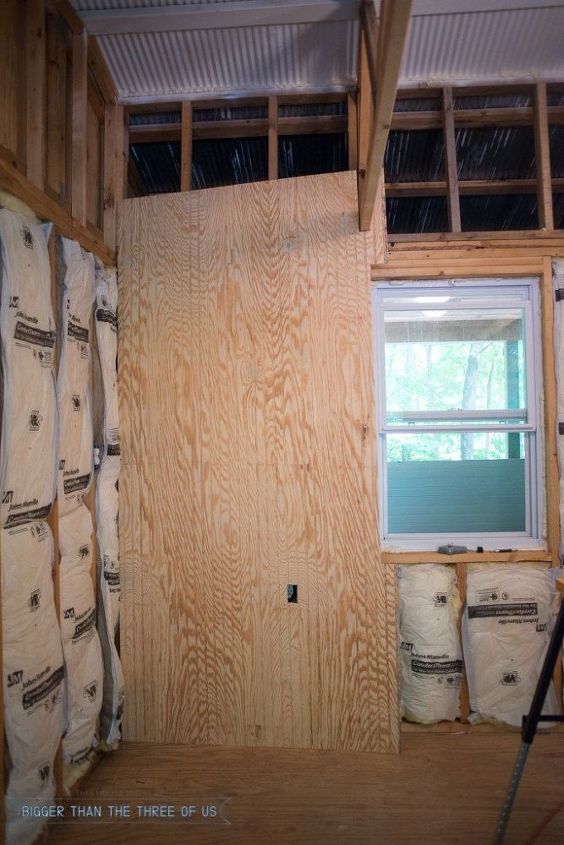
For your next board, you do not need to cut the lip of the board off. The way the paneling is made... it's made to fit right together. The only time you cut the lip off is when you are starting a corner of a new wall.
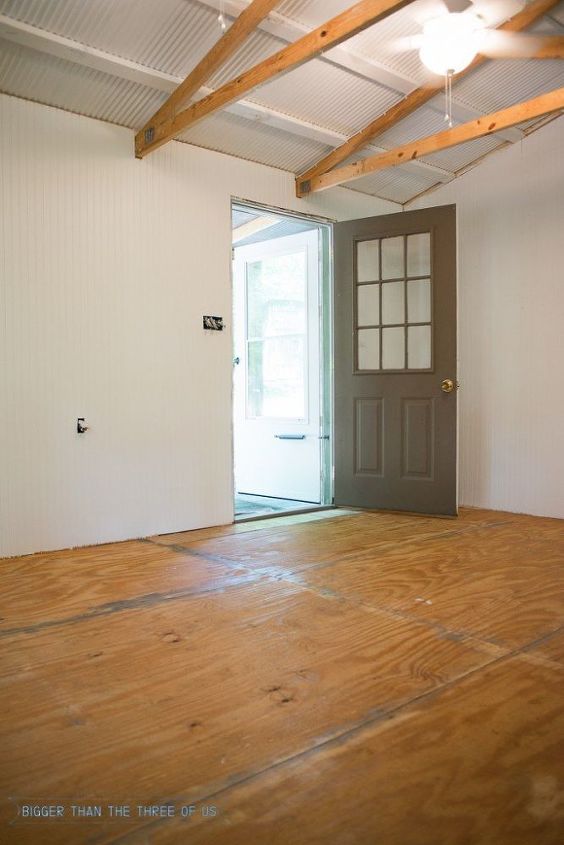
Our walls were taller than the paneling so we had to cut pieces to fit on top. We came back in and finished the seams with trim.
Next up in the cabin series is all about the trim work, but in the meantime make sure to check out our amazing three hour flooring project!

Want more details about this and other DIY projects? Check out my blog post!


Frequently asked questions
Have a question about this project?
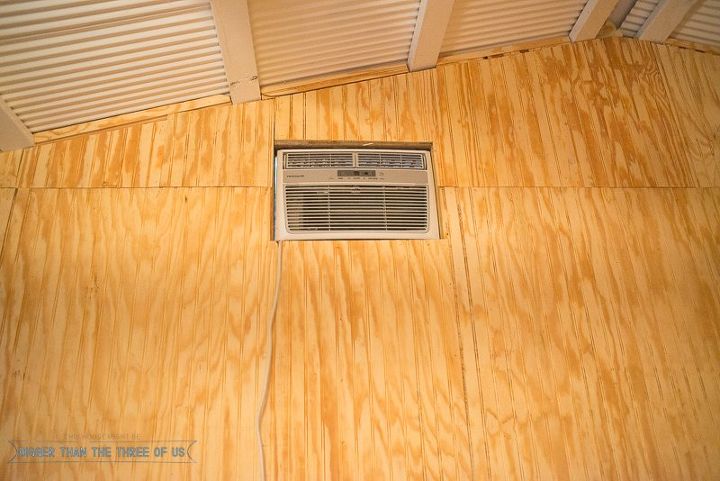
What kind of paneling is this? In the close up pictures it looks like plywood.