


Grain Sack Dining Table

3 Materials
This gorgeous, rustic dining table was created by Cait from Little City Farmhouse with Cheesecake, Sea Storm, and Liquorice!
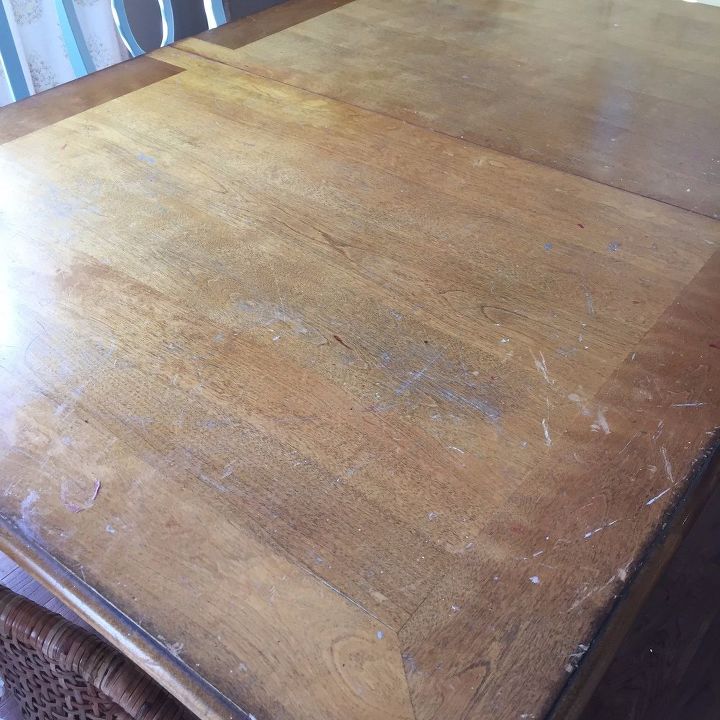
Hello! I am so excited to share my refinished dining room table with you! This is a project I have had swirling around in my head for so long. Finally one night I decided to just start it! I worked on the table over the course of several evenings.
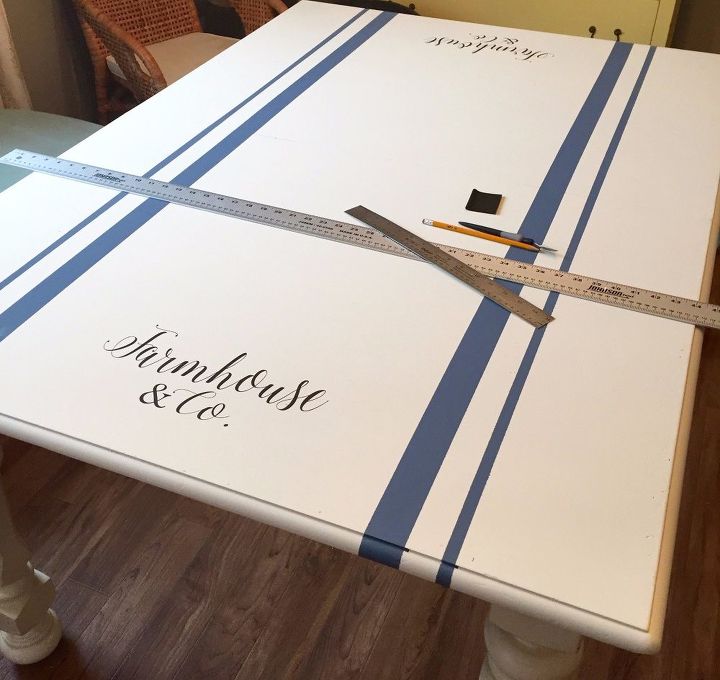
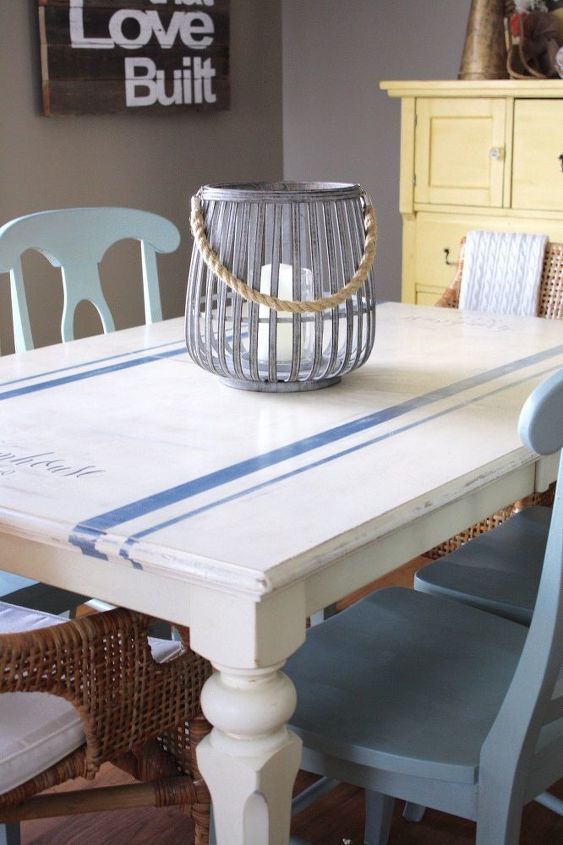
I really wanted the top of the table to look like an old worn out grain sack with a ton of character. The legs were still in great shape, and an almost exact match to Cheesecake, which was my basecoat colour for the top of the table, so I left them alone. I gave the top a light sanding and painted it in two coats of cheesecake. When it was dry, I measured and taped out lines to mimic those on a grainsack. I pressed down the tape really well and painted the stripes in two coats of the limited edition colour Sea Storm.
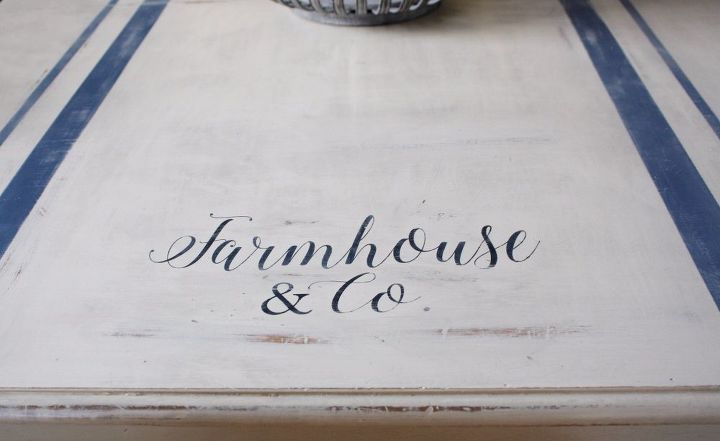
We decided on “Farmhouse & Co.” for the “brand” on the grainsack/table. I painted it on with Liquorice.
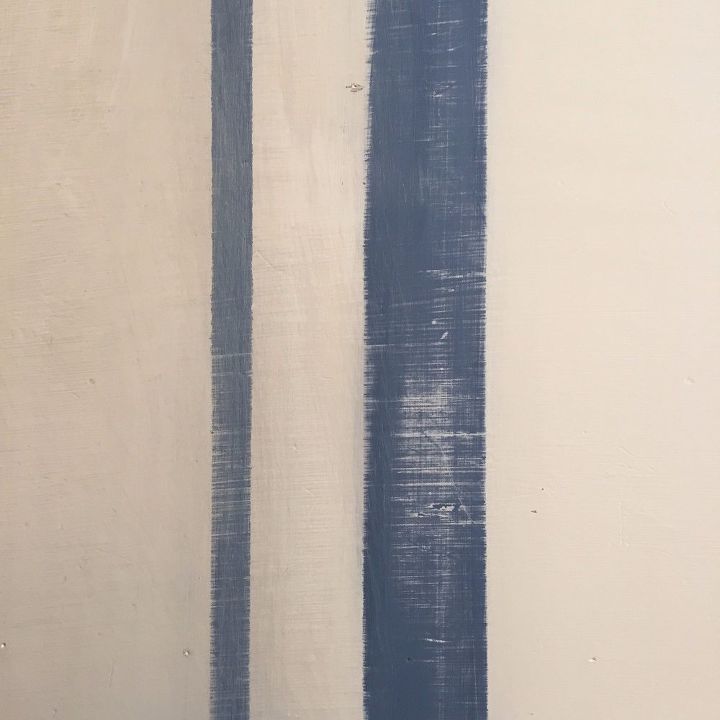
I let the table dry 24 hours, and then distressed it really well until I was happy with how it looked. I still wanted more character and to bring out the dings and dents and the character the table acquired over the last nine years! I wanted that light linen colour that a true grainsack would be. So I mixed clear glaze with limited edition colour Coastal Fog, and applied it in a semi-dry-brush method in a cross hatch pattern in small areas, wiping it off with a damp cloth. It worked perfectly! You can see the difference between the glazed finish (left) and the unglazed finish (right) here:
I let the table cure for 24 hours. Time for top coat! I used three coats of Tough Coat to seal the top. A lot of things happen at our table – there are usually board games and toys on it every day – so I wanted to make sure it had a really durable finish. In between coats I very lightly sanded with 220grit sandpaper in case there were any imperfections. This is not a necessary step, just a preference!
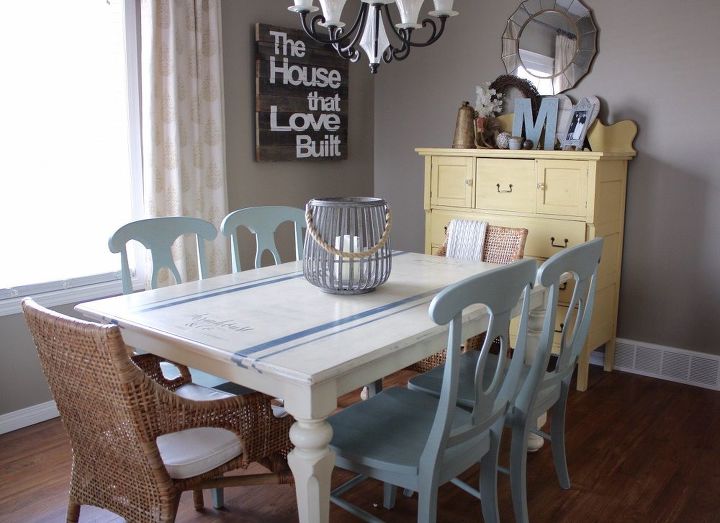
I absolutely love how my table turned out! It has a vintage feel, but it’s durable for everyday. It definitely makes a statement in our dining room!
Comments
Join the conversation
2 of 13 comments
-
Pinned!!
-
ive already painted my table with white chalk paint. I really love this, so I think I’ll add stripes!


Frequently asked questions
Have a question about this project?
how do you apply the letters? are there stencils I could purchase?
Think this would look ok on round top?
Just WOW! A project for the spring! Did you paint the chairs or were they already that gorgeous colour? Love what you’ve done. WELL DONE and Merry Christmas 🎅🏼