


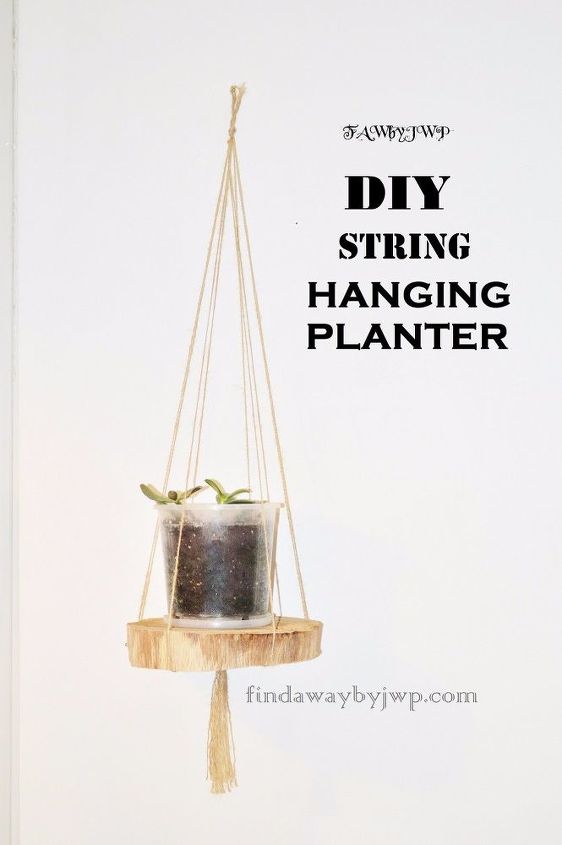
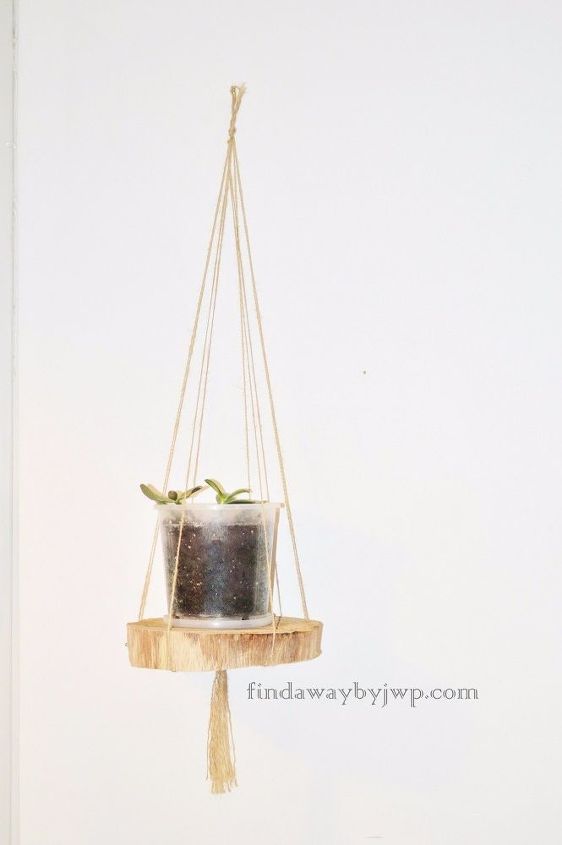
DIY – Easy String Hanging Planter
5 Materials
$2
5 Minutes
Easy
This is my first DIY project after a long time. During summer I was impressed by all these beautiful hanging planters that were featured in several photos for living room and balcony decoration. So, I remembered the wooden slices that I had asked my father-in-law to cut during previous Christmas and I thought it would be perfect in order to make my own string hanging planter with the easiest and more affordable way.
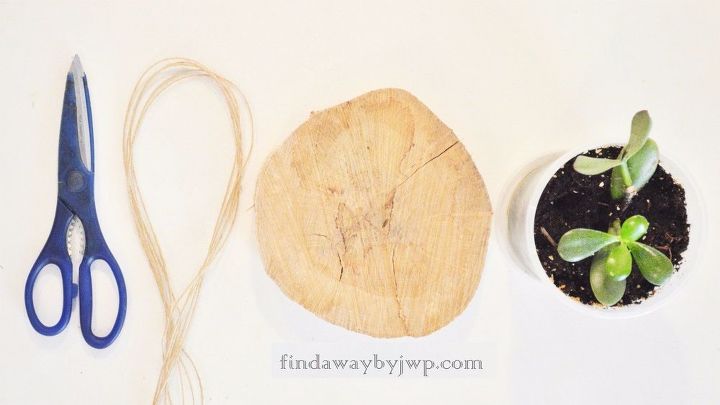
For this project I used only three materials and, of course, planter pots with my favourite succulent:
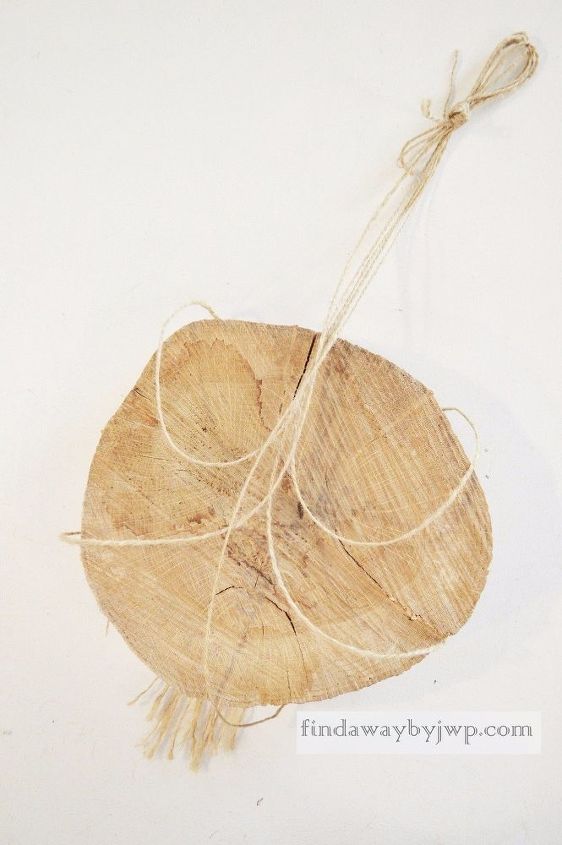
Firstly, I decided what height my hanging planter was going to be. Then, I cut four to six long strings of twine. The more strings, the better. The strings give stability to the planter.

I took the strings and made a strong knot in the one side, leaving some space for a cute tassel. In the other edge, I made a noose with another strong knot.You can also tie a ring instead of making a simple noose.

Place the wooden slice inside the strings and adust it in order to be straight. Choose a light-weight planter pot and your own string hanging planter is ready to be hanged. For heavier planters, you can use rope instead of twine.
I hope you find it cute and soooo easy!!! Wish you all a beautiful day … xo xo!!!

Want more details about this and other DIY projects? Check out my blog post!
Comments
Join the conversation
1 comment
-
I would love to make one of these - so chic!


Frequently asked questions
Have a question about this project?