


Rustic Birch Pumpkin Craft
I love to collect fallen birch logs and branches to use in craft projects. The bark is my favorite part to use and is usually pretty easy to peel when it is very dry.
So...I used some of my stash to turn a basic orange pumpkin into something a little more neutral and rustic.
Here are the basic steps which you can see in more detail at my blog.
So...I used some of my stash to turn a basic orange pumpkin into something a little more neutral and rustic.
Here are the basic steps which you can see in more detail at my blog.
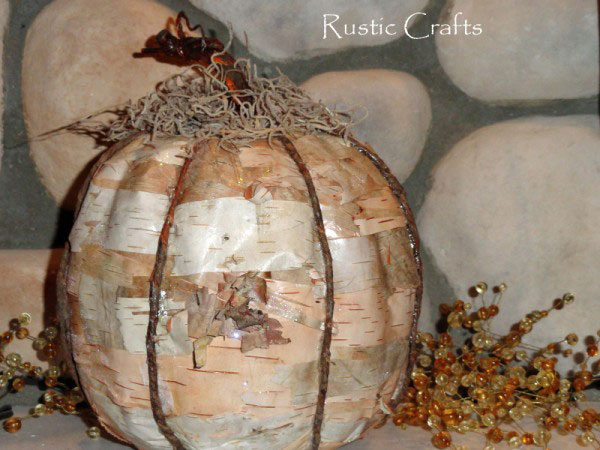
The finished pumpkin!
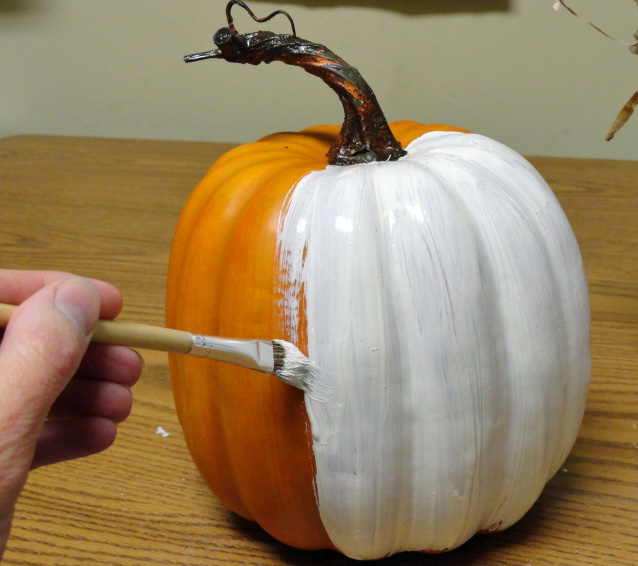
I first painted the pumpkin with a cream acrylic paint...in case there were any gaps in the birch bark.
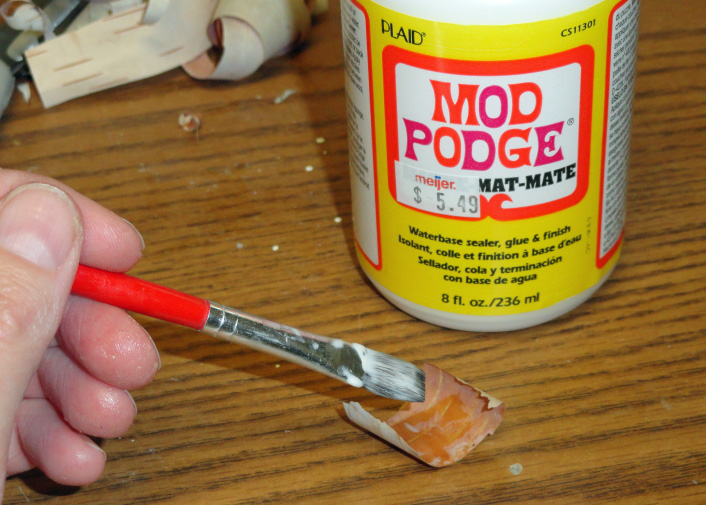
I applied my birch bark in small sections by brushing a layer of Mod Podge to the back and then pressing the bark to the pumpkin.
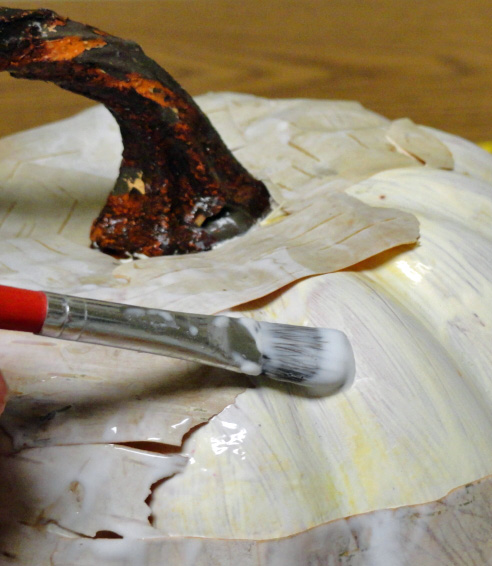
Keep applying birch sections, overlapping as you go. Apply more Mod Podge over the top of the birch to seal.
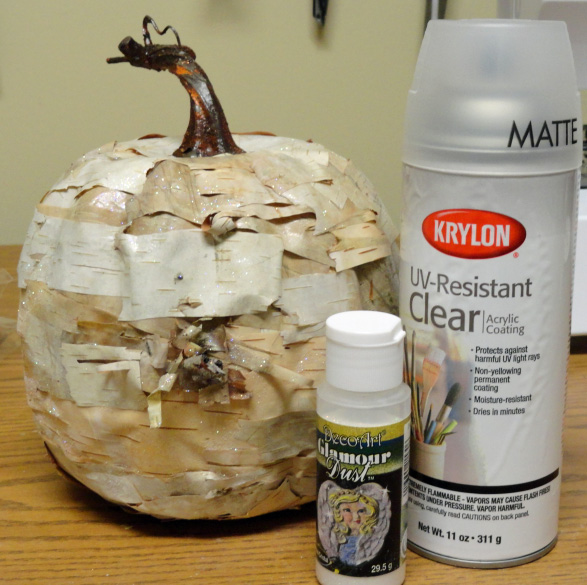
Once the whole pumpkin is covered and dry, spray the pumpkin with acrylic sealer. I then also sprinkled it with glamour dust for a little sparkle.
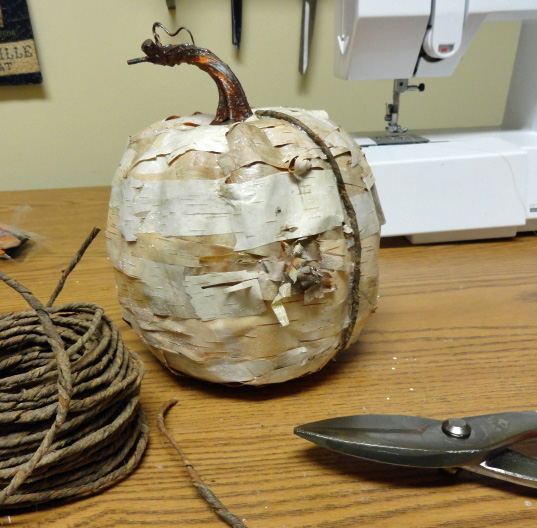
For a little more definition, I used bark covered wire to fill accentuate the creases. I used E6000 craft glue to apply each section from bottom center to top center stem.
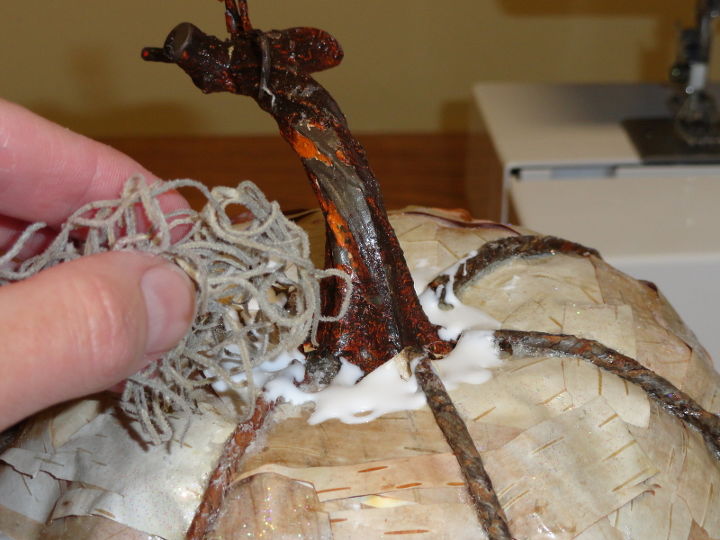
The finishing touch was some Spanish moss glued to the top around the stem.

Want more details about this and other DIY projects? Check out my blog post!
Comments
Join the conversation
2 of 9 comments
-
Very nice. Luckily for me, there is a lot of birch on my FIL's property! :O)
-
FUN Tastic


Frequently asked questions
Have a question about this project?