


DIY Wooden Wall Sconce
Recently, I helped my dad create a prototype for a Japanese-style wooden wall sconce. It features a series of curved wood slats that fit into custom cut wood brackets, and a rice paper style shade.
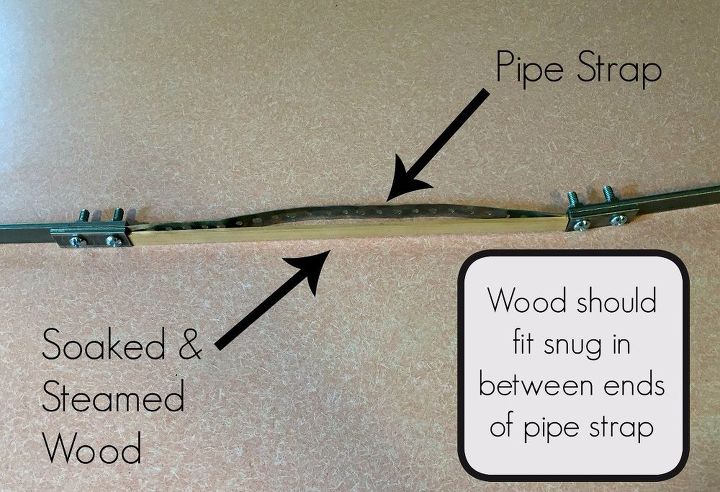
He created the curved pieces before I arrived. The process involved submerging thin pieces of cherry wood in water in the oven just below boiling for about 20 minutes. Then the wood was placed in a bending jig he created out of pipe hanging strap bolted to steel bars.
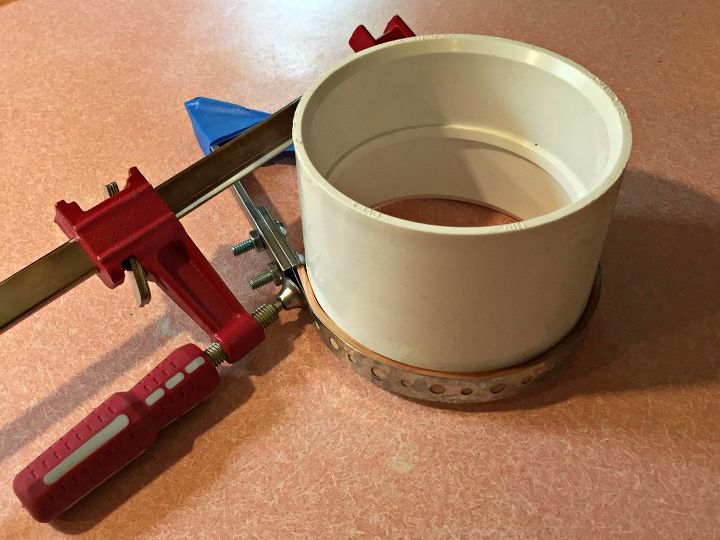
With the wood still soft and pliable, he was able to wrap it around the form (a large diameter PVC pipe). It was clamped into place and left overnight. The strap keeps the wood from splintering under pressure and the holes allow moisture to evaporate out of the wood.
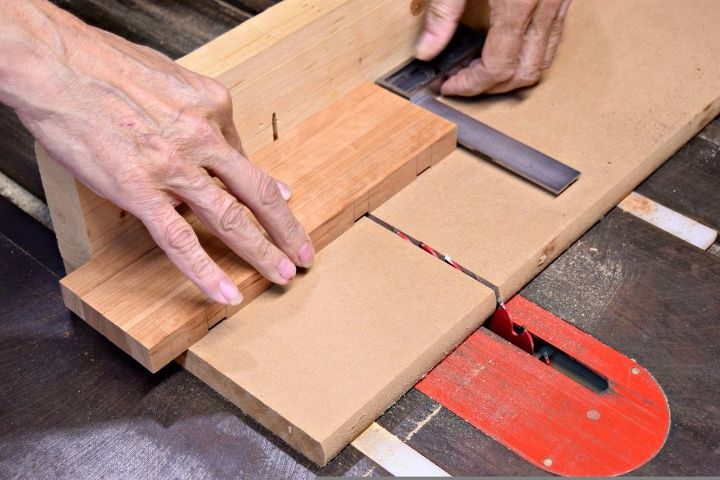
The next step was to notch out the vertical pieces that hold the curves in place. He lined up all four pieces on his custom table saw sled, checking to make sure the ends were square. Cutting them all together ensures they are identical, using the markings on the first one as a guide.
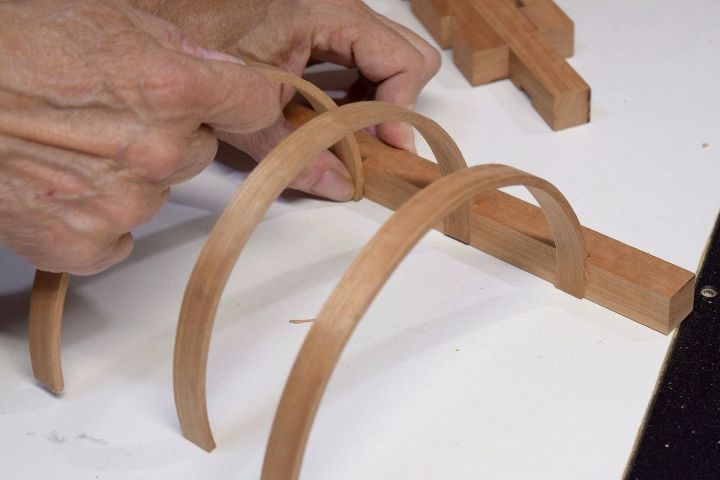
Now the curved pieces lie flush inside the grooves. This is just a prototype, so they're not all a perfect fit. But you can see the wall sconce start to take shape.
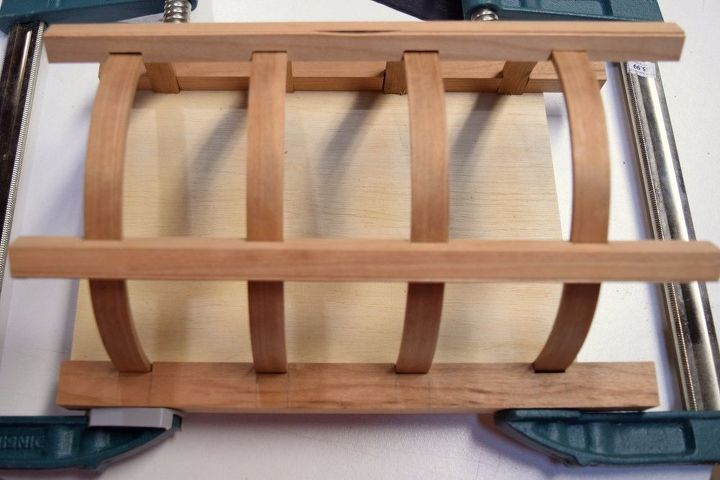
Here you can see how the wall sconce will all fit together when it's finished.

Want more details about this and other DIY projects? Check out my blog post!
Comments
Join the conversation
2 comments
-
It turned out beautiful! Thank you for the tutorial! :-D -Handan
-
Wow ! Very talented indeed !


Frequently asked questions
Have a question about this project?