


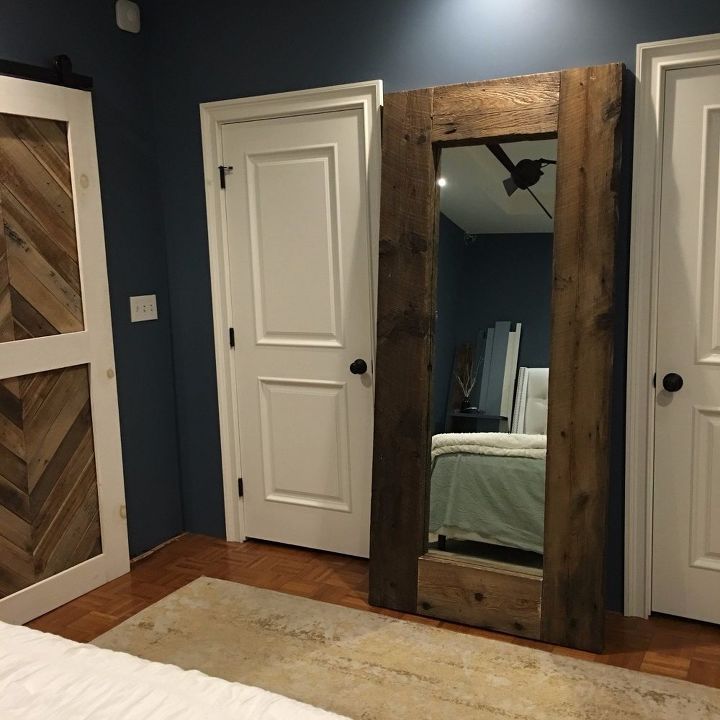
Giant Leaning Mirror

$50
1 Day
Easy
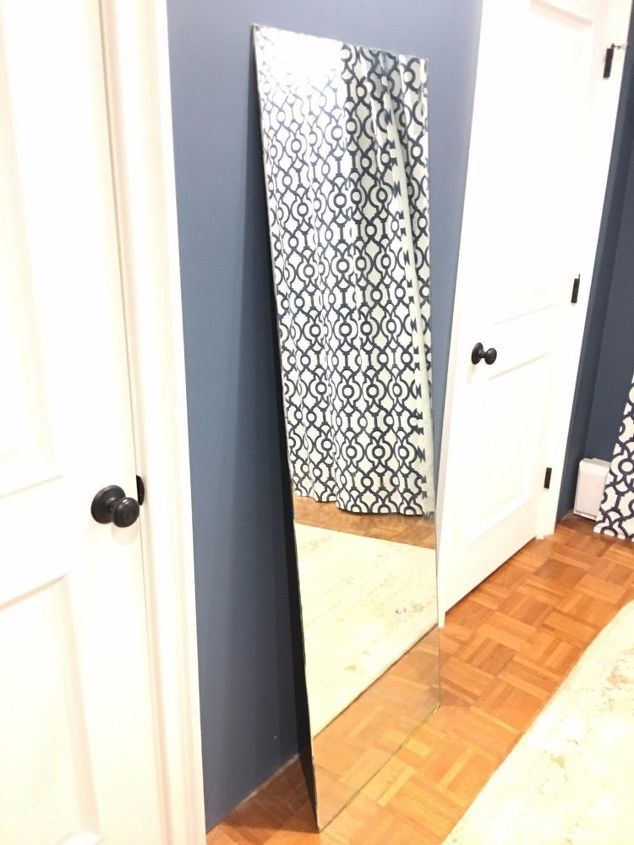
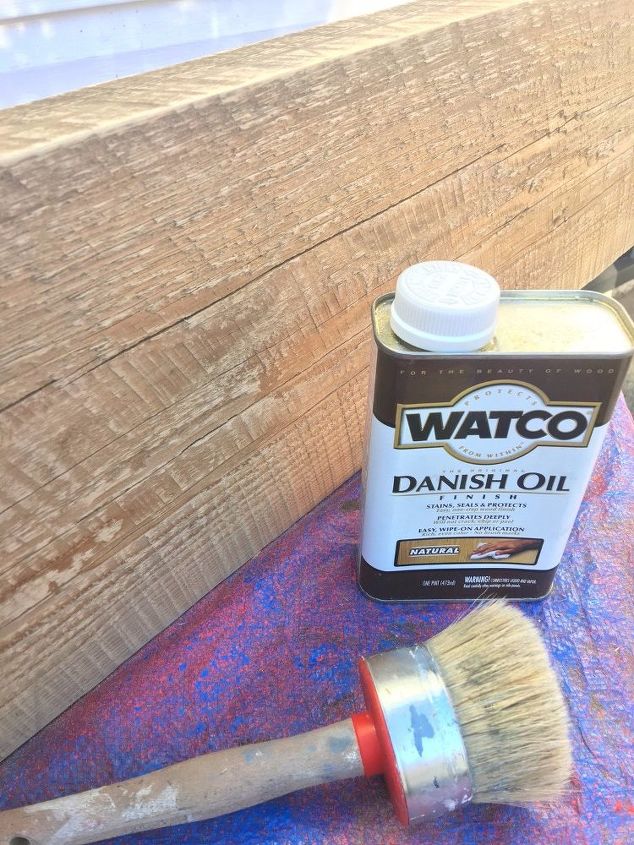
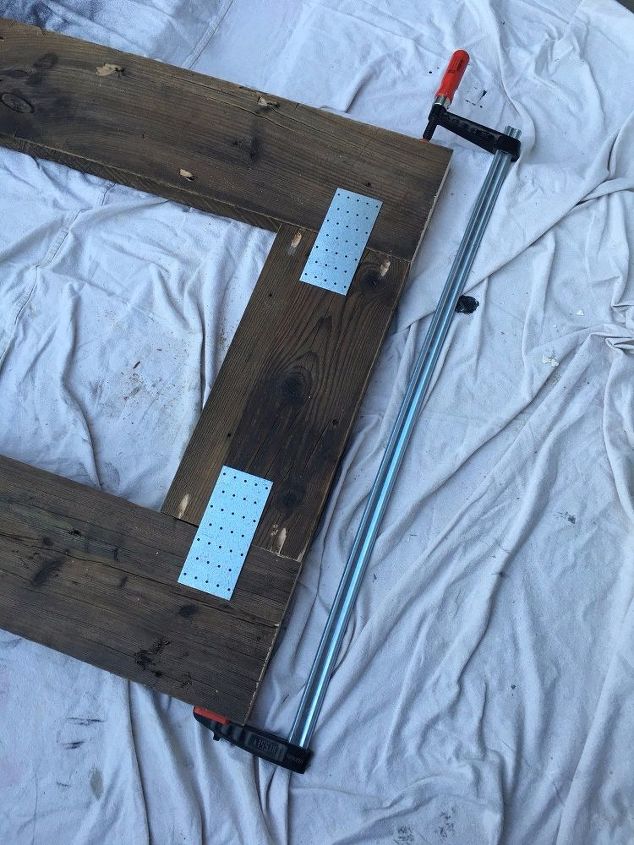
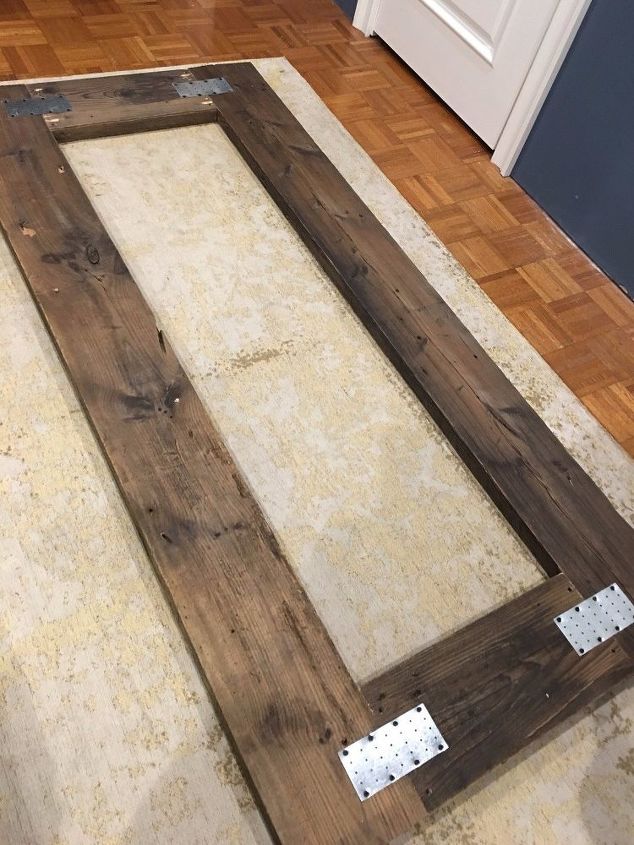
Who here loves West Elm and Restoration Hardware? Who here doesn't always love the West Elm and RH prices? If you're anything like me when I go shopping I spot something I love and then ask myself, "could I easily make that for less?". That's what happened with this mirror. I saw something like it while window shopping but it seriously had a $1,000 price. I knew I could easily figure this out. The hardest part would be finding the materials. I kept my eye out for a large old mirror and found this mirror for $35. It used to be a horizontal bathroom vanity mirror. At that price, I knew I could make this work. I then visitied my local salvage warehouse and picked up this old scaffolding wood for super cheap. Once I assembled the frame I secured the mirror, leaned it against my bedroom wall, looked at myself in the reflection and said, "Nailed It"!
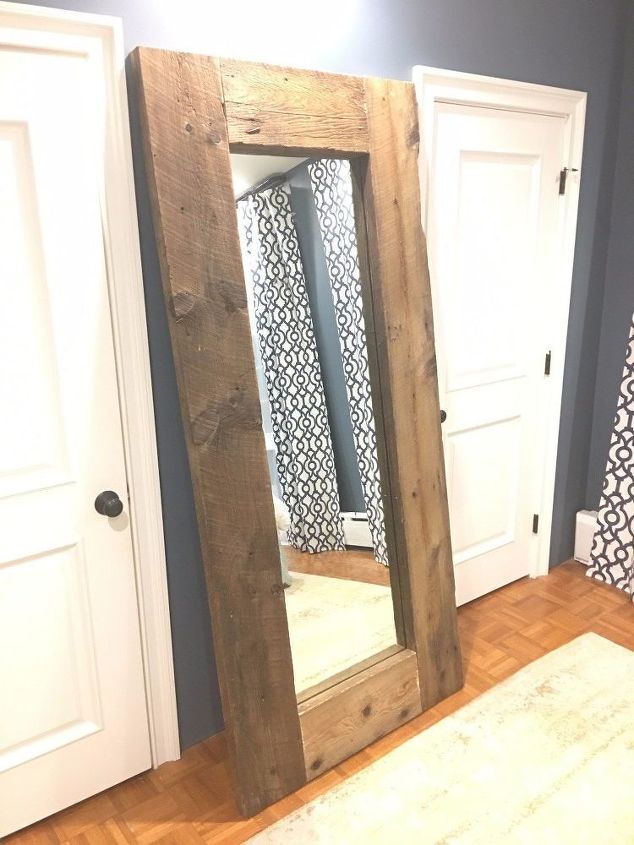
I'm probably a bit biased, but I think this is as pretty as a store bought one!
Materials:
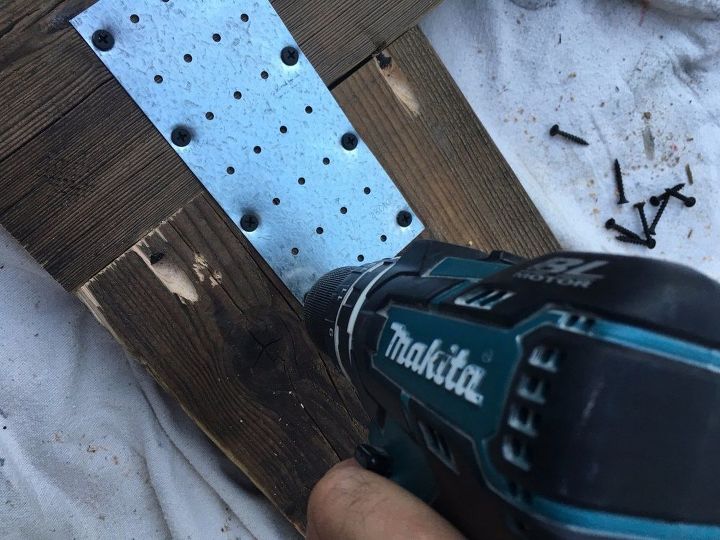
STEP 1:
STEP 2:
STEP 3:
STEP 4:

STEP 5:
STEP 6:
STEP 7:
STEP 8:
Comments
Join the conversation
2 of 33 comments
-
😎cool. Looks much better then store bought....
-
Looks amazing!!


Frequently asked questions
Have a question about this project?