


DIY Halloween Spook-tacular Candy-Filled Halloween Treats Tutorial
7 Materials
$20
1 Hour
Easy
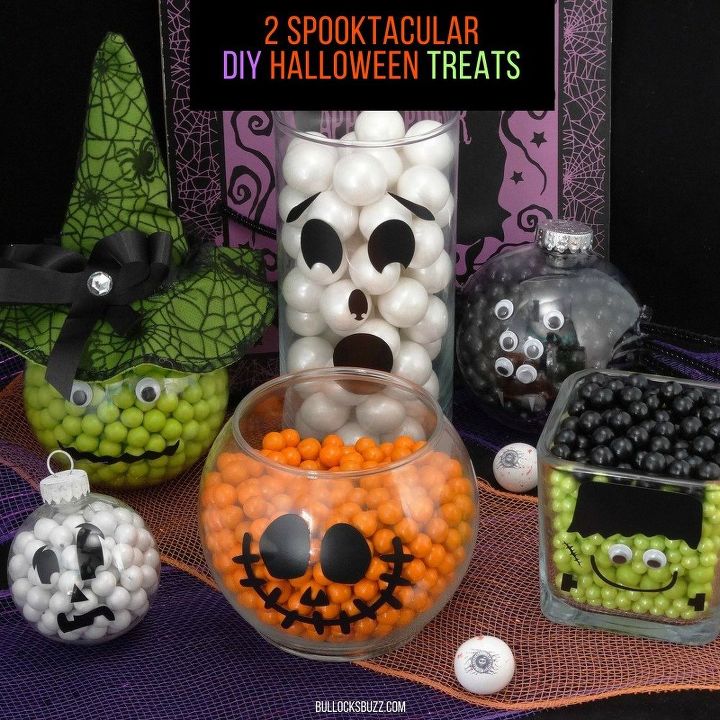
I love Halloween! And this year I am going all out on the DIY decor and crafting! Here are two adorable and tasty Halloween Candy-Filled Treats/Decor ideas. Both are easy and take just minutes to make!
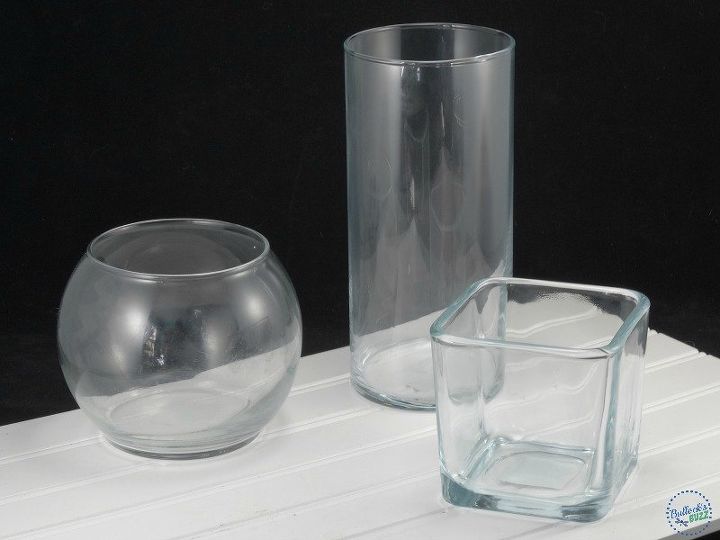
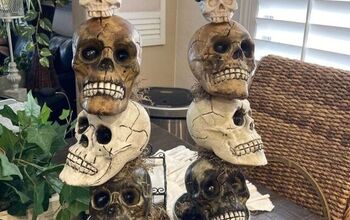
For the candy jars, you will need 3 glass or plastic containers in your choice of size and shape, rubbing alcohol for cleaning the glass containers, a Cricut or other die cutting machine, black waterproof vinyl (Oracle 651), wiggly eyes, hot glue and candy.
I used a few different sources for the faces, but you can use whatever you’d like. Don’t have a die cutting machine? No problem. Simply use black paint. You can find all sorts of templates online or make your own.
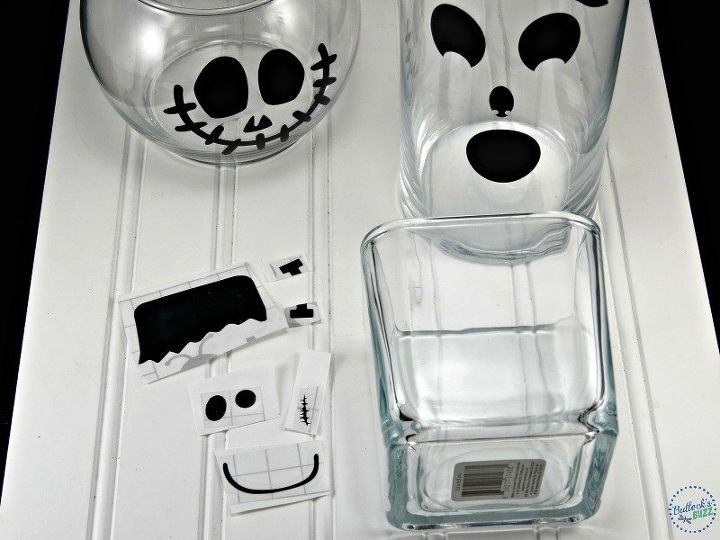
Once you have the faces cut, simply add them to the jars.
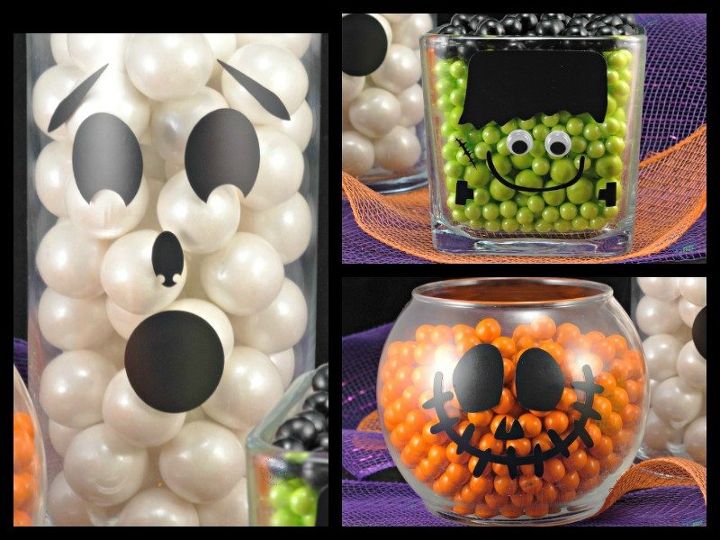
Then all that's left to do is fill each one with candy. I used Green and Black Sixlets for the Frankenstein, Orange Sixlets for the Jack O Lantern, and White Gumballs for the Ghost.
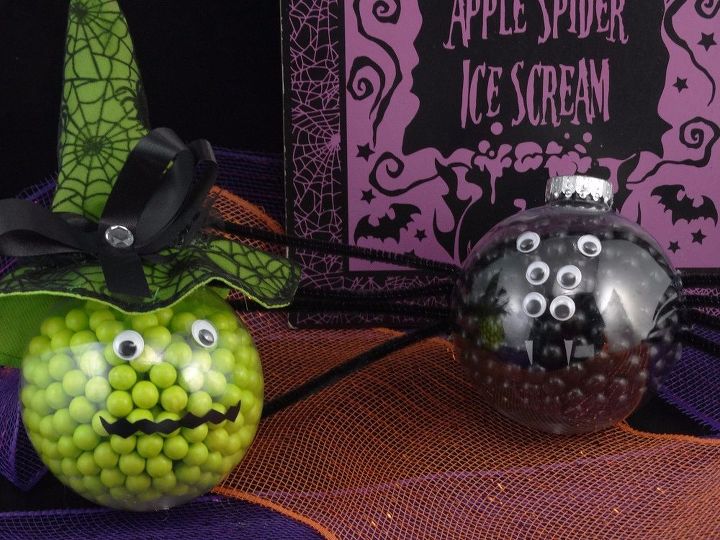
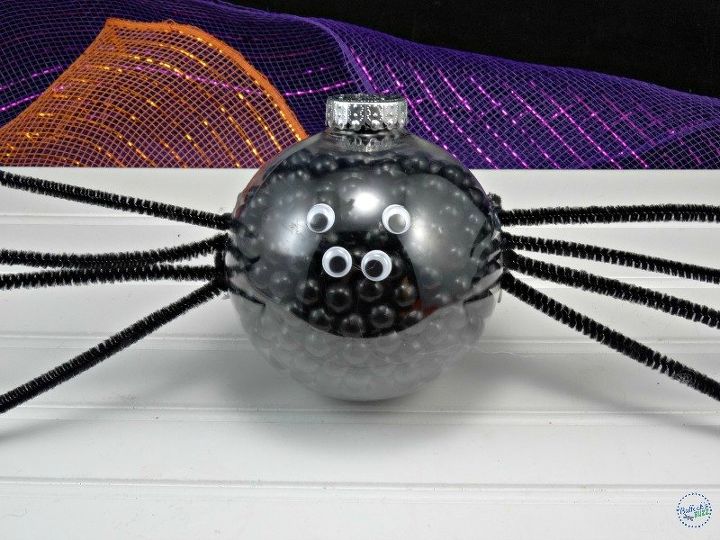
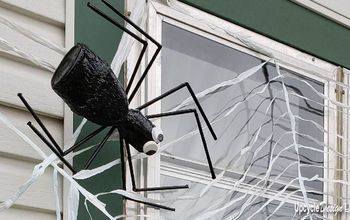
Similar to last year's Halloween candy-filled ornaments , this Wacky Witch and Silly Spider are the perfect addition to the collection!
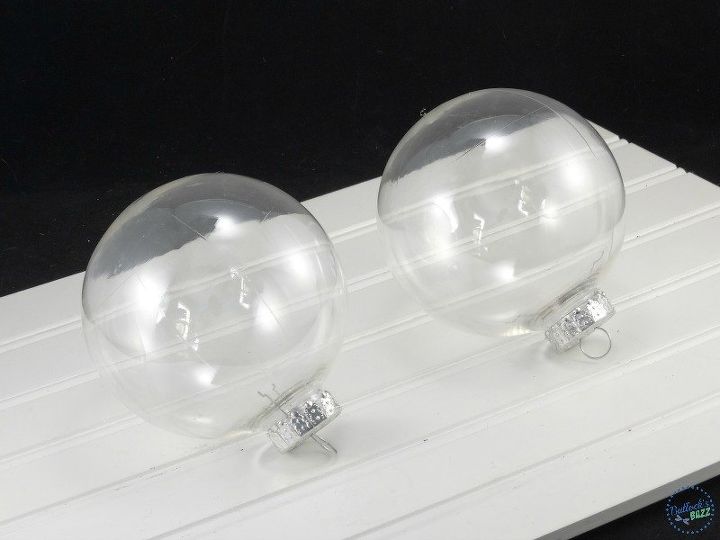
For this part of the project, you will need 2 large, clear, plastic ornaments, wiggly eyes, a miniature witch hat, 8 black pipe cleaners, hot glue, and either a black permanent marker or a Cricut or similar die cut machine. If using a machine, you will need waterproof vinyl (Oracle 651) in both black and silver.
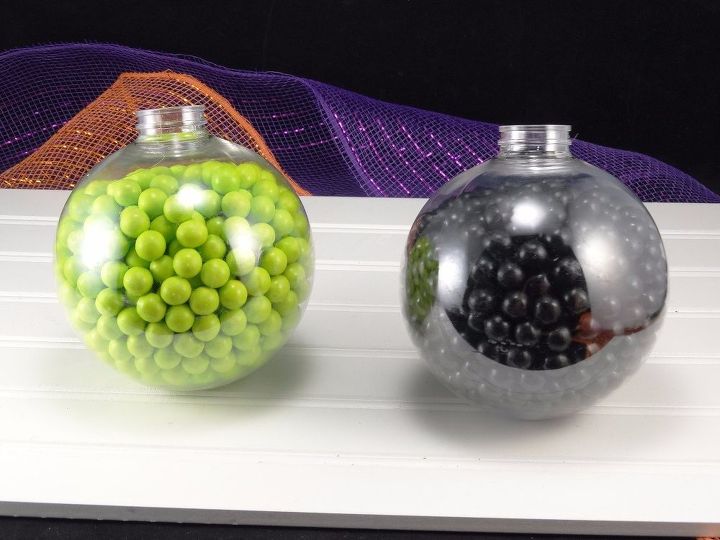
First, fill each ornament with candy. I used Green Sixlets for the witch, and Black Sixlets for the spider. Be sure to either glue or tape the ornament's lids back on securely.
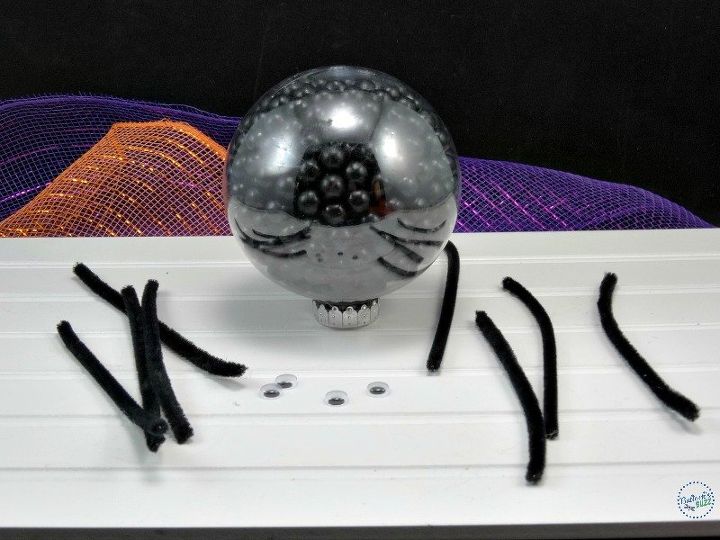
For the spider, cut the black pipe cleaners in half to make the legs. Use hot glue to attach the legs and wiggly eyes. I used the silver vinyl to make the fangs.
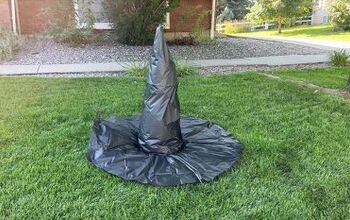
For the witch, I used hot glue to secure the hat to the ornament's lid, and to add the eyes. Black vinyl was cut to make the mouth.

To get the full tutorial, and for more crafts, recipes and holiday fun, head on over to the Bullock's Buzz blog!

Want more details about this and other DIY projects? Check out my blog post!
Comments
Join the conversation
4 of 22 comments
-
Oh that is so great to hear that your guests liked them as much as I do. Thinking they would also make great party favors too. Thanks again!
-
So totally cute!!!!!!!!!


Frequently asked questions
Have a question about this project?