


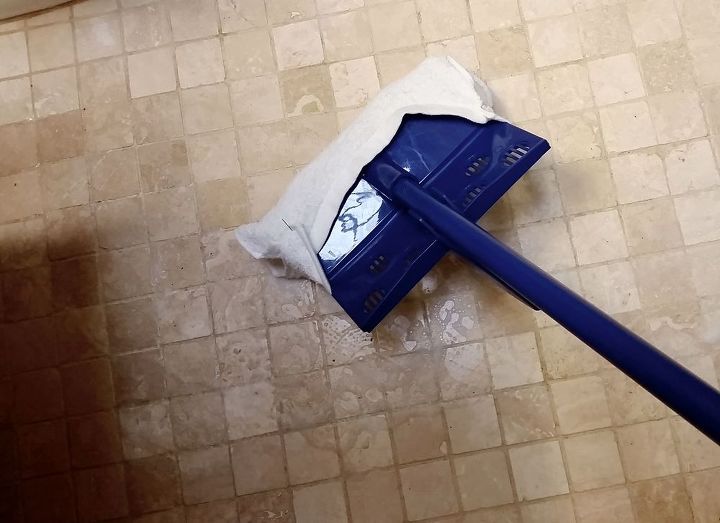
Easy Grout Cleaner (and Swiffer Hack) for Under $8


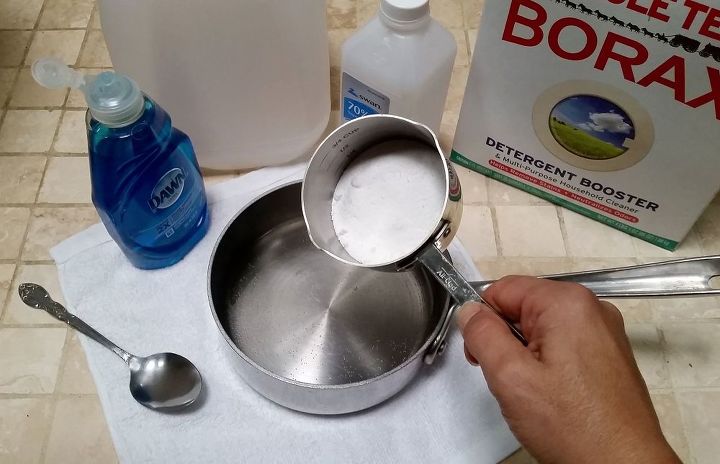
Resources for this project:
See all materials


Comments
Join the conversation
-
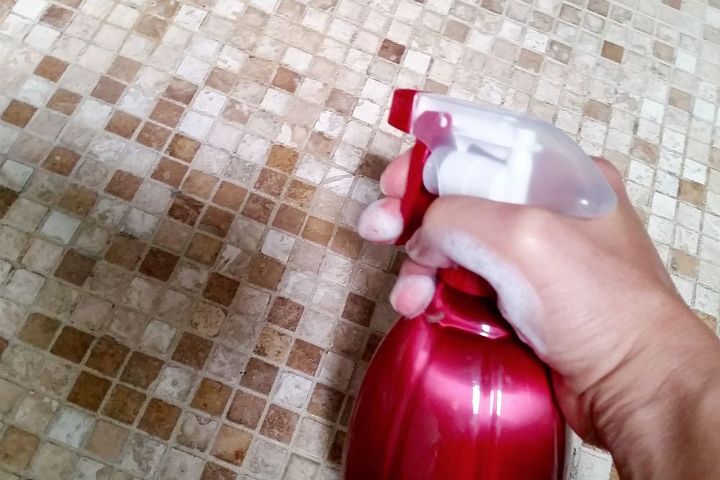
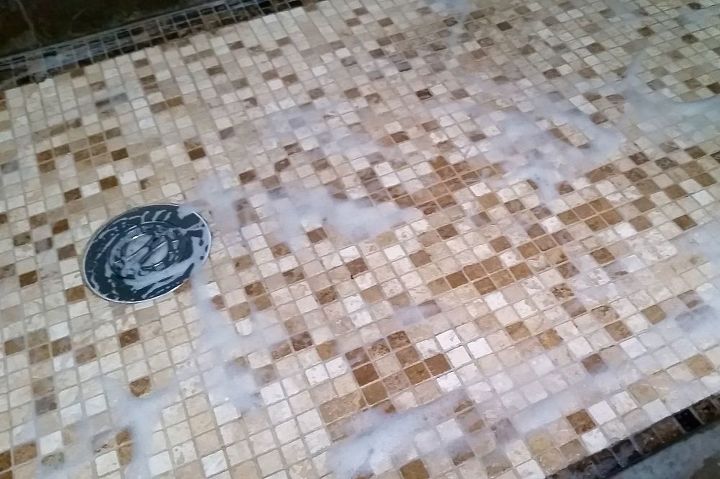
looks great, however, I discovered that Awesome cleaner ($1.25 at the dollar store) is truly awesome! spray, leave for 5 minutes, brush. rinse with clear water Our home is all tile with light grout, and awesome has been the best cleaner with very little scrubbing.
-
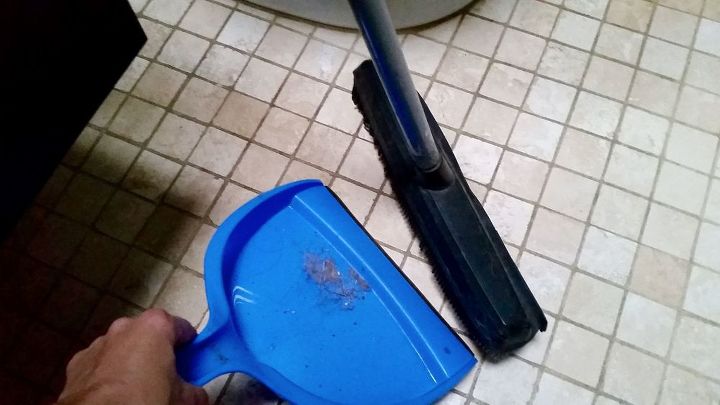
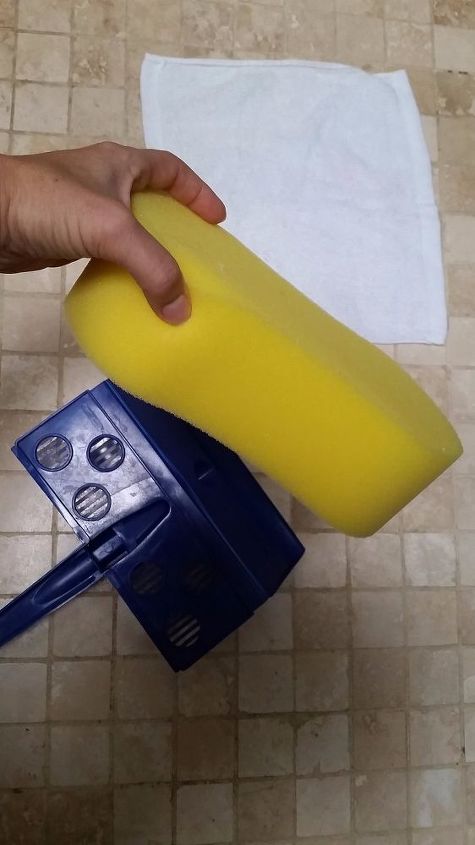
Buy the little red power wand with different size brush attachments. Will save you so much time. Very powerful. Has many uses but my whole house is tiled with beige grout. Grandkids, dog, and men in boots are in and out all day. Twice a week I was spending days scrubbing the grout with a broom and various brushes then mopping. Too much😵💫
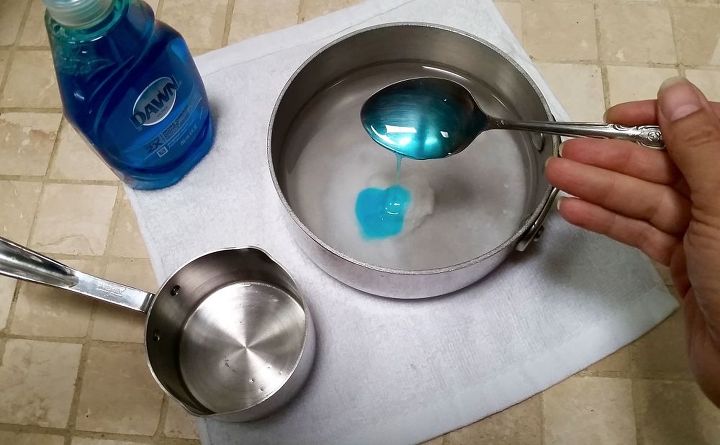
For me. The electric brush has speeded up the process and gets into the tiny crevices I use Dawn with a bit of oxi cleaner and water spray. I add lavender to the mop on the final pass.


Frequently asked questions
Have a question about this project?
If I bought ingredients that are available in the uk that are just a different brand would I still get the results you get?
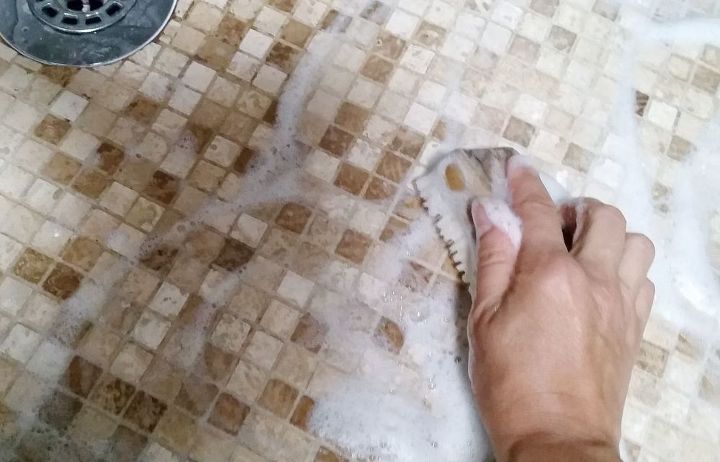
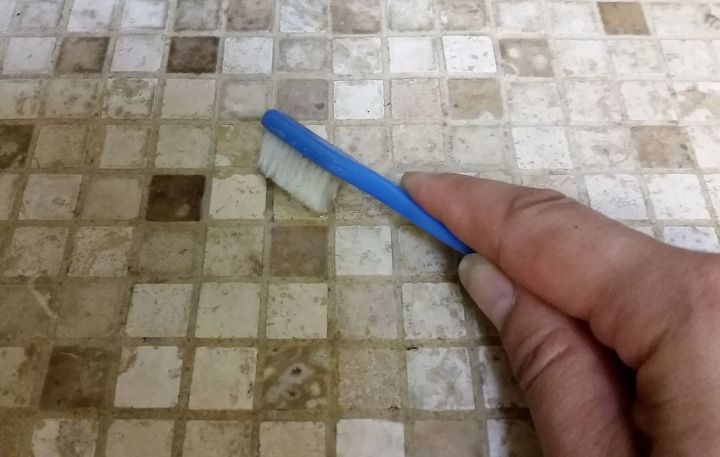
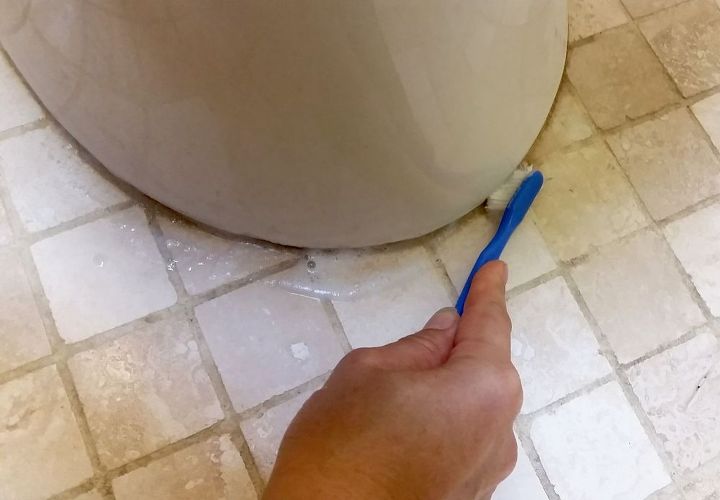
I would use a scrubbing brush rather than a toothbrush, as it covers more surfaces and won’t take as long
How do I clean linoleum during yellow to get the yellow off