


Crayon-Dipped Ombre Candles for $5

8 Materials
$5
10 Minutes
Easy
If you're looking for a quick and easy project that's also cost effective, here is the perfect one for you! Even if you're not big on candles, these little pretties will liven up your decor and give it a touch of class for just $5.
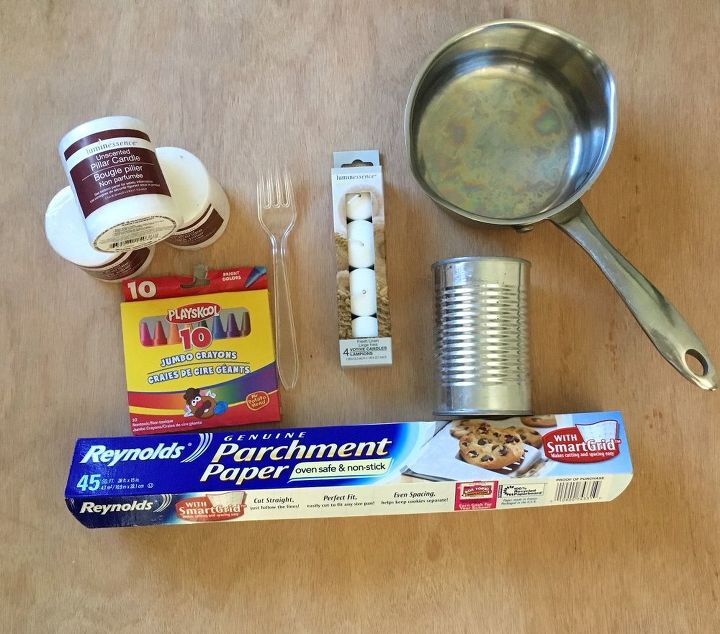
SUPPLIES: -pillar candles (any size) -votive candles (old white candle, if you have one) -crayons -small pot -tin can -disposable utensil -parchment paper Not pictured but recommended: -kitchen tongs
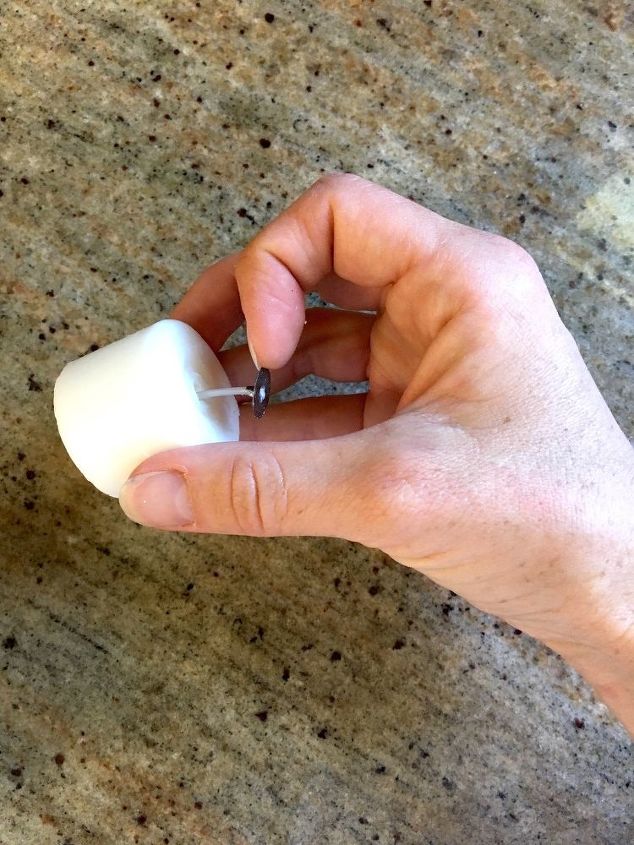
STEP 1: Melt mini candles and crayon To start, I removed the wicks from two votive candles...
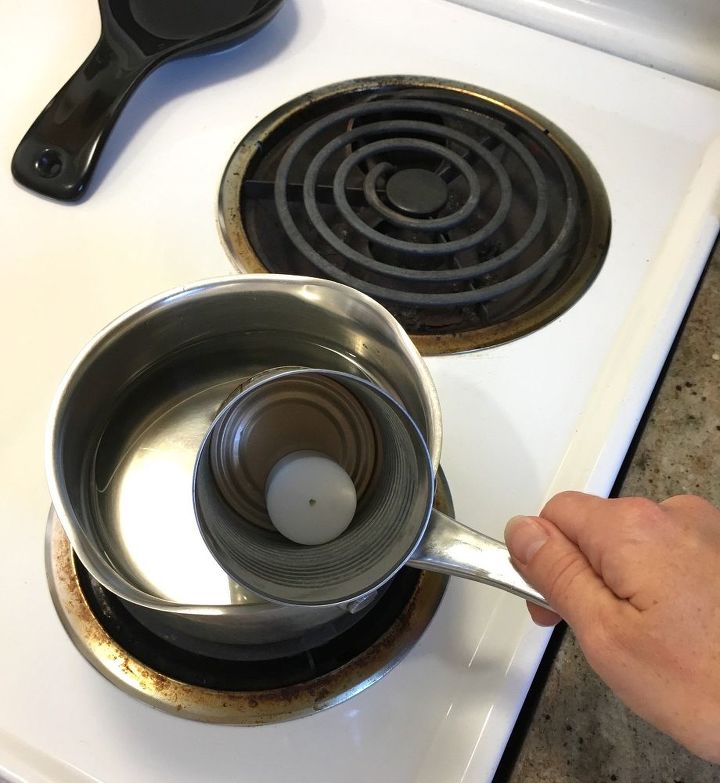
...then filled my small pot about half way with water, placed my tin can in the water and put two votive candles inside the can one at a time.
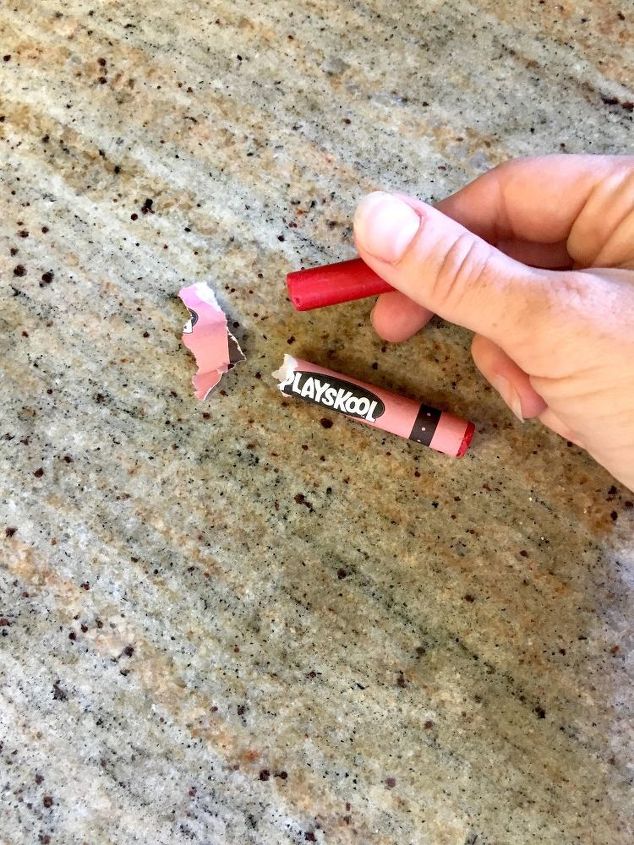
Once the votives melted, I broke off a piece of a red crayon...
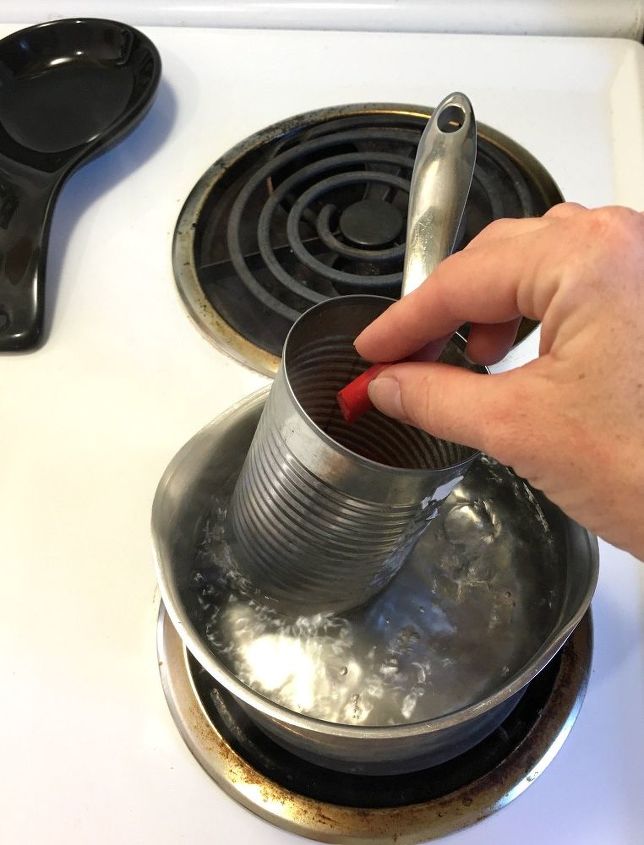
...and added it to the melted wax.
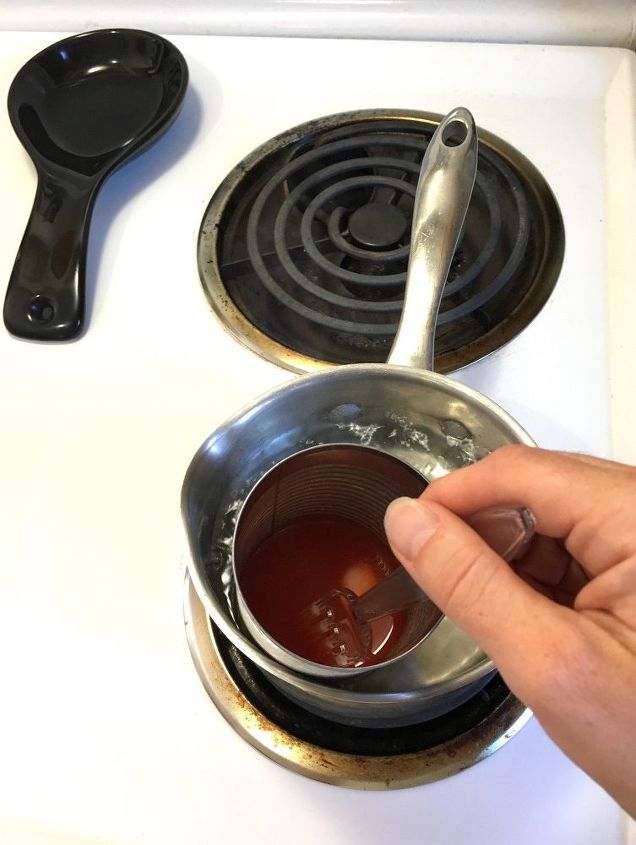
After the crayon started to melt, I carefully stirred and mixed the waxes together until they were completely blended.

Once your wax is blended, CAREFULLY remove the tin can with tongs and place it on a sheet of parchment paper. Then, one-by-one, dip your pillar candle inside the can.
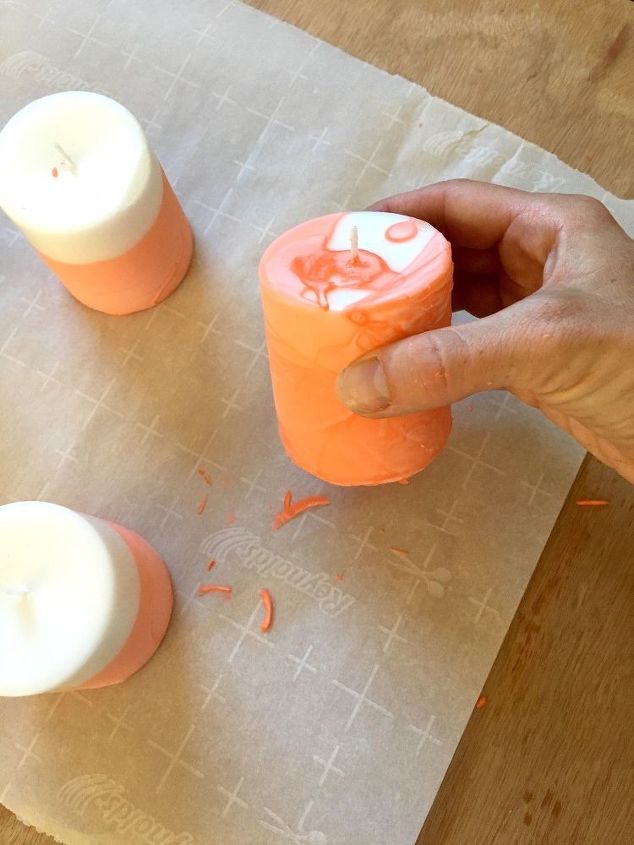
My first attempt was a total FAIL — I tried holding the top of the candle and inadvertently dropped the candle into the wax which caused it to splash up on the top of the candle.
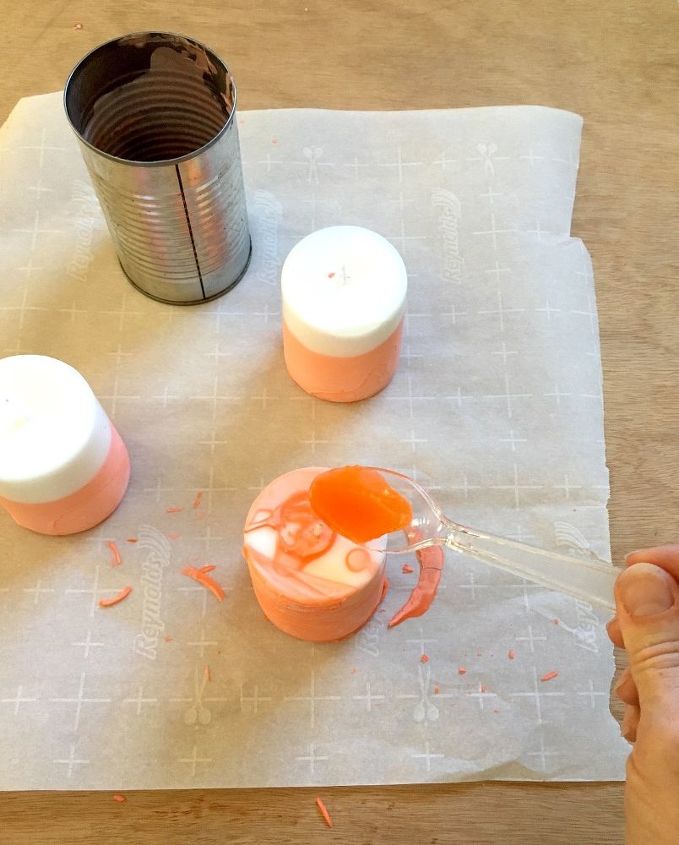
If this happens, simply pull the candle out by the wick, take a disposable spoon and pour the crayon mixture where you need to — pour off any excess on the candle. It doesn’t look like the other two but it still looks like it has somewhat of an ombré effect. I found that holding on to the wick gave me better control of the candle. If you have a mason jar or some other see-through NON-PLASTIC container that you don’t mind throwing out after this one project, you could try and use it instead of a tin can. This way you can see how far down you’re dipping your candle.
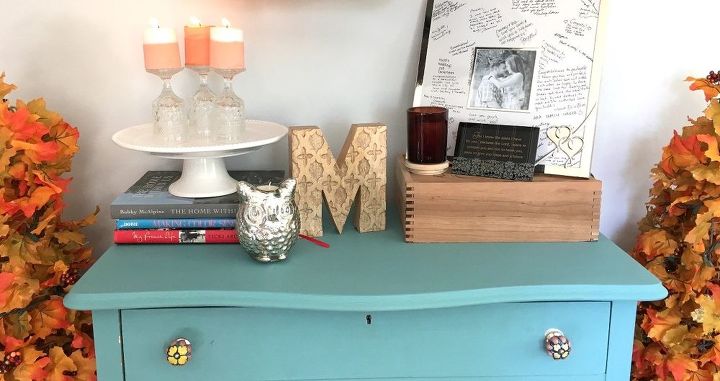
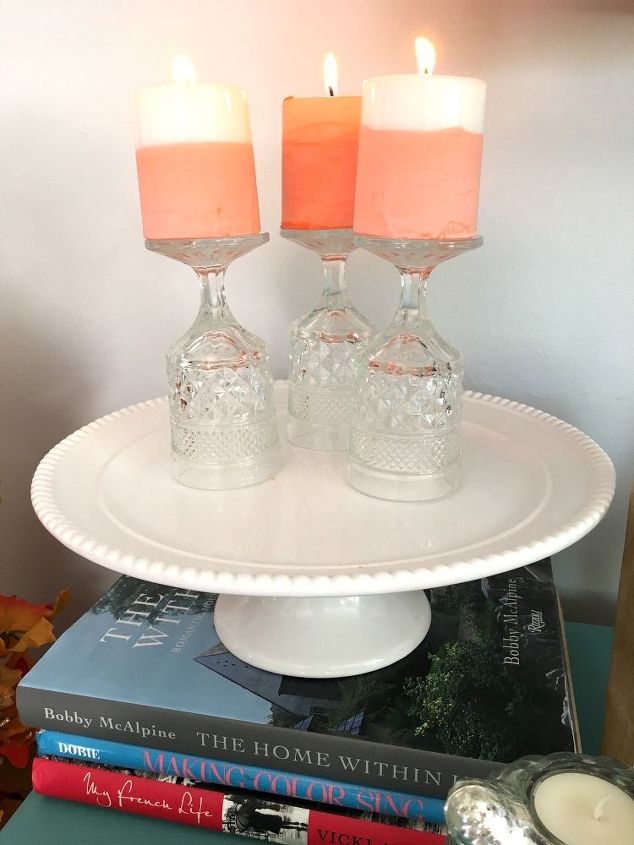
I'm not a huge candle person but I love how something as simple as flipping wine glasses over and putting these pretty hand-dipped candles on top add a classy touch to my home decor.
*Just a side note: you don’t HAVE to use pillar candles. This method will work with stick candles as well and would look really cool in a candelabra. In fact, if I ever come across an old one, I may snatch it up and do this project again with stick candles!
{
"id": "4093175",
"alt": "",
"title": "",
"video_library_id": "8196",
"thumbnail": "https://cdn-fastly.hometalk.com/media/2017/07/31/4093175/crayon-dipped-ombre-candles.jpg"
}
{
"width": 634,
"height": 357,
"showRelated": true,
"noautoplay": ""
}
We want to help you DIY, so some of the materials in this post are linked to sellers. Just so you know, Hometalk may collect a small share of sales from the links on this page.
And if you're looking for more candle projects, then be sure to check out this awesome DIY candles page for more fun candle-related projects!
Resources for this project:
See all materials


Any price and availability information displayed on [relevant Amazon Site(s), as applicable] at the time of purchase will apply to the purchase of this product.
Hometalk may collect a small share of sales from the links on this page.More info
Comments
Join the conversation
2 of 62 comments
-
Great idea. I am going to try to make two colors. I guess I will dip the top part first and after that sets I will dip another color to the bottom.
-
I love your idea and cute, fun project. Your wine glasses look like a pattern called Wexford so I would be careful for them if that is so. They are not Waterford but the pattern is a popular collectible.


Frequently asked questions
Have a question about this project?
Has anyone try the cheap crayons from $tree? If so, how were the results?
How long did you allow the Pillar candle to stay in the can on top of the melted votive candles?
Hi, Your candles turned out cute. However I have a question. Is there any advantage in making these candles as opposed to buying candles at the Dollar tree store?