


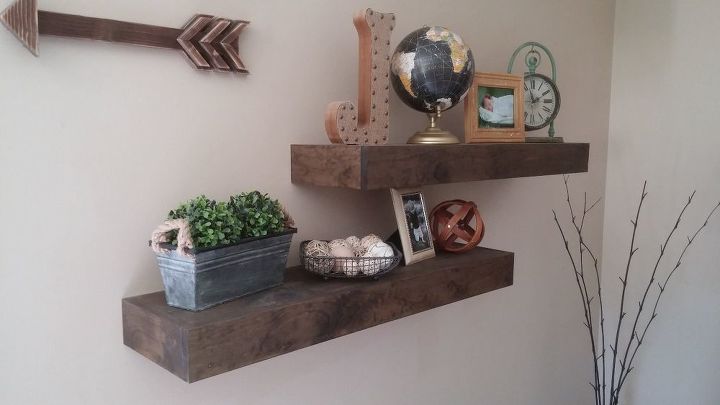
Refined Rustic Floating Shelves

3 Materials
$30
2 Hours
Medium
There are a lot of tutorials on floating shelves. It makes sense, they are very popular. They fill the roles of both function and form. Most of the tutorials teach you to build the bracket first, then cover the bracket with wood. Those are fine, but you can't take the shelf down without completely dismantling it, or destroying it. You can also see the nails or nail holes. This tutorial will show you how to build and hang a shelf that is removable and a bit more refined than most shelves I've seen.
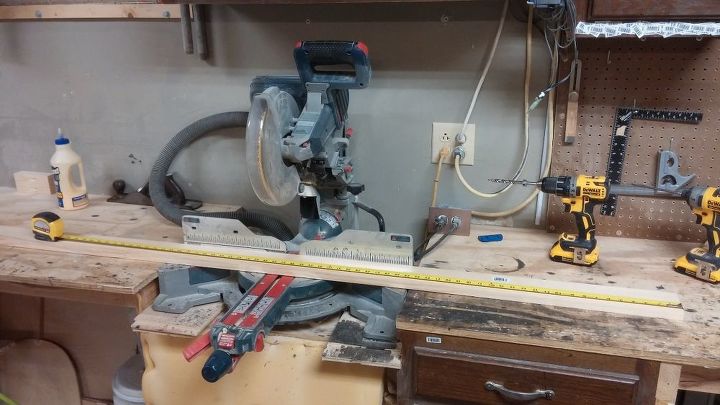
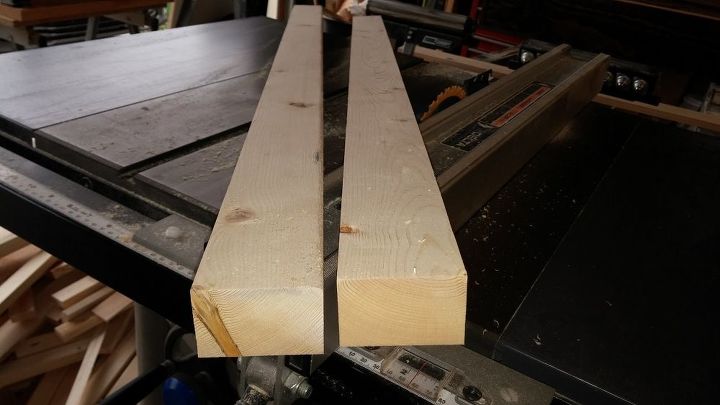
The next step is to cut the side face boards at 7-1/4". I cut a lot of these, so I have a stop set up on my miter saw at 7-1/4". If you're building a few sets of shelves around your house, I would suggest doing the same. It removes any variation between the length of the sides and will make assembly more streamlined.
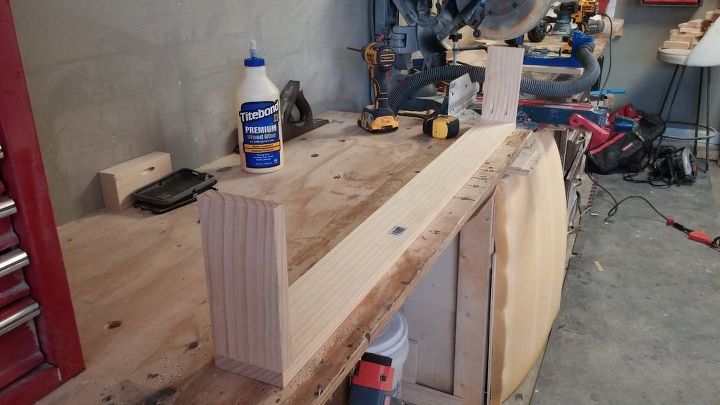
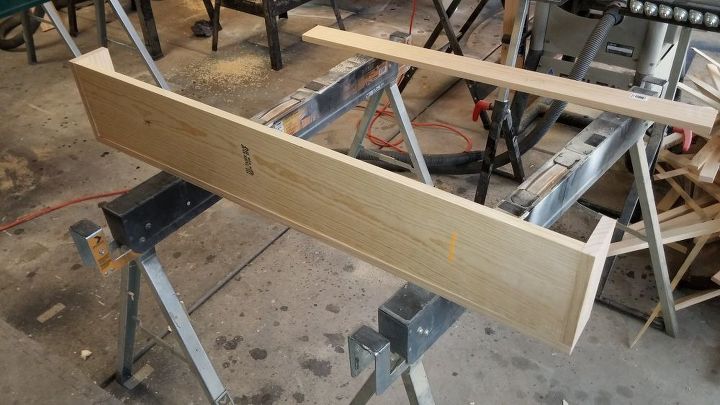
Attach the side face boards to the front face board as shown. Get the edges as flush as possible.
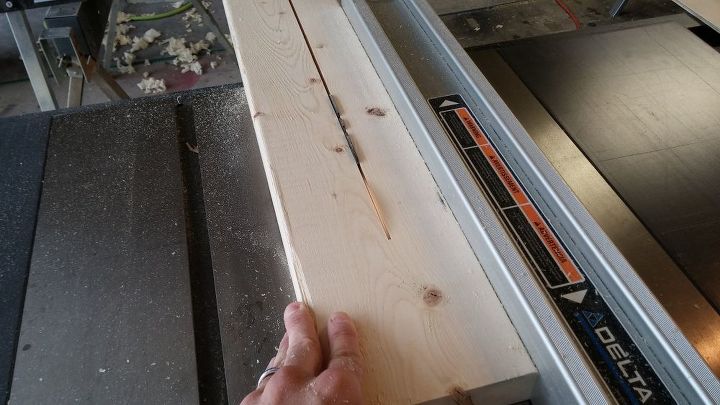
Next, we're going to rip down a 1”x10” board to 7-1/4” for the top of the shelf. The width of this board will be the same as the length of your side face boards. If you don't have a table saw, you could use a 1x8" board which is actually 7-1/4" wide.
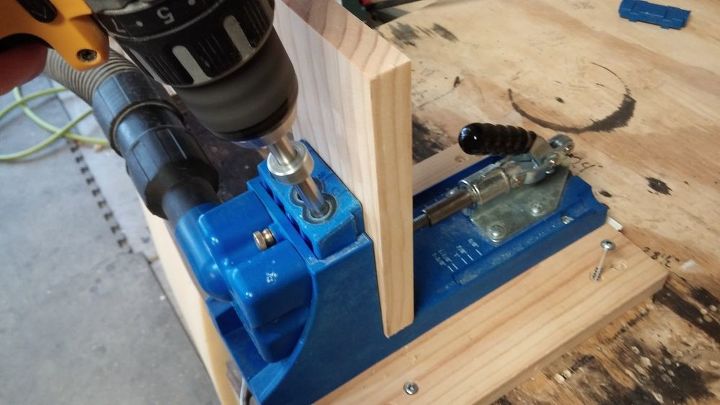
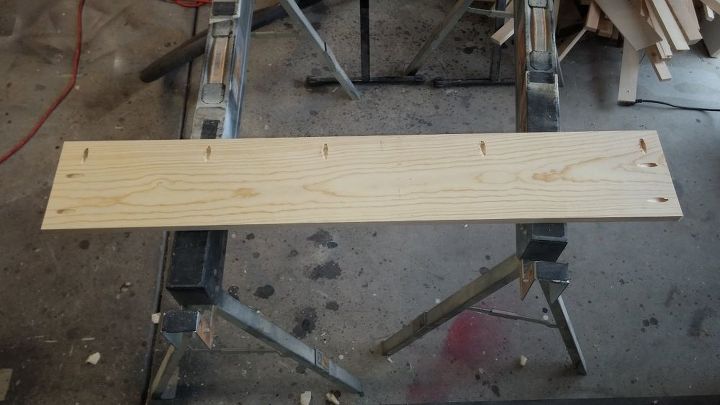
Drill 3/4” pocket holes in the top board as shown. The spacing isn't critical, but try to get one hole every 12” or so. Don't forget he two pocket holes in the end of the board. Set the board back into the face frame in the same orientation as when you checked the fit and attach it using 1-1/4” pocket hole screws. Try to keep the edges flush as you drive the screws in.
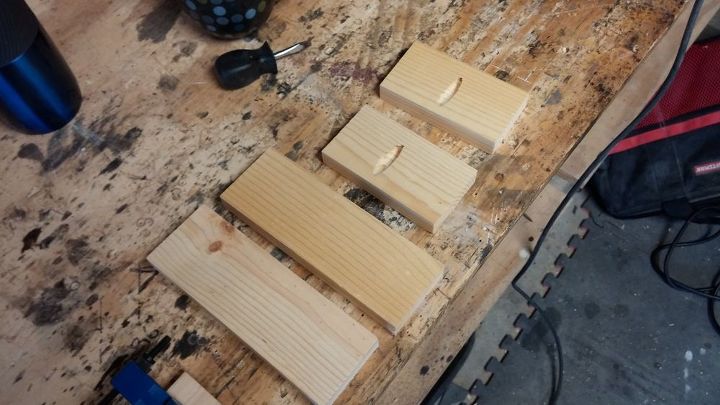
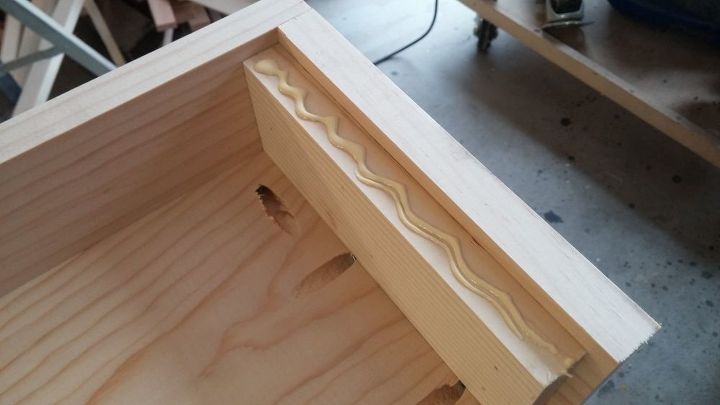
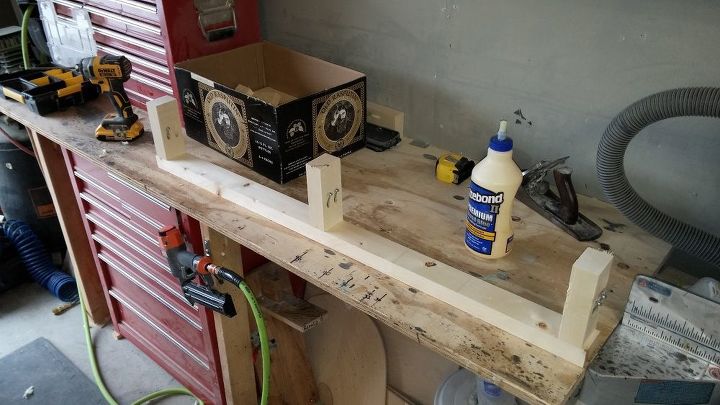
Now we need some pieces for the inside of the shelf. These will support the plywood bottom and provide the cavity we'll need to hang the shelf. If your face boards are 1”x4” material, these spacers should be 2-3/8” wide. You'll need two cut two at 7” long and two at 4-1/2” long. Drill 3/4” pocket holes in the two shorter pieces.
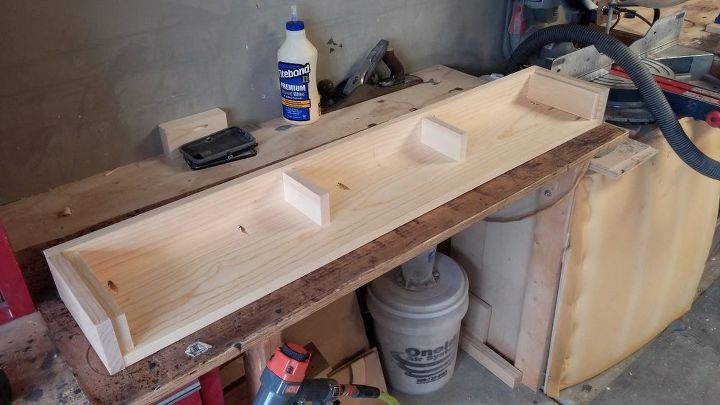
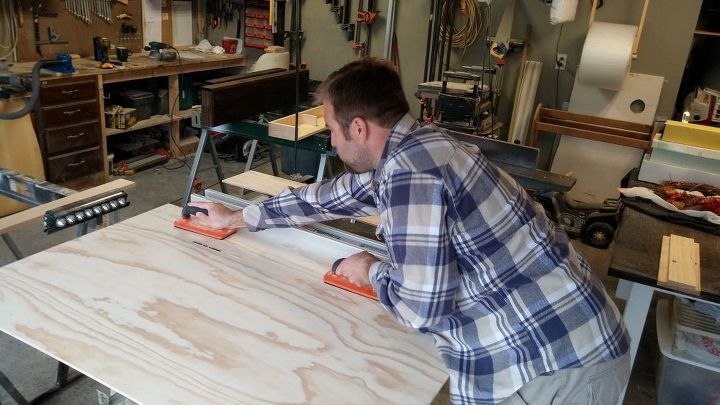
Now we need to cut a strip of 1/4” plywood for the bottom of the shelf. This piece should be exactly the same width as your top board. For an 8” depth, that is roughly 7-1/4”. Measure the length of the inside of the bottom of the shelf. You need the length from the inside of one side face board to the other. Your plywood bottom will be recessed inside of the boards. Next, we're going to cut the plywood bottom to length, put down a strip of glue on the interior spacers and nail the plywood bottom into place.
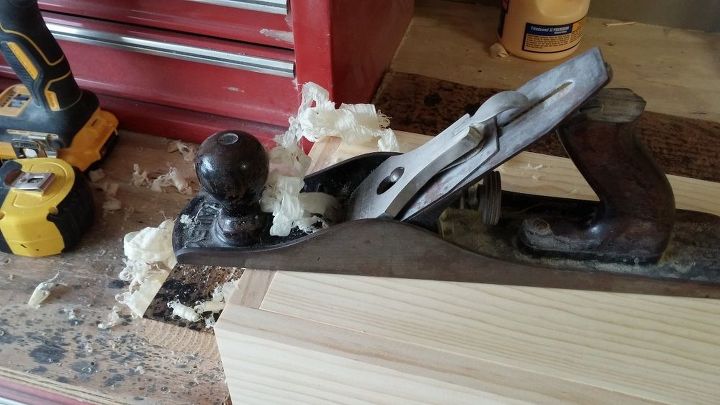
Now is the time to clean up any edges that aren't flush. I prefer to use a hand plane. You could also sand them flush if they're not too far off. Sand the entire shelf with 120-150 grit sandpaper. If you have a random orbital sander, use that. If you're sanding by hand, remember to sand with the grain of the wood. After sanding, you can apply the finish you've chosen. This shelf will be finished with Minwax Espresso.
Now we're going to build the bracket. The bracket length should be 3-1/4” less than the overall length of your shelf and 2-1/4" tall. This will ensure it will fit inside your shelf. You can use any 2x material you would like. I prefer 2x6 boards because I can get a lot of brackets out of one board.
You will also need three pieces cut to 5-1/2” length. These pieces should have two pocket holes drilled in them. Attach the arms to the long piece as show with 2-1/2" pocket hole screws. This will fit inside the shelf, so make sure to place the bracket arms so they won't hit the spacer pieces inside your shelf. See the video link for instructions on how to mount the bracket to the wall.
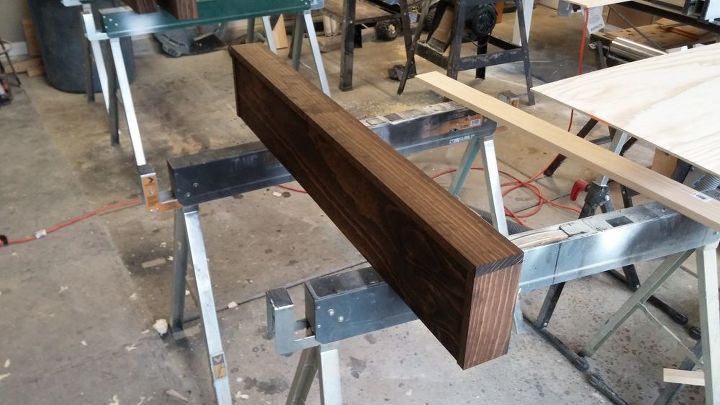
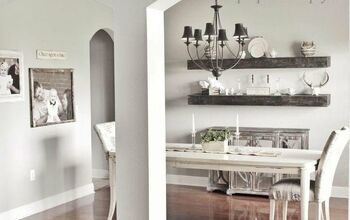
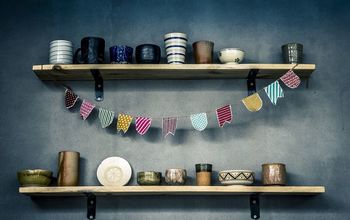
The finished shelf!
Comments
Join the conversation
2 of 15 comments
-
Beautiful shelves. Thanks for the tutorial.
-
The link to buy the shelves not working.


Frequently asked questions
Have a question about this project?