


Pottery Barn Inspired End Table
7 Materials
$40
1 Day
Medium
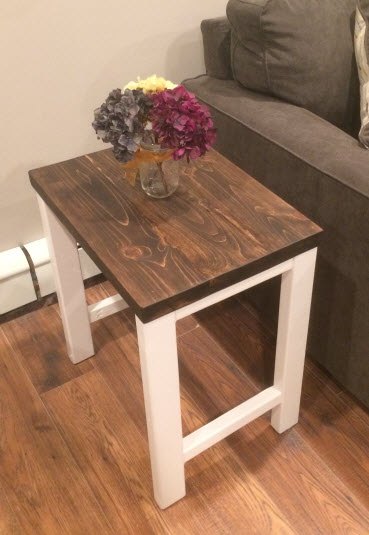
Want to create a Pottery Barn look for a fraction of the cost? Check out how I created these 2 end tables.
For a complete set of instructons and more pictures check out my blog here!!
For a complete set of instructons and more pictures check out my blog here!!
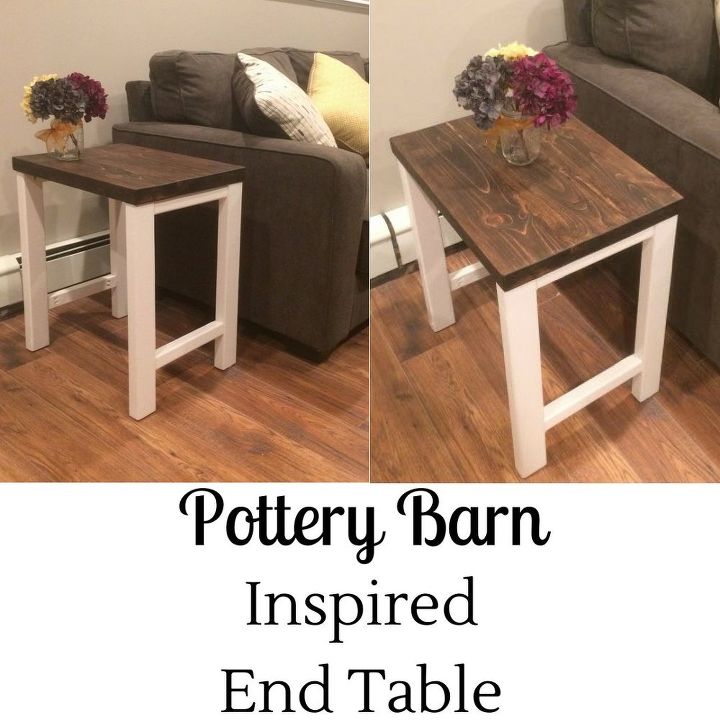
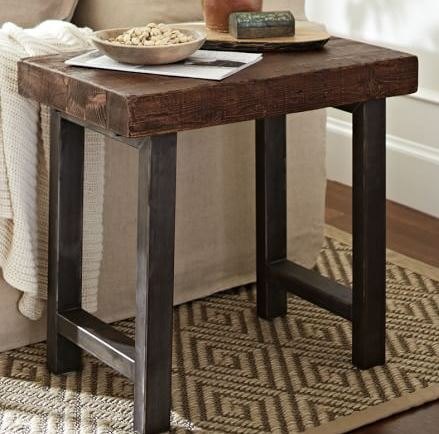
This project began in a similar fashion to my coffee table project I completed a few weeks ago!! After searching thrift stores, Home Goods, Overstock etc. for end tables for my newly renovated basement I gave up! I couldn’t find what I wanted within my budget. What I did find was the exact style I wanted, albeit in a slightly different color scheme, AND with a hefty $500 price tag. Here is my Pottery Barn inspiration!
Can you guess how much the wood cost to make two of my versions of the table? $40… yes $40 to make two, yes two side tables!! I think this is my favorite savings thus far.
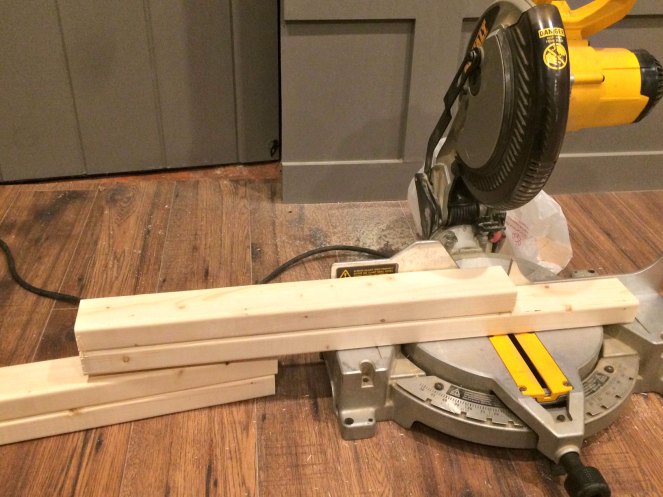
Like usual when I say we, I mean Jason, it just makes me feel a part of the build. We started by cutting the 4 table legs from those 8ft long pieces of 2×3’s. We used our Miter Saw to make sure that we had square cuts – pretty important so you don’t build yourself a wobbly table.
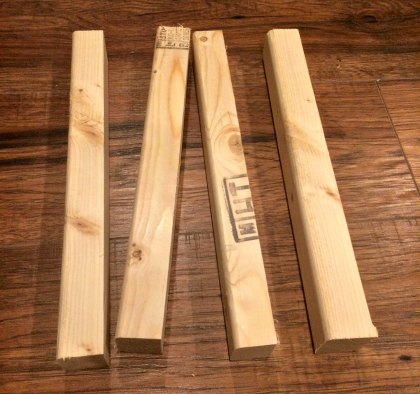
I wanted the horizontal support pieces to be smaller than the legs so I asked Jason to cut a piece of the 2 x 3 in half. We used our table saw to make sure it was cut in half and had a nice straight edge. From here Jason used the Miter Saw to cut them to the correct length – 9.5″.

We started by attaching the top piece to one of the legs using 1.5″ screws and wood glue to secure them. Use your spirit level to make sure they are attached straight!! And then we attached the bottom piece using the same method.
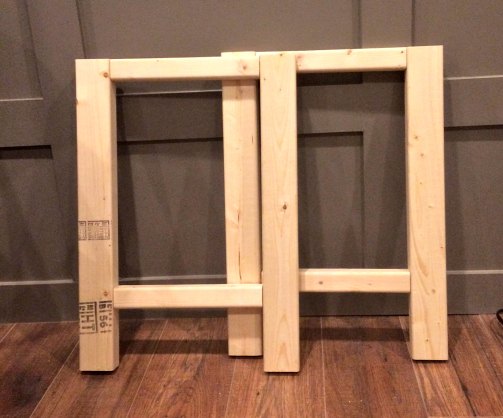
Repeat this process to create the second half of the base…
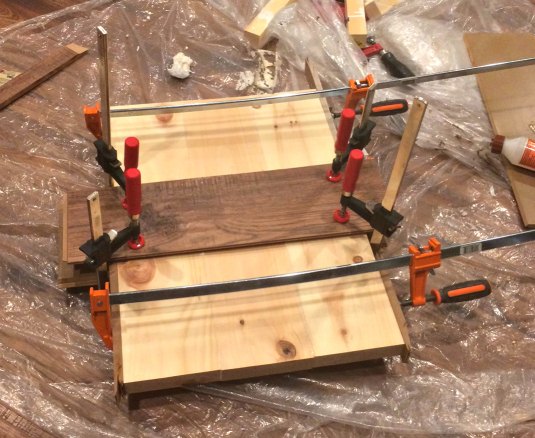
When we had all the pieces glued and edges cut straight I (I actually mean me here!) arranged the boards in an order I liked the look of. I tried to make sure I had plenty of knotted bits, I think it makes the wood look very rustic! With some more glue and clamps I joined the 3 pieces together to make one chunky table top.
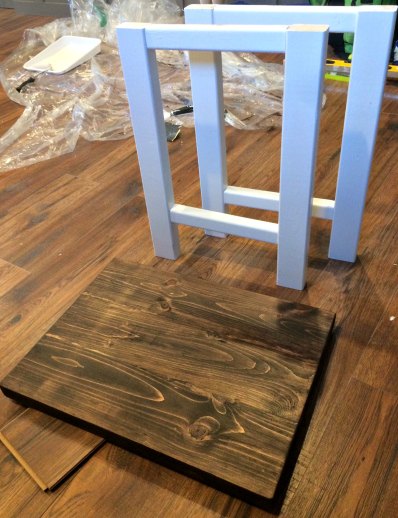
I applied the stain using a foam brush, let it soak in for 10 minutes and then wiped it off with a rag. For the legs I painted them with a foam roller. It took about 3 coats in total.
To attach the top we pre-drilled some pocket holes in the back of the table legs and the 2 top supports and used 2″ wood screws – 4 on either side. To prevent the legs from moving back and forth we added a small block of wood in the middle behind the top supports. Big enough to offer enough support but small enough to remain hidden. (I can add a picture upon request!)
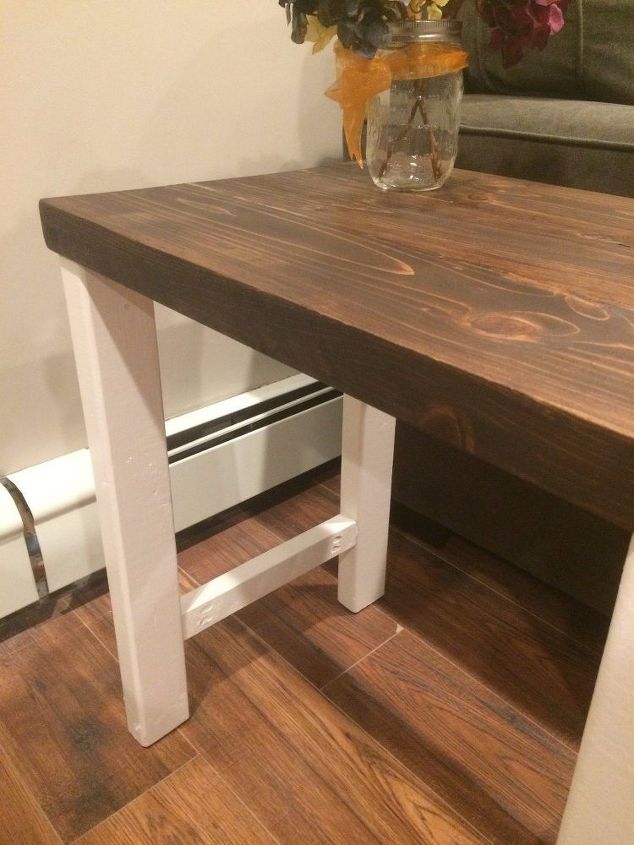
I love how the tops came out, you can not tell they are made of 6 individual pieces of wood!!
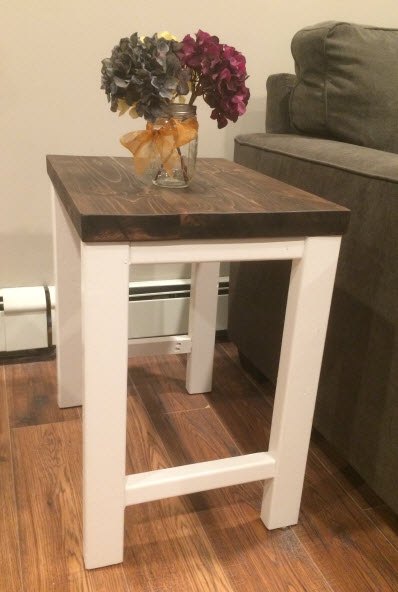
Isn't she gorgeous!? All for a fraction of the cost!

Want more details about this and other DIY projects? Check out my blog post!
Comments
Join the conversation
2 of 47 comments
-
Love this table, I will be making two for my home.
-
I just looked at the prices at pottery barn's website... $499? Yikes!
Looks great for only $40!
Just makes me think when I see something I like, how much profit are the stores making?


Frequently asked questions
Have a question about this project?
yes most definately even though it will be my first of many DIY's I will be attempting to do.
Do you have a printable plan for any of these designs please? Or where can I download the making of ??? plans.
Awesome Thank you.
What is the demensions for the table top?
I would like to know what exact wood pieces you used? the size and kinds of wood you used and also what lengths you cut into? Thank You so much!! You tables are beautiful!