


Build a Basic Tablescape Box
6 Materials
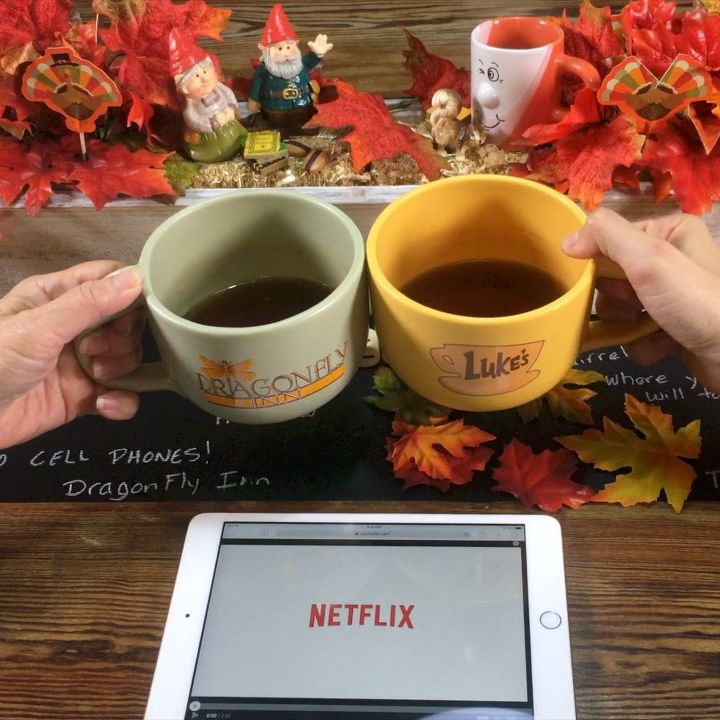
I've (Steph) been a Gilmore girls fan since season one. When I heard that it was coming back I was so excited! My first thought, I have to watch each episode again in preparation for the new show. My second thought, we have to make a DIY project in honor of Gilmore girls!
With the new show being called "Gilmore girls: A Year in the Life," we knew our DIY had to incorporate the seasons in some way. Who doesn't want a little Gilmore girls all year round?! So grab some coffee and a mallomar and enjoy "Gilmore girls: A Seasonal DIY Tablescape."
With the new show being called "Gilmore girls: A Year in the Life," we knew our DIY had to incorporate the seasons in some way. Who doesn't want a little Gilmore girls all year round?! So grab some coffee and a mallomar and enjoy "Gilmore girls: A Seasonal DIY Tablescape."
First we are going to make a simple rustic box then fill it in four different ways, one for each season!
{
"id": "3603887",
"alt": "",
"title": "",
"video_link": "https://www.youtube.com/embed/9pf7yxSKDo4",
"youtube_video_id": "9pf7yxSKDo4"
}
{
"width": 634,
"height": 357,
"showRelated": true
}
Watch the how-to video
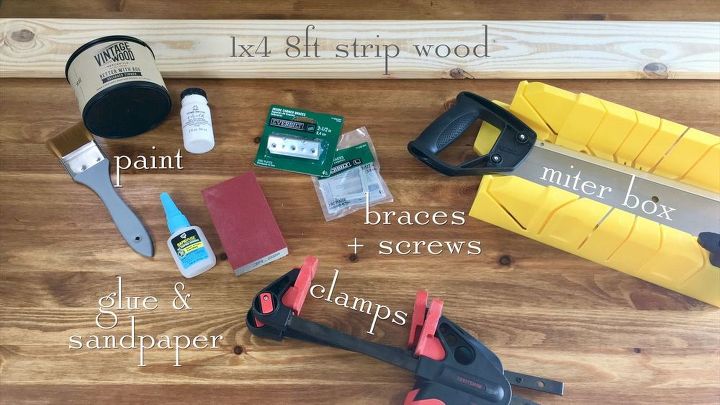
Gather materials
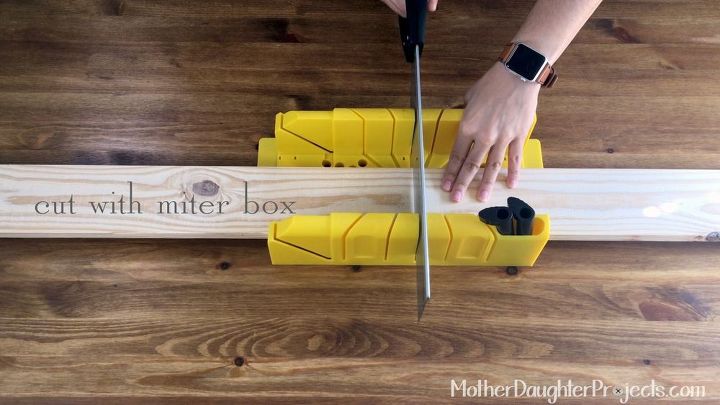
Cut (3) 24" pieces and (2) 5" pieces from the wood using a miter box or miter saw.
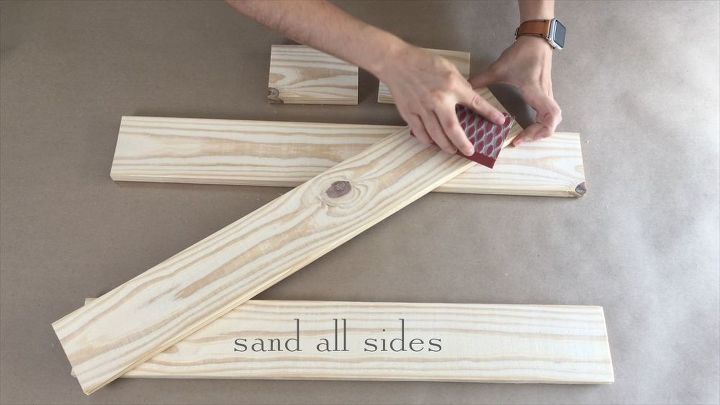
Sand all sides of the wood. Manually sand or use an orbital sander.
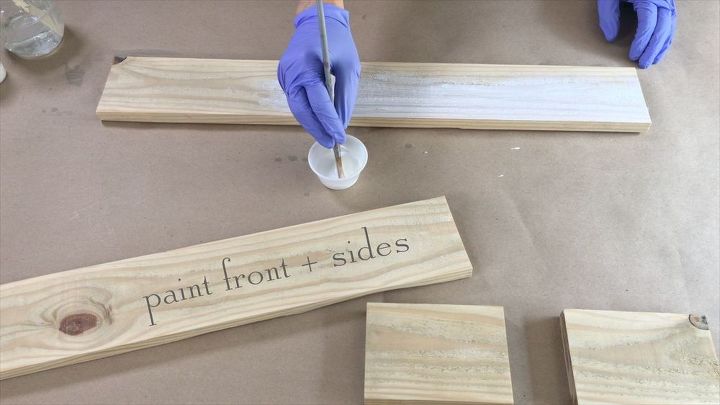
Mix a small amount of chalk paint with water and paint the wood.
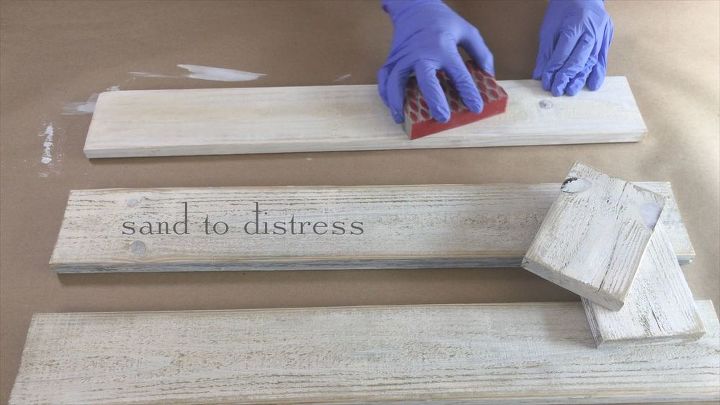
Sand to distress to your liking.
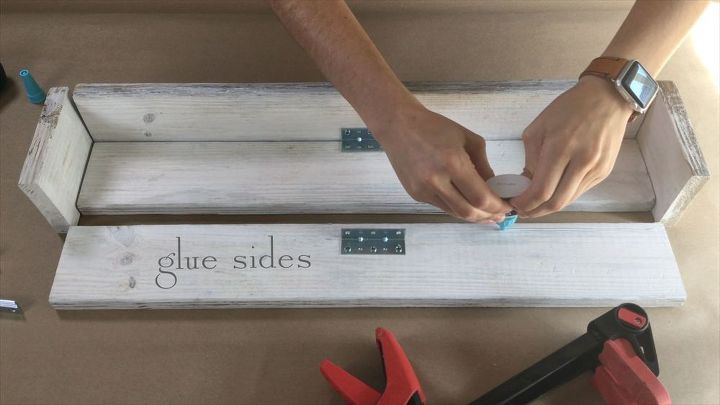
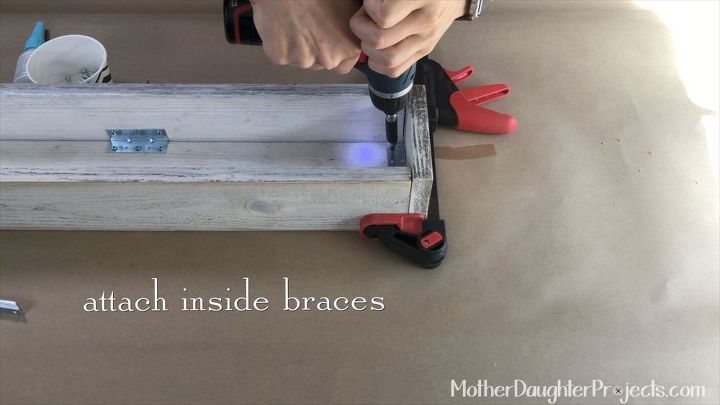
Place corner braces and hold while screwing into place. Repeat with other side. Apply quick drying glue to both sides then clamp in place. Screw the bottom corner braces in place.
Glue and re-clamp the side pieces and attach the corner braces.
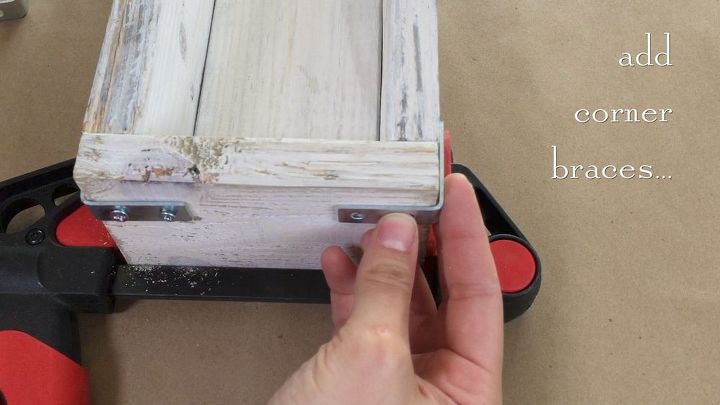
Add corner braces to the top four corners. Use an extra brace as a guide for placement. Once dry, remove clamps.
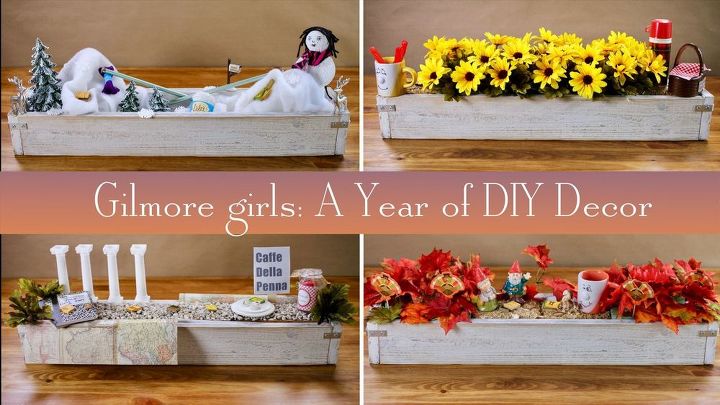
Decorate your table for each season. See how many Gilmore girls references can you display in your tablescape! Now we're ready for Gilmore girls: A year in the Life. Copper boom!
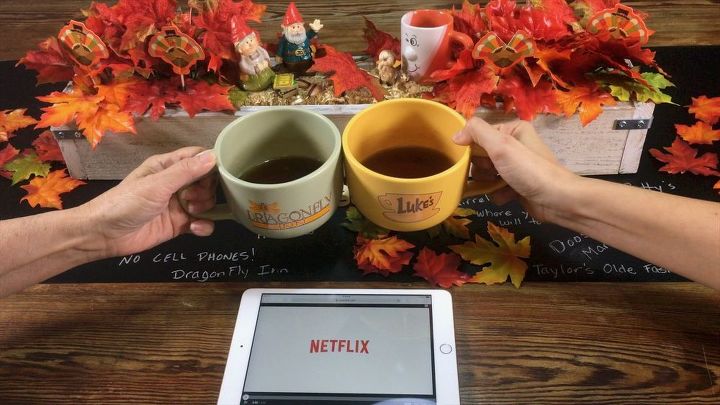
To see more detail and find out which episode each of these references are from- check out our website below!

Want more details about this and other DIY projects? Check out my blog post!
Comments
Join the conversation
1 comment
-
I love the straps showing. Well done.


Frequently asked questions
Have a question about this project?