


DIY Gratitude Tree
One of our November traditions is to write down things we are thankful for every day. We have done it a number of ways over the years. This year I wanted to do something bigger, something that we will see all of the time, that is easily accessible, that is bold!
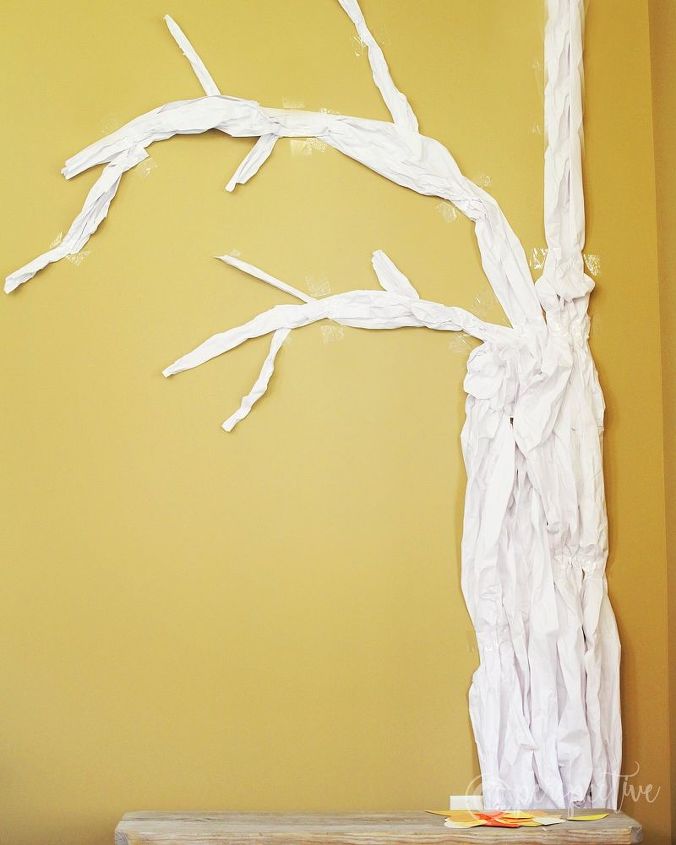
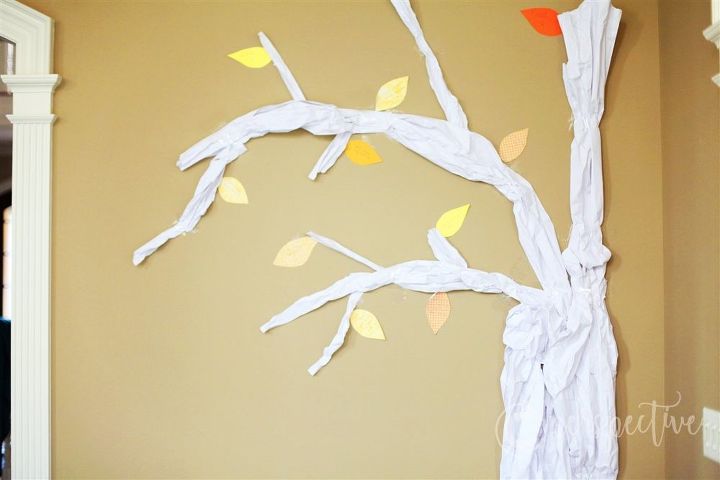
I decided to use this big blank wall in our family room to create our own Gratitude Tree. It was easy to make and in just the few days we've done it, our tree is filling in nicely!
I decided to use this big blank wall in our family room to create our own Gratitude Tree. It was easy to make and in just the few days we've done it, our tree is filling in nicely!
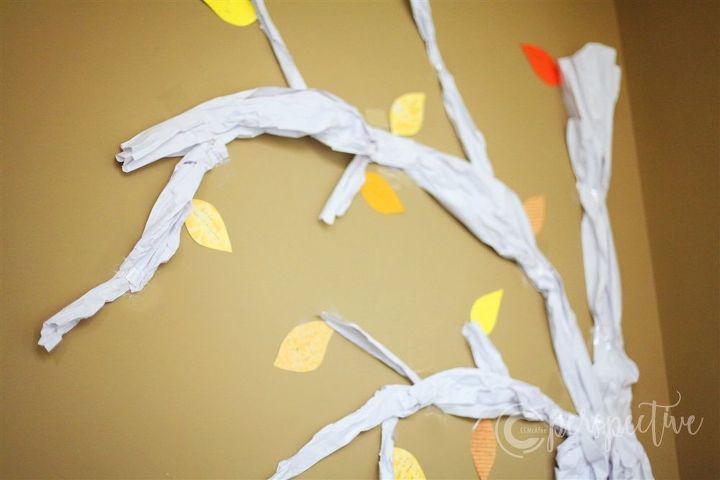
To make it you will need scissors, white crafting paper or drawing paper (kraft colored paper would be cute, depending on your wall color), a light tac tape, paper to cut out leaves.
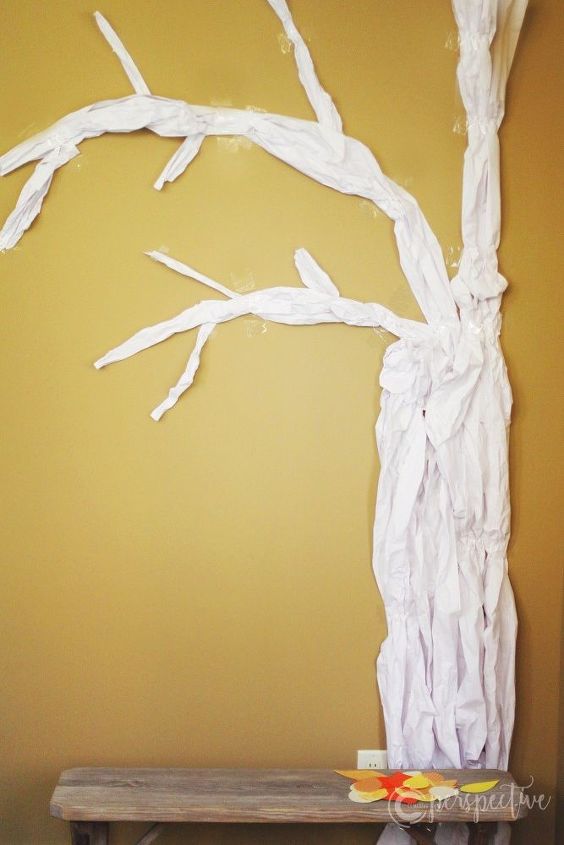
For the branches I just used single lengths, as well as shorter lengths. It bothers me just a little that the transition from the trunk to the branches looks how it does, but let's not be too picky! The point of this is to have a place to put our 'leaves of thanks'!
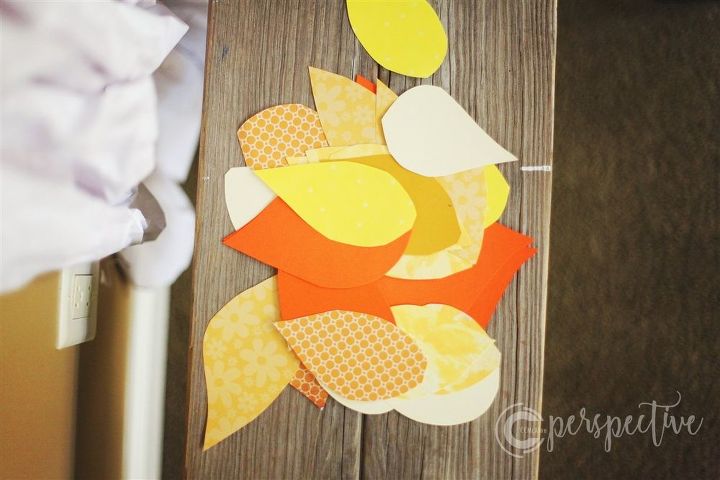
I cut a bunch of leaves from scrap paper that I have.

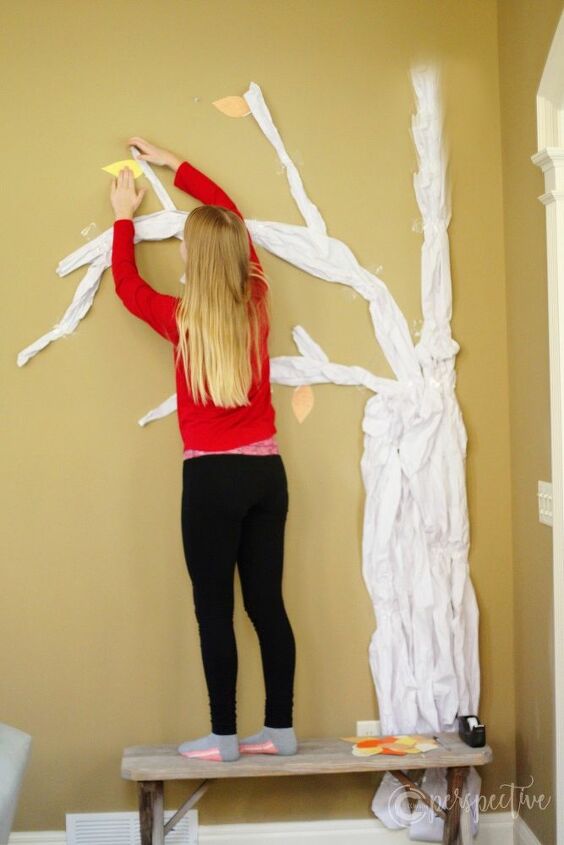
I have given everyone the assignment to write down at least one thing, each day, they are grateful for. It can be as bold or as trivial as they want. There is plenty to be thankful for, we don't need to repeat either!
I can't wait to see what it looks like in a few weeks!

Want more details about this and other DIY projects? Check out my blog post!


Frequently asked questions
Have a question about this project?