


DIY Farmhouse Sign
For November's Monthly DIY Challenge, my friends and I challenged each other with a reclaimed wood theme. Luckily (or unluckily?) a deer jumped over our fence recently and knocked part of it down leaving lots of broken boards laying in the yard. This was perfect for the challenge! I decided to use the weathered wood from the fence to make a DIY farmhouse style sign for our recent kitchen makeover.
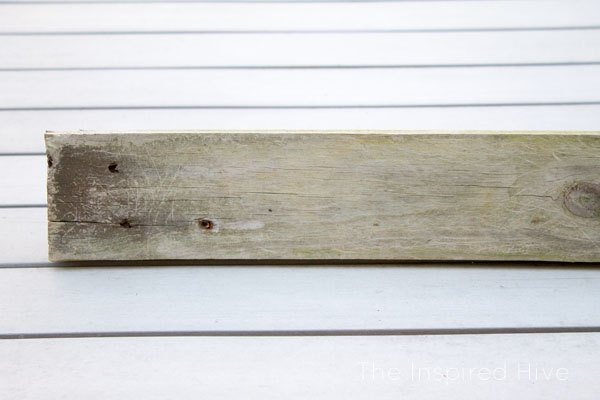
I used a hammer to remove the old rusted nails and used a cloth and some sandpaper to remove some of the dirt and debris. This gave me a smooth surface for painting.
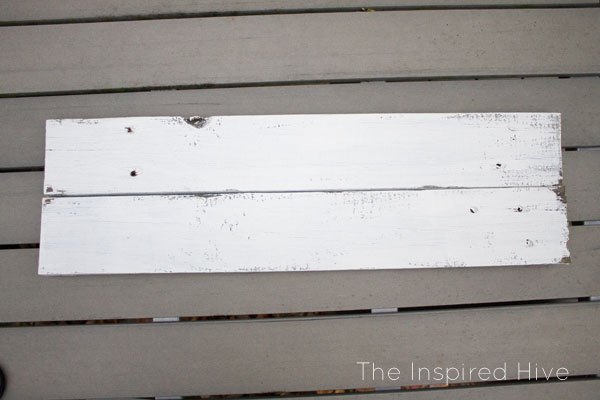
I cut the board into two equal sized pieces. I used vaseline on some of the edges to prevent paint from sticking to give it that distressed look. Then, I gave the boards a quick coat of white paint. Since I wanted it to look distressed, the paint did not have to perfect and I just lightly brushed it on. Once dry, I did a little bit of sanding to distress it further.
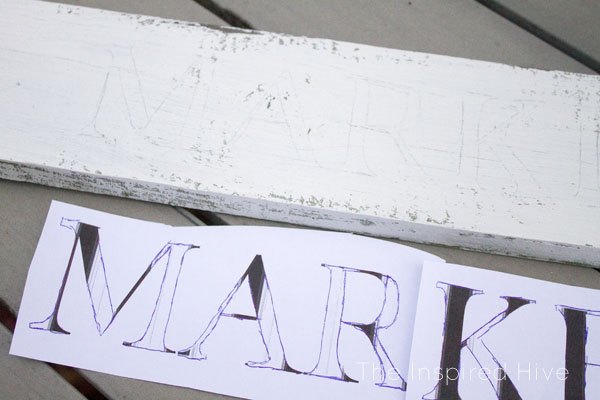
Then, I used my favorite method for transferring text to projects. You just print out the font of your choice, shade the back with a pencil, and then trace over it to leave pencil marks on the project. You can see the full tutorial for transferring text here.
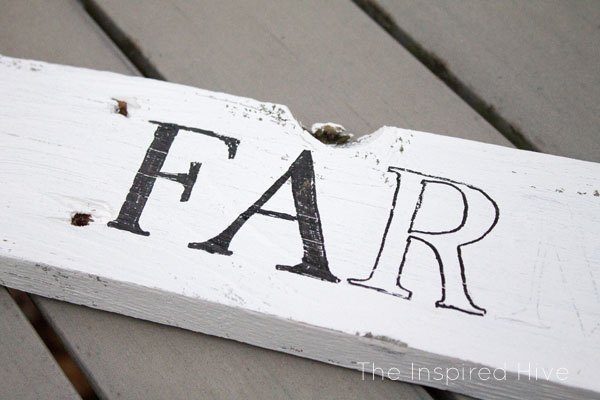
I filled in the penciled letters with a black marker, again just going lightly to add to the distressed look.

Last, I stacked the boards one on top of the other and used a nail gun at an angle from the back to attach the boards to each other. You could also use brackets or even wood glue.

Want more details about this and other DIY projects? Check out my blog post!
Comments
Join the conversation
2 of 4 comments
-
fantastic results, I love this project. Must make.
-
Love this! It looks great.


Frequently asked questions
Have a question about this project?