


DIY Chandelier Makeover

4 Materials
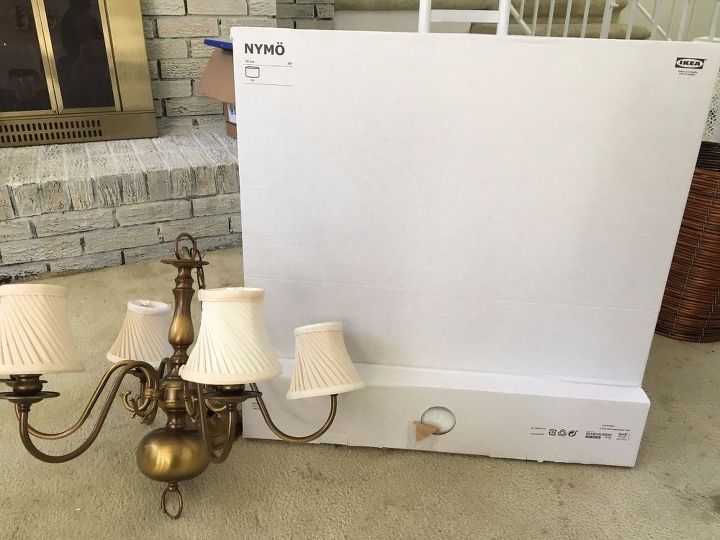
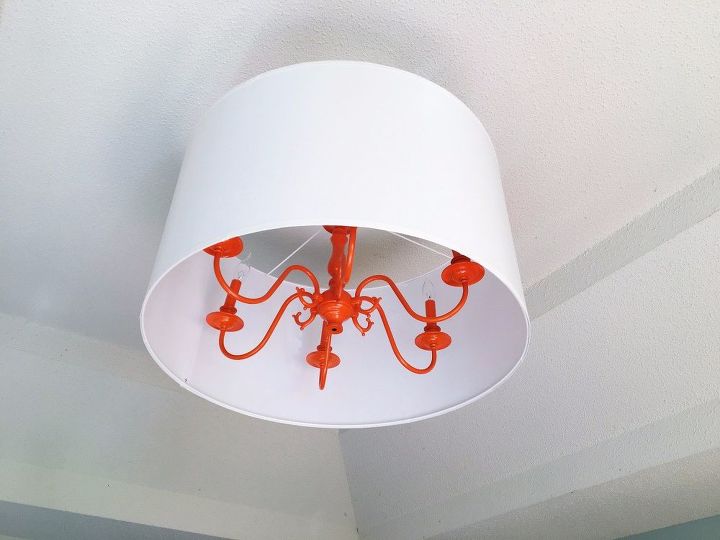
For my YouTube series, The Handy Homegirl's Homie Hook Up, I made over an old school chandelier by adding a pop of color and a drum shade for a modern flair.
{
"id": "3627436",
"alt": "",
"title": "",
"video_link": "https://www.youtube.com/embed/45GgrVhkvvQ",
"youtube_video_id": "45GgrVhkvvQ"
}
{
"width": 634,
"height": 357,
"showRelated": true
}
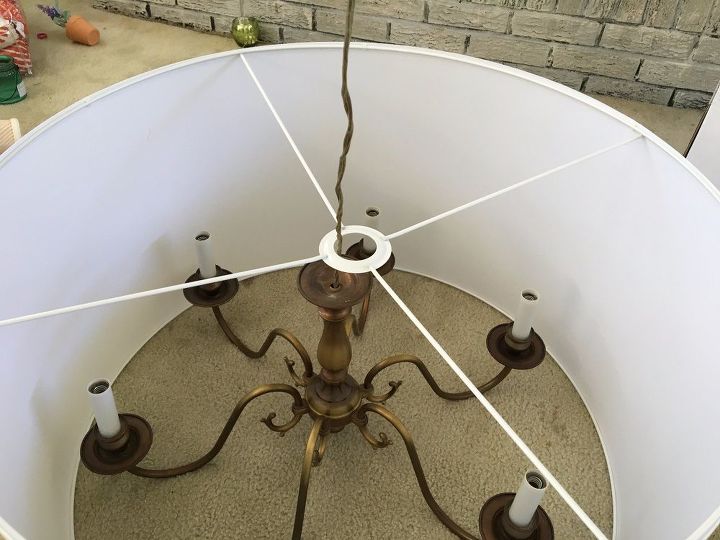
I wanted to create a traditional yet modern piece so purchased this drum shade from IKEA to give the chandelier an updated look.
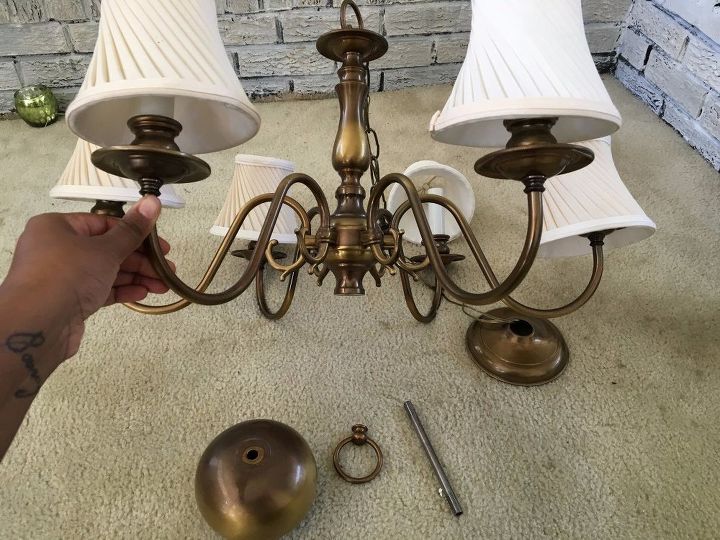
First, remove the shades and any adornment you don't want.
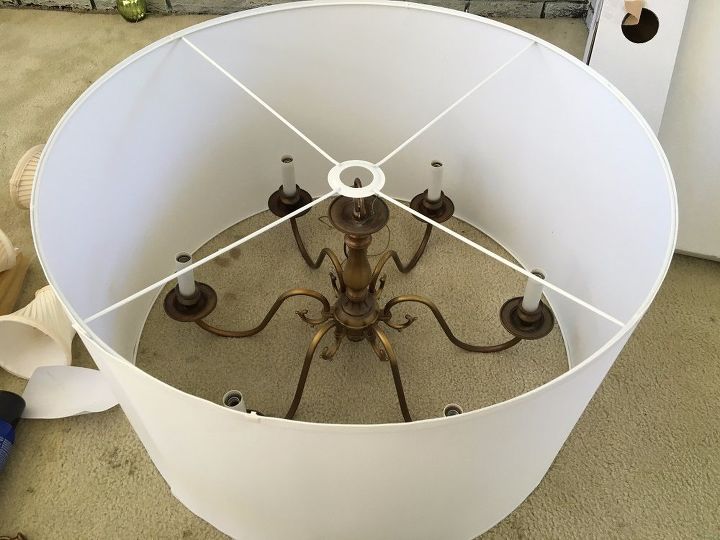
I followed the directions to assemble the shade and made sure it fit around the chandelier.
Hopefully, this piece comes standard with most old school chandeliers. I unscrewed the top ring, so I could get the shade to lie flat against the flat surface.
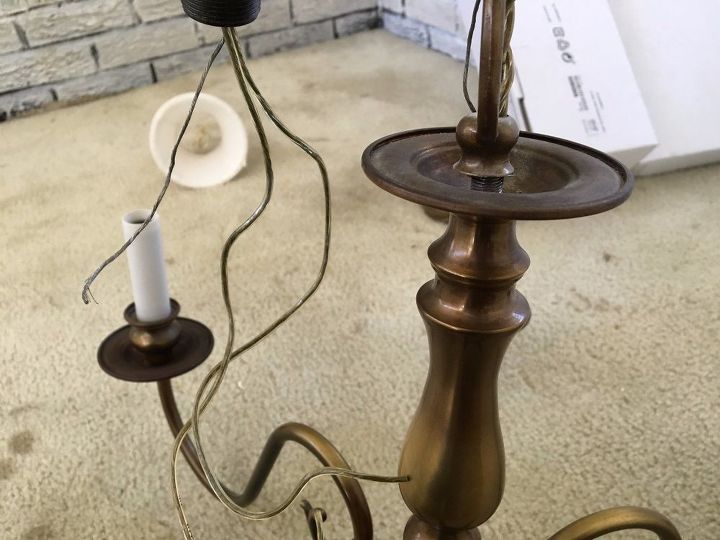
The ring is unscrewed so that the chain can be removed and prepped for spray painting.
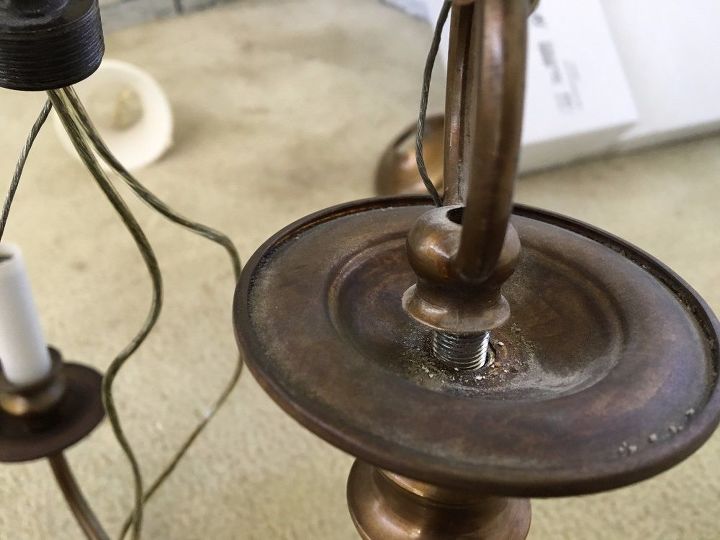
Now, the wires are exposed.
I placed the shade back on to make sure I didn't screw it up, and it came together just fine!
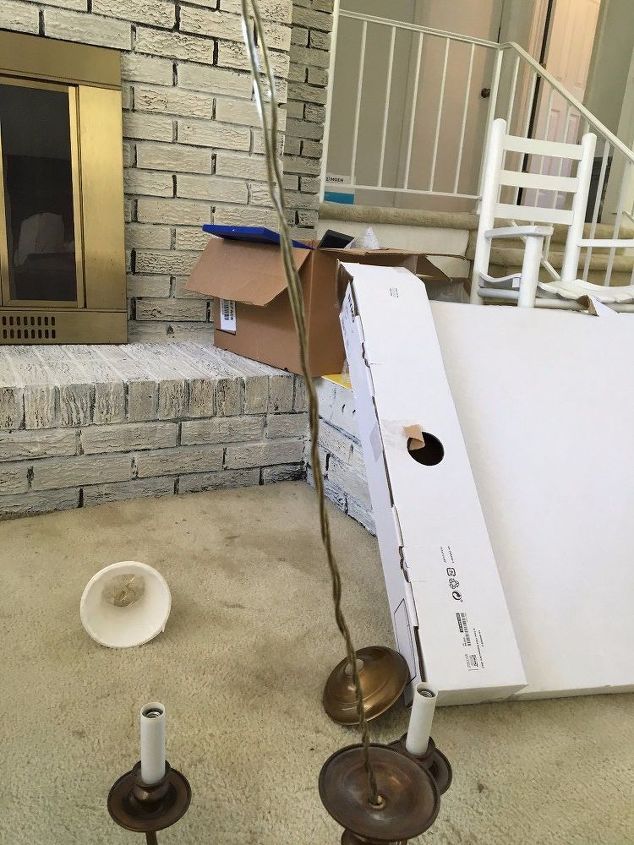
Now it's time for painting! You want to make sure you are in a well-ventilated area and can hang the chandelier from something. I strapped this thing to my garage door.
Make sure to stuff pieces of paper towel inside the tubes so spray paint won't get inside and affect the electrical.
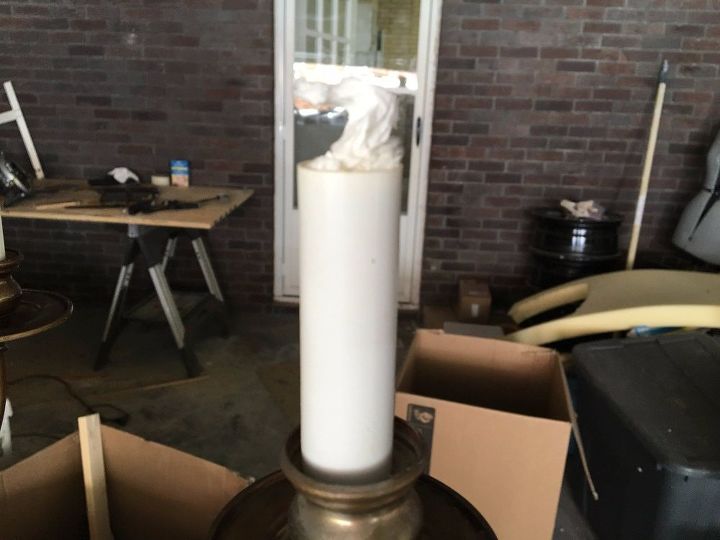
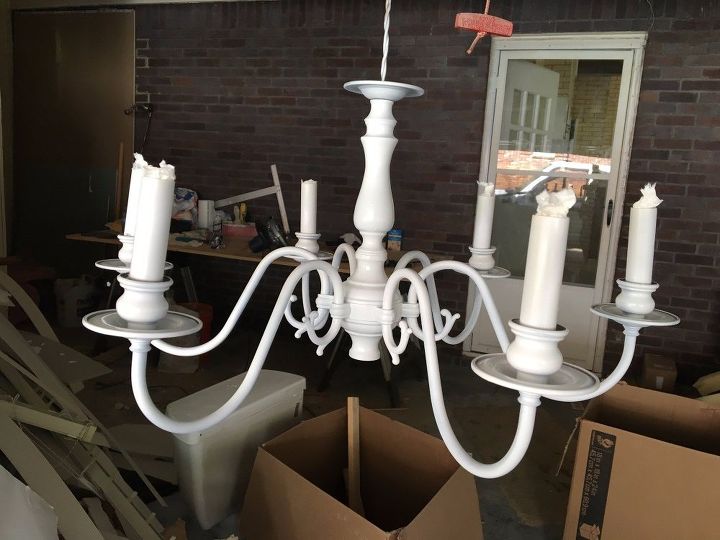
First, I primed the chandelier with Rustoleum flat white primer and then let it dry for 30 minutes or so.
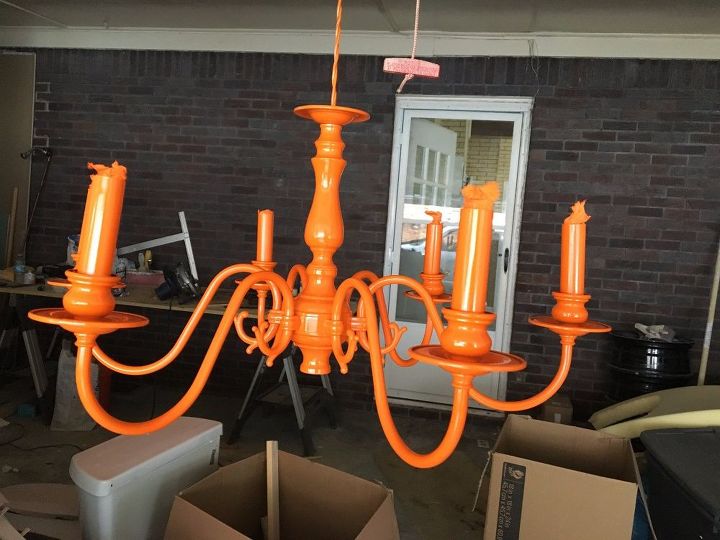
Once the primer was dried, I used Rustoleum Orange spray paint in gloss to spray the chandelier, chain, and ceiling cover. Remember not to spray too close, or you will get drips.
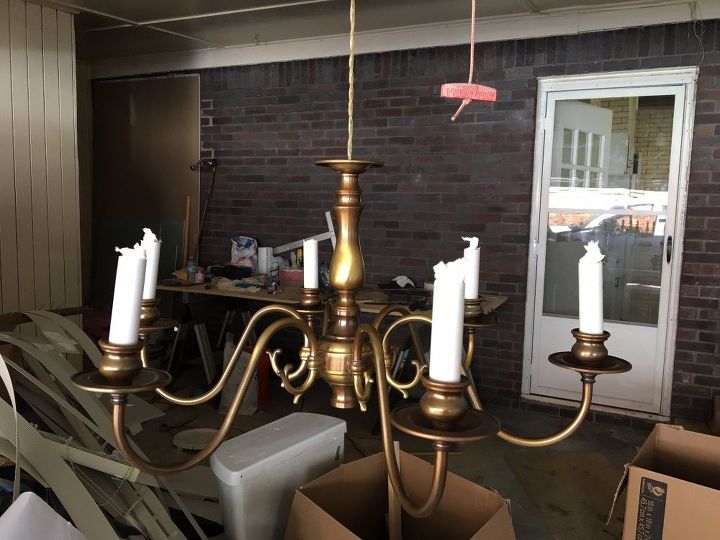
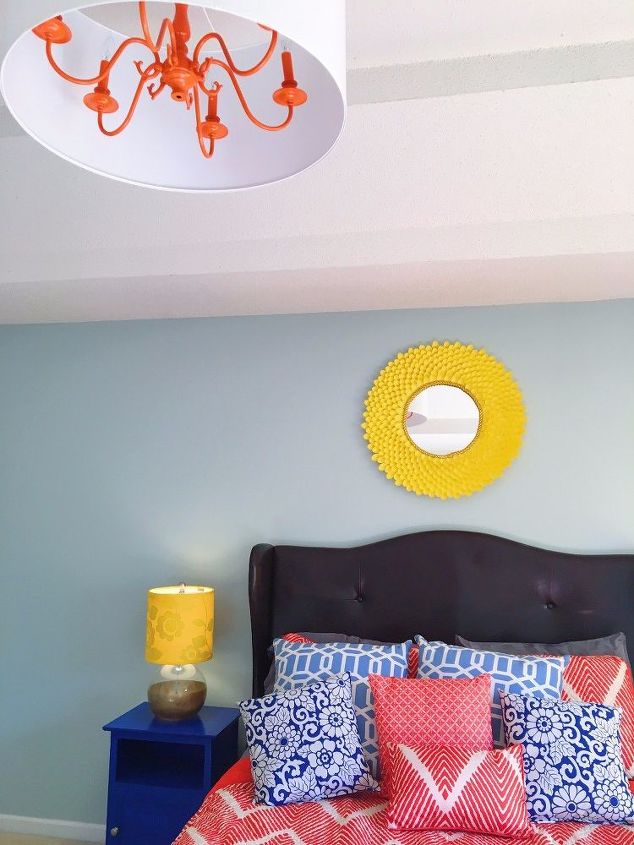
Finally, I purchased and added new chandelier light bulbs, put the shade on, reattached the chain and ceiling cover and mounted it in my homie's made over bedroom!
Viola! Thanks for reading, and to see more tutorials check out my blog and YouTube channel, The Handy Homegirl.
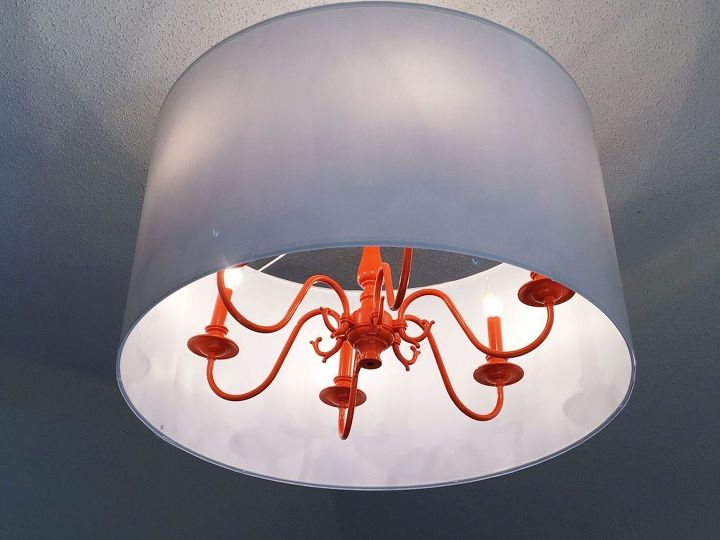
Heere is a picture with the light on!
Comments
Join the conversation
2 of 52 comments
-
looks great. I would worry that it is hanging by the wire unless the "ring" was screwed back on and hung by chain. Maybe that was just a step not shown.
-
you rocked that gurl


Frequently asked questions
Have a question about this project?