


Mini Stocking Hat Ornaments or Package Toppers

These Mini Stocking Hat Ornaments use yarn and the cardboard roll from paper towels or kitchen wrap. This isn't a new project idea but it is new to me. It uses just a few supplies that you possibly have on hand. (The fact that you are reading this on Hometalk increases that probability.) I used yarn, scissors and a cardboard roll for some of the hats and I bought some pom poms for two of the hats. I found this project to be fun and therapeutic. I haven't done a crafty project of this nature in a while. It is also a project that you can customize by varying the size of the hat brim (cardboard roll), yarn type and colors of yarn used. I also enjoyed using up some of my yarn stash. Update: One of the comments below gave some valuable advice... Here it is... Thanks Loretta! "I've made hundreds of these....started out with toilet paper cardboard but soon found out that taking empty roll cardboard from glad wrap, aluminum foil and cut them to 1/2 inch worked better. The cardboard is a lot sturdy and doesn't end up misshaped. I also use a crochet hook when I can't get the yarn through the middle....Hope this helps"
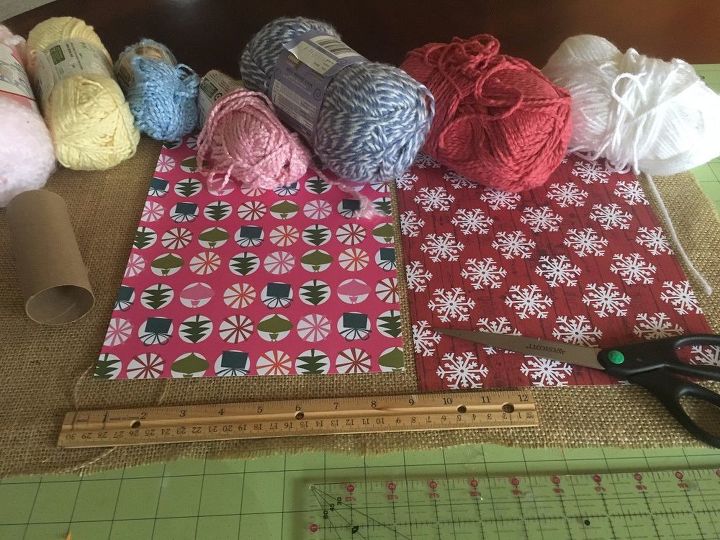
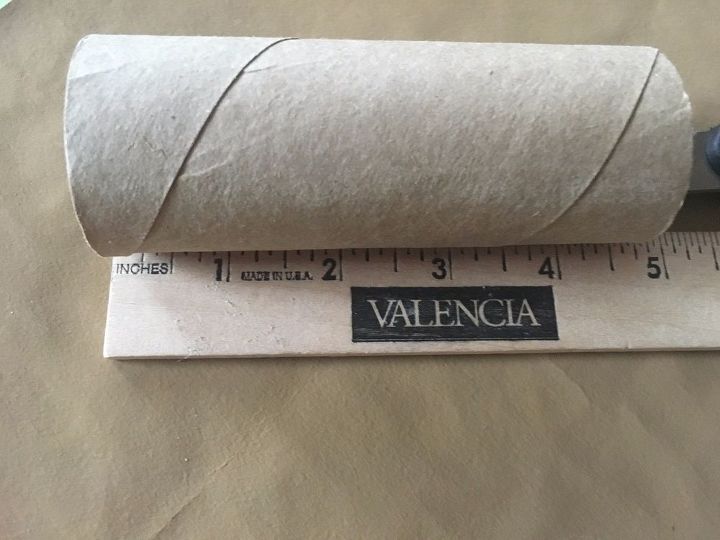
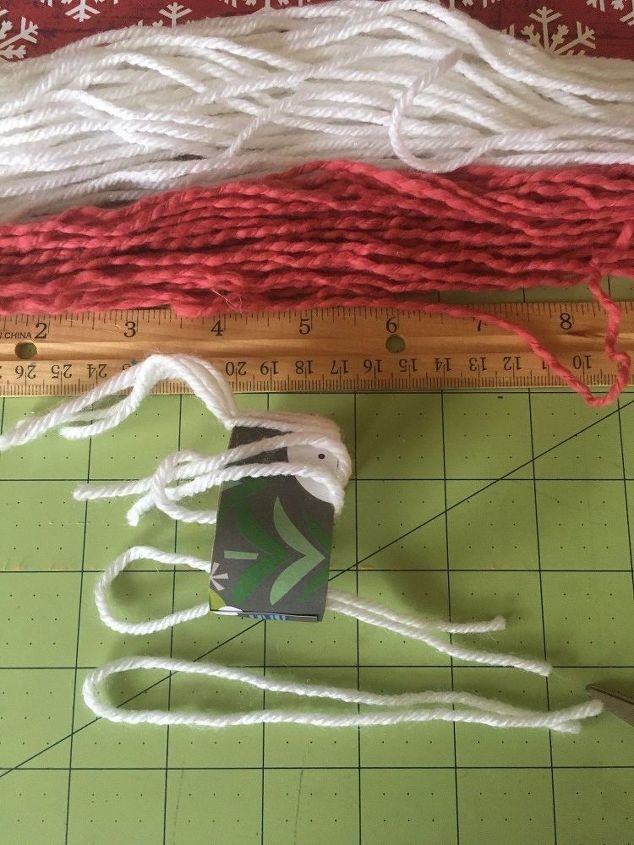
The tutorial I was using didn't give lengths for the yarn or how wide to cut the cardboard tube. I used a variety of yarn lengths and cardboard roll widths to create these hats. Also, I was determined to work with yarn that I already had on hand. I pulled out scrapbook paper to provide Christmas inspiration on color palettes.
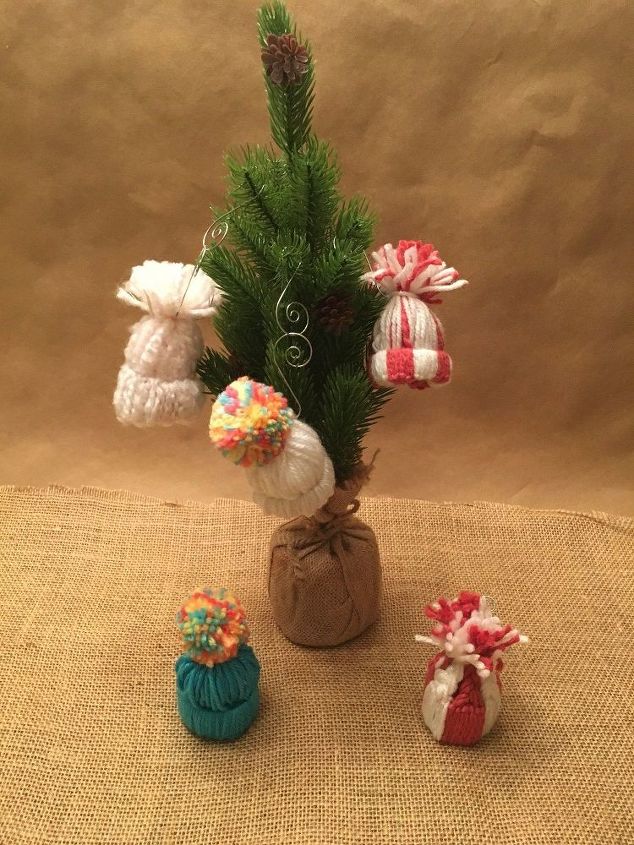
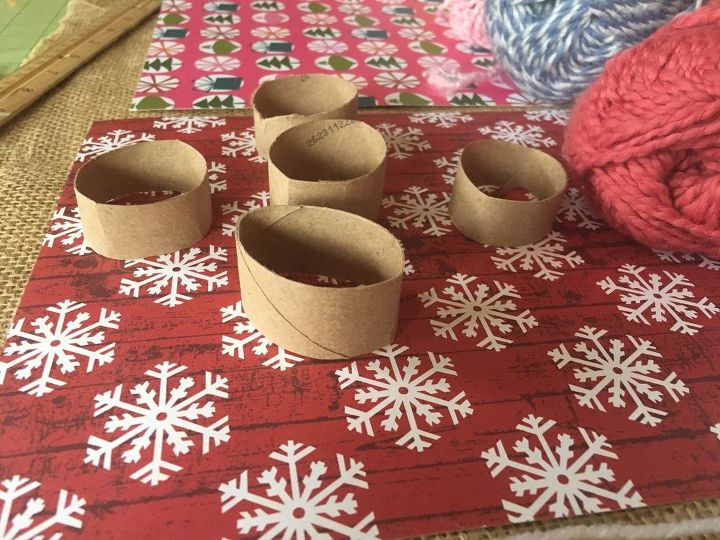
The light pink stocking hat (top left) was a 1 inch cardboard tube and 15 inch in length pieces of yarn. The light blue was a 3/4 inch cardboard tube and 14 inch in length pieces of yarn. The white one with multi colored store bought pom pom (middle) was a 1/2 inch cardboard tube with 11 inch in length pieces of yarn. The striped red and white hat hanging on the tree was also a 1/2 inch cardboard roll and 11 inch in length pieces of yarn. The red striped one on the ground was my first one and it was a 1 inch cardboard roll and 11 inch in length yarn pieces but this combination wasn't long enough to complete the hat in the desired fashion. I actually ended up modifying this one to add a pom pom on top. You can see it in the last picture of this post. It now has a white pom pom on top. So, select the look you want to achieve and cut your cardboard rolls and yarn to those dimensions. Or use your own dimensions!
This is how I selected the 1 inch option. I think my favorite ended up being the 3/4 inch brim.
I wasn't using my sharpest scissors and I could sure tell.

When cut my pieces of yarn, I would wrap them around a piece of cardboard or in this case an unopened package of cardstock to get 11 inch pieces. You will need about 40 pieces per hat.
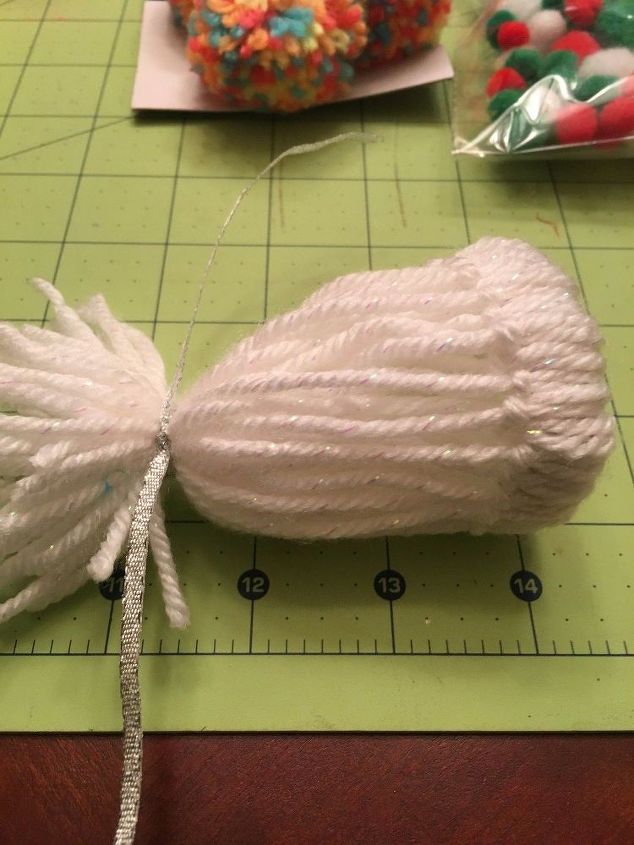
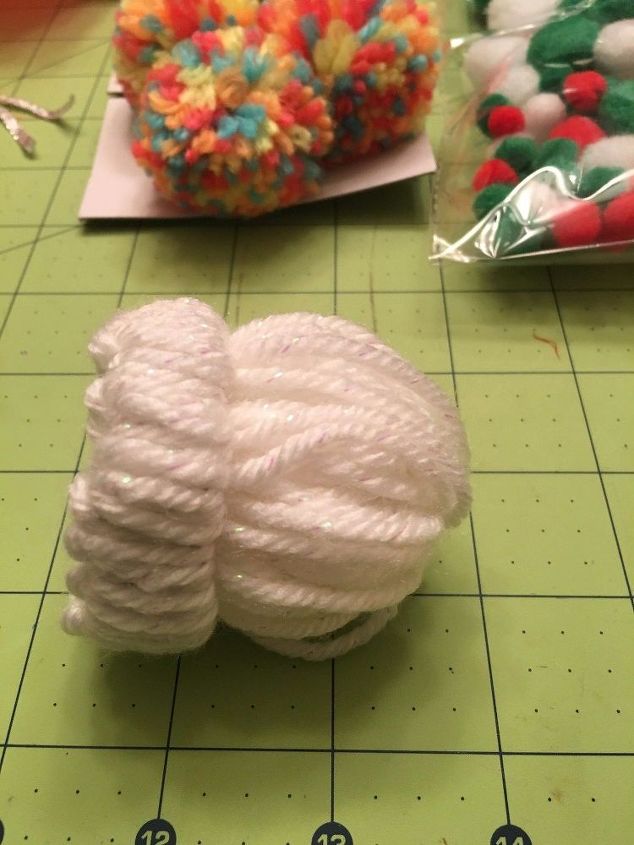
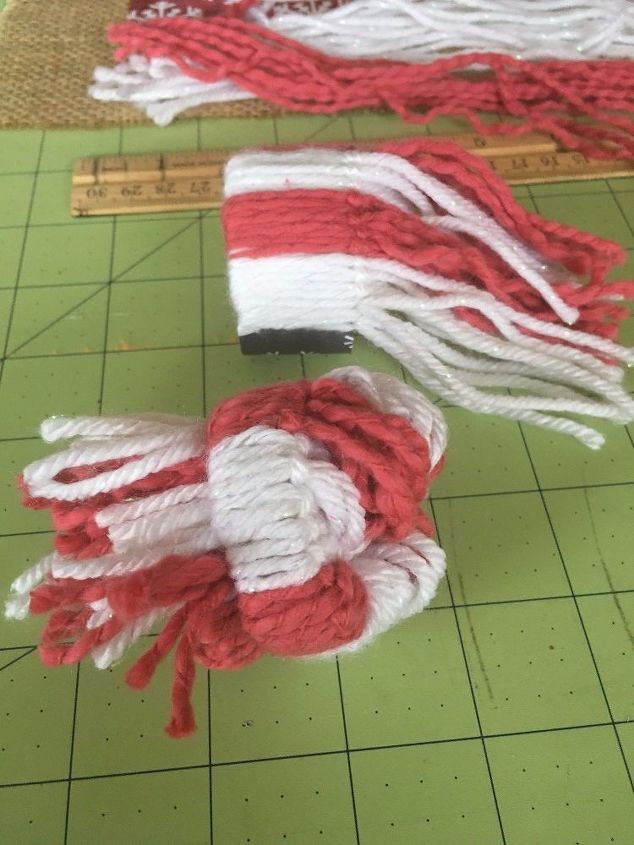
On some of my cardboard rolls, I used a scrap piece of cardstock. This is totally optional and is not seen on the finished product. I liked this because when I would slide the yarn together, it moved smoother than on just the plain cardboard roll. Step 1. Fold your piece yarn in half. Step 2. Bring it through your cardboard roll. Step 3. Bring the tails or ends up and through your loop. Step 4. Pull Tight Step 5. Slide together to hide cardboard tube and keeping adding until the tube is completely covered.

Here is one completely covered.
At this point, you will decide if you want the store bought pom pom glued to the top or the natural pom pom from your yarn ends. The above picture shows a pom pom that I bought. I will give instructions on this one first.
For the pom pom added to the top of the hat. Tie your ends before pushing through the cardboard ring.

Push your yarn bundle through the cardboard holder to the other side.
Once it is through, it will look like this. Now you turn it upright and glue a pom pom on top.
For the natural pom pom version, you push the strings through without tying them.
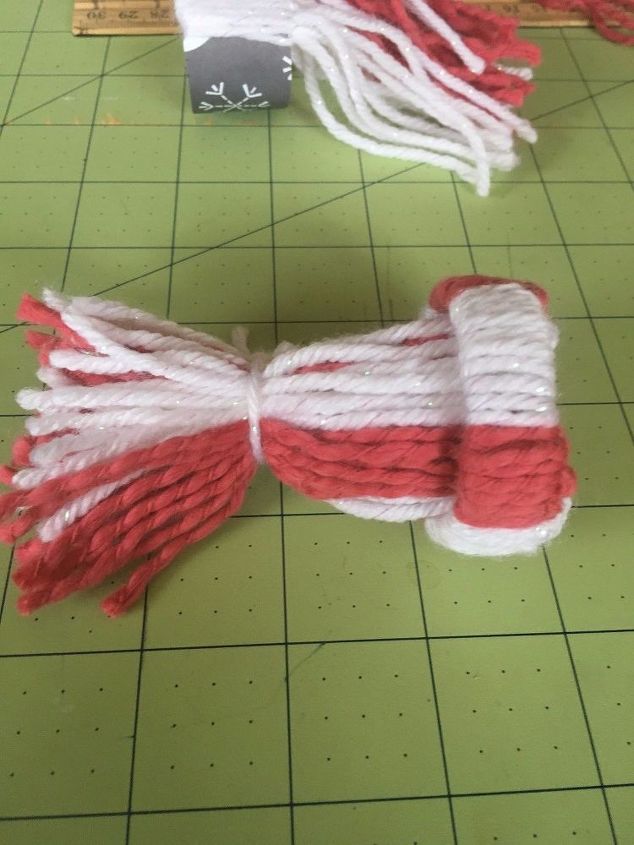
Once the yarn is pushed through and smoothed a bit. Tie it good and tight and you can give it a trim. I found the leaving about 1 inch at the top left a nice pom pom shape. Then to give your hat a bit more shape, add a crumpled up piece of tissue paper. I used a piece that was approximately a 7 inch square shape. The version with the store bought pom pom doesn't need this step because it has all the yarn tails inside to give it shape.
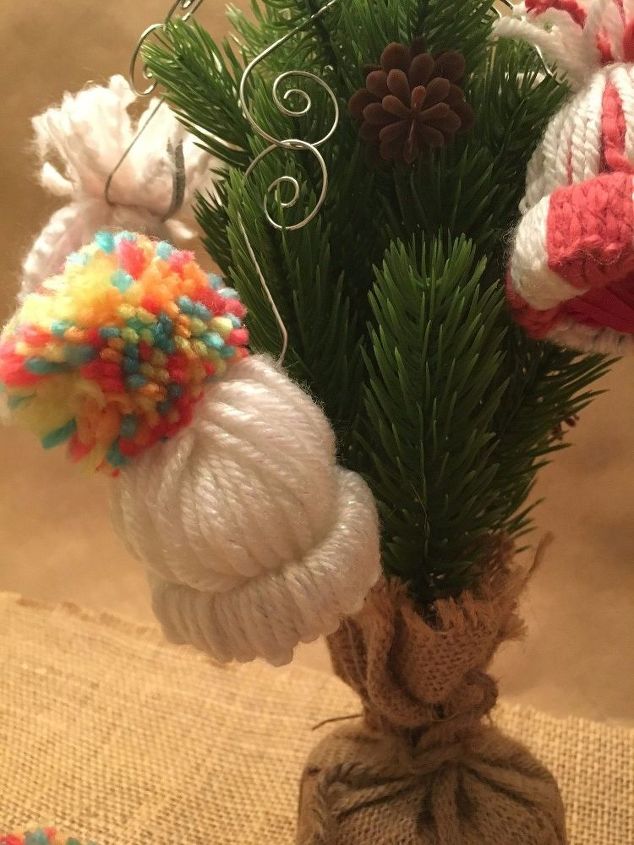
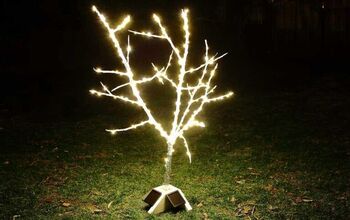
We haven't put our tree up yet so this is the next best thing. I hope you enjoyed my little recycling project because I sure did!
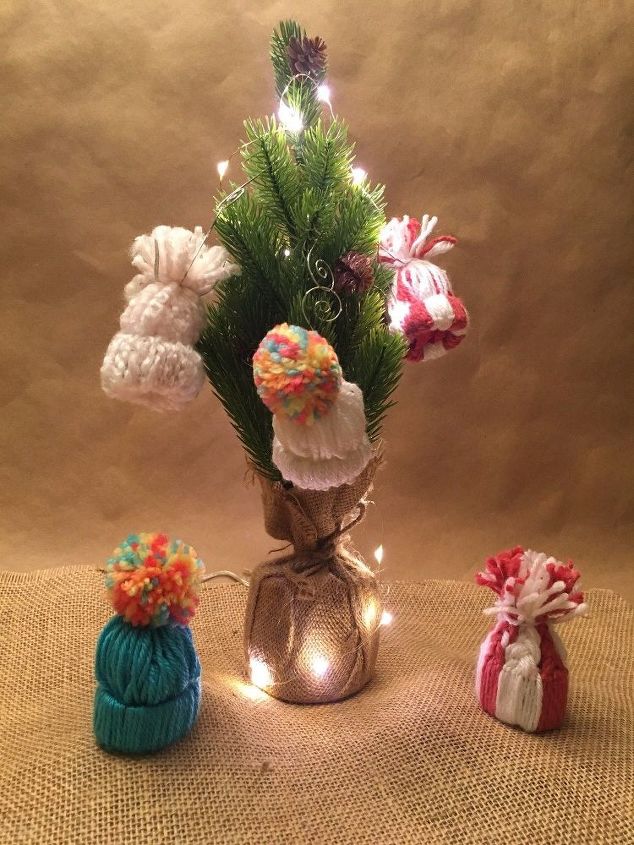
I am loving my $3 mini tree and $2 battery lights and, best of all, the hats that began as recycled cardboard rolls. Happy Holidays Everyone!!!!
I see more stocking hats in my future...
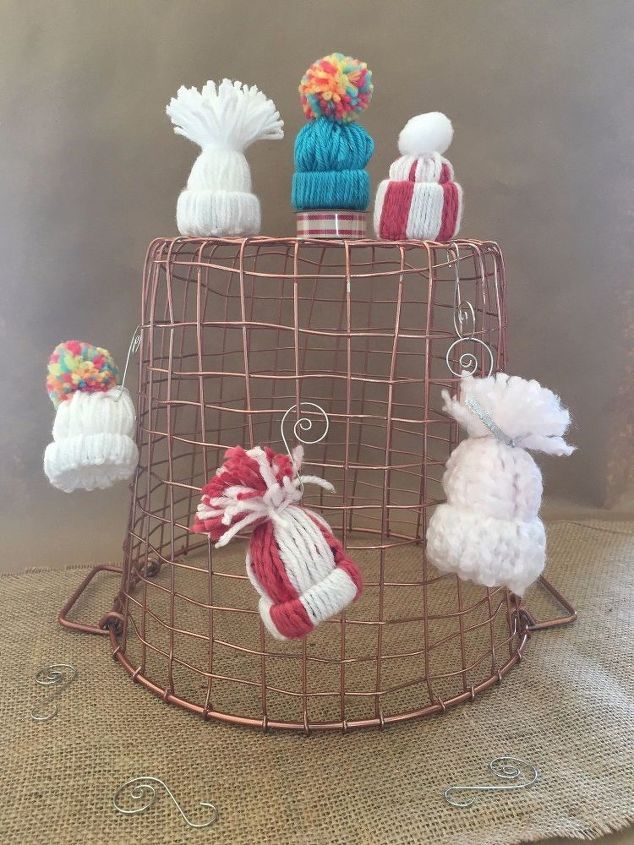
And just an additional FYI, all the hats pictured here came from one cardboard roll. 6 hats from one roll.
DIY Christmas Decorations
Comments
Join the conversation
-
Absolutely adorable! I'm putting these on my list of gifts to make & give.
-
These would be make very unique wrapping embellishments, and so much more of a conversation piece than an ordinary cheap bow.


Frequently asked questions
Have a question about this project?