


The Dress up Closet Makeover Part 1
4 Materials
Its been a while since I have posted so I thought I would share a fun little project that I am working on! It all started with a china cabinet you know the ones that your grandparents kept those thing that looked really cool but you were never allowed to touch or that fine china that was never used just looked at.
I found one on trash day and decided to take it home one mans trash is another's treasure right??? hahaha at least that's what I tell my husband when he sees my stash taking up valuable garage space!
Because this project is taking me longer than I had anticipated I will be doing it in two parts the door/glass and then the body and labor of turning a hutch top into a dress up closet.
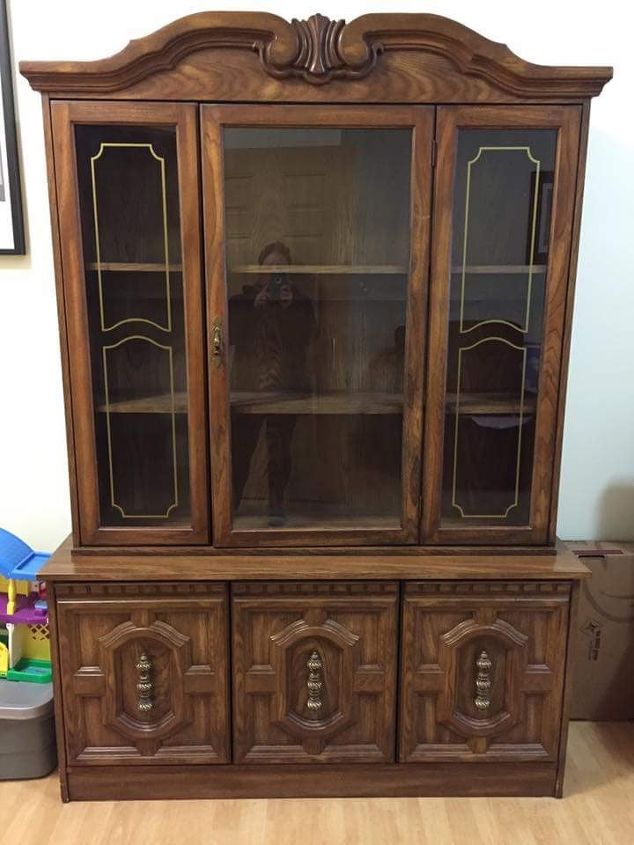
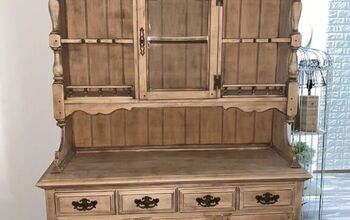
This is the beast the bottom I'm going to repurpose into a lovely TV unit but that's for another day!
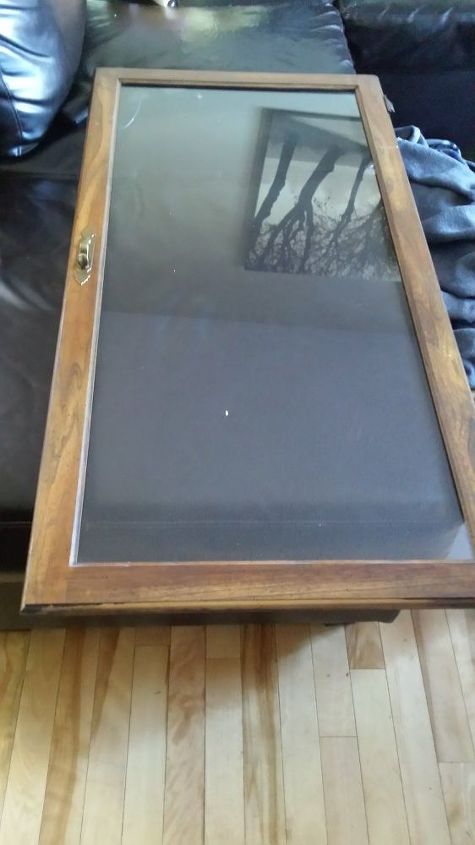
After taking off the door and cleaning it I took a washable marker and started drawing my design the opposite side the inside of the glass. I just used a Crayola washable marker from my daughters coloring stuff. this made it so easy to change or fix anything in the design that I was unhappy with.
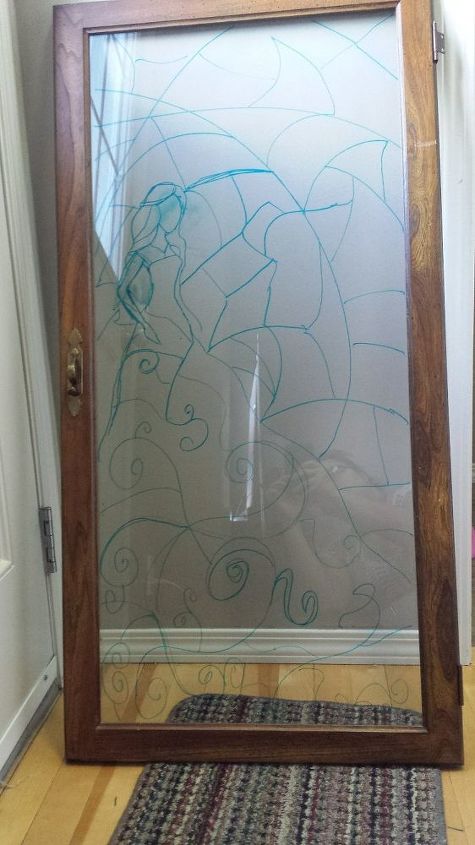
this is an image of the design roughly done to what I liked with the washable marker
once I was done with the design I flipped the door over and followed the pattern with permanent marker then simply flipped back to the washable side (the inside of the door) and cleaned it in preparation for staining.
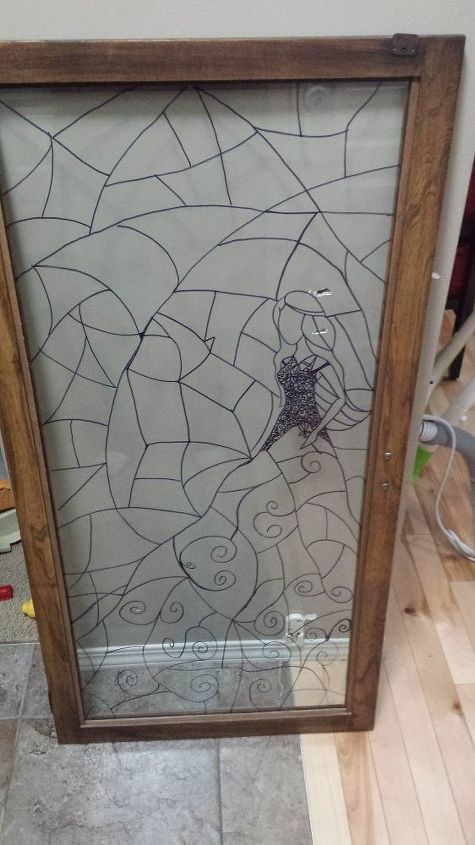
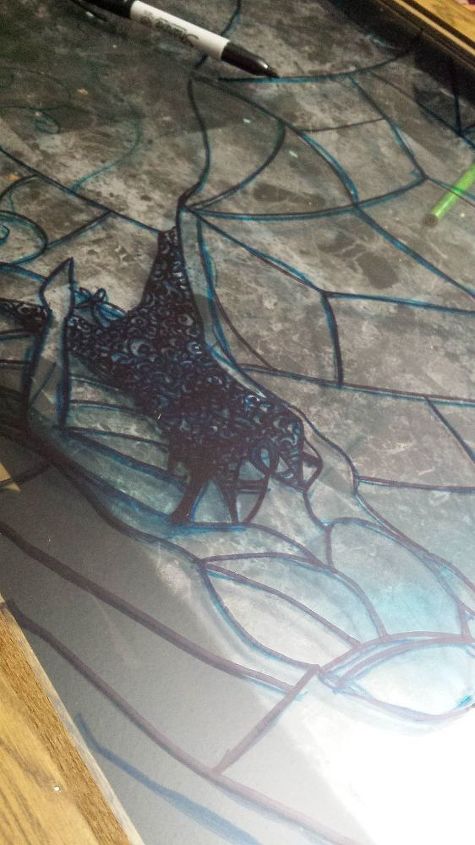
image of glass ready for staining

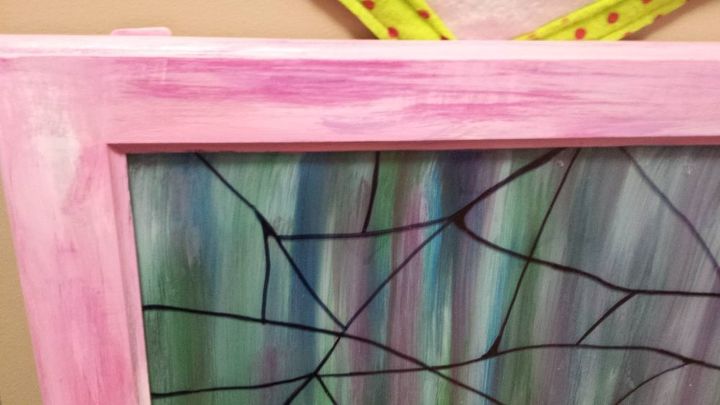
in hindsight I should have prepped the glass for the unicorn spit to stick better but it still worked out. I put the unicorn spit on full strength spritzed it lightly with water and got a lovely blending effect you must be careful not to over blend as it will turn muddy. once the spit was dry it was ready for painting stage. The Unicorn SPiT colors I used was Zia Teal, Blue Thunder, purple hill Majesty, Navajo Jewel, Pixie punk pink for the background for the dress I used Lemon kiss and phoenix fire. Midnight Blackness and Molly Red Pepper were mixed for her hair
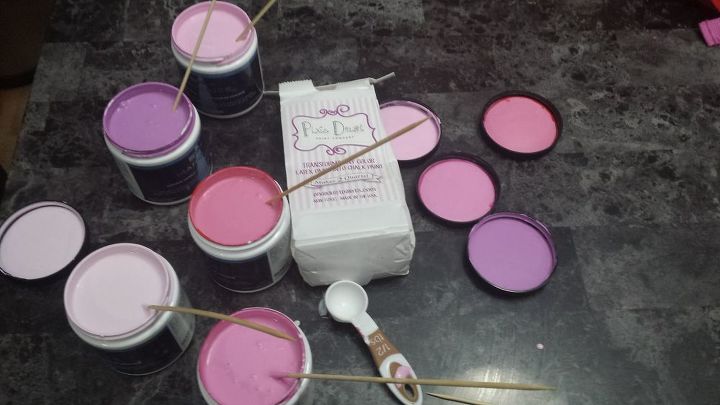
Now to mix a custom blend of colors with Pixie Dust I bought four varied shades of pink an1 purple sample paints mixed them with pixie dust nd got my very own custom chalk paint!
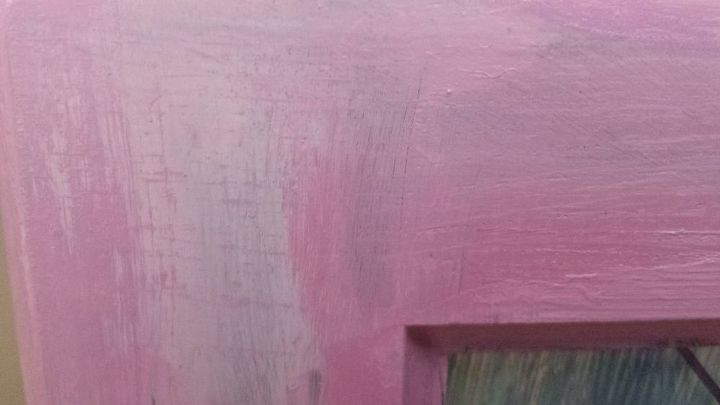
Using Maria from ML Furniture's custom Bermuda Blending technique I blended the pinks and purple together. (for this Technique please Visit ML Furniture on Facebook! or look for her post right here on hometalk!)
After the blending dried I then added Unicorn SPiT in Pixie Punk to enhance the blending and make it more vibrant! the used Krylon Clear spray paint to seal the whole thing (also I added 3M to the glass both sides to add durability and safety as this will be used for a dress up closet!
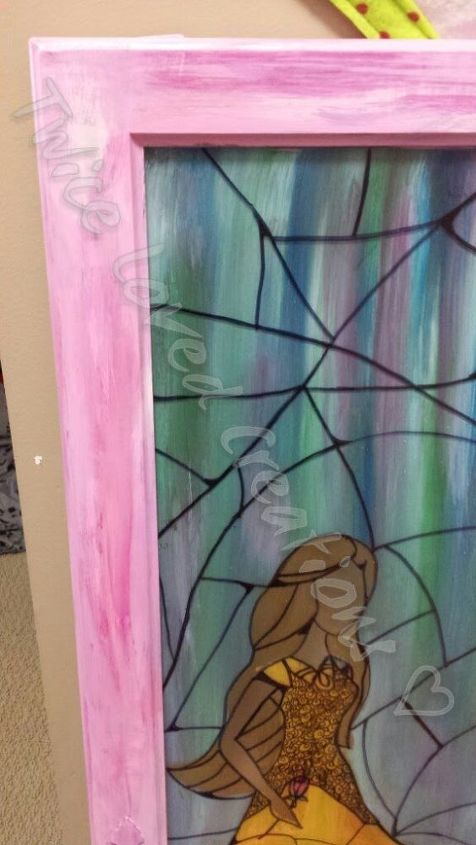
close up of finished door
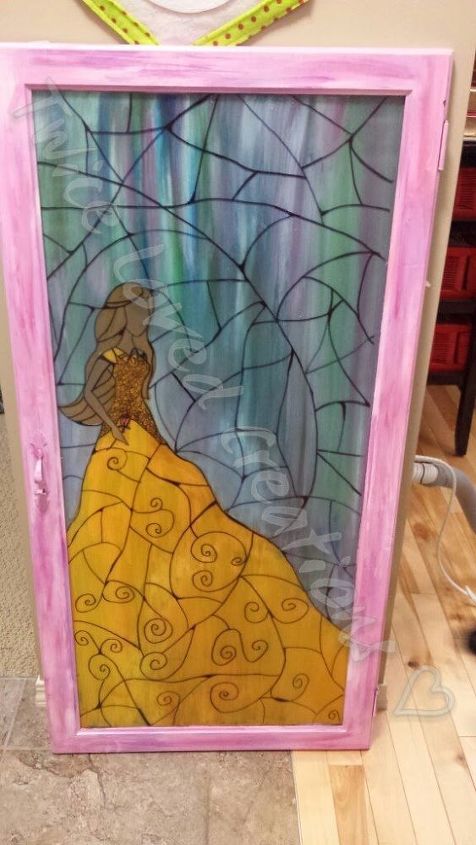
Finished Door!

Want more details about this and other DIY projects? Check out my blog post!
Comments
Join the conversation
4 of 47 comments
-
Lovely
-
I had a similar cabinet. I removed the doors and painted them with gallery glass, then I built a simple box the size of my doors with 1x4's and plywood as a backing. One holds my jewelry and one is in my bathroom holding toiletries!


Frequently asked questions
Have a question about this project?