


DIY Gift Wrapping Ideas Using Burlap

by
Diva of DIY
Easy
When I design a room I always start out with a design board. As I was working on projects this year I thought a design board for my Christmas decorating would help me pull everything together. Now I can't believe I didn't do this years ago!
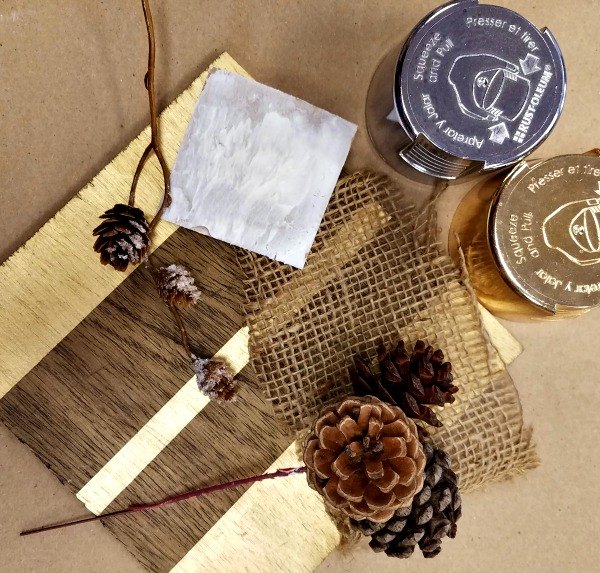
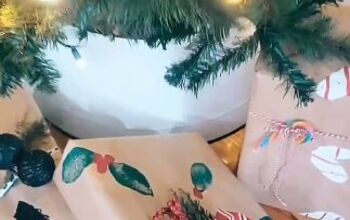
As you can see my color palette was natural colors with pops of metallics.
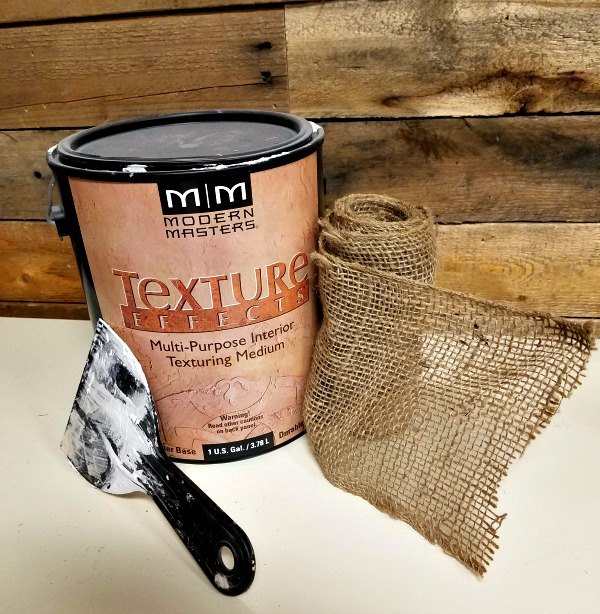
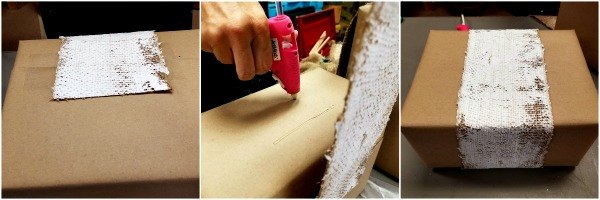
In my contracting business we use plaster on walls often. I love the texture it mades, so I thought, why not use it in my decorating!
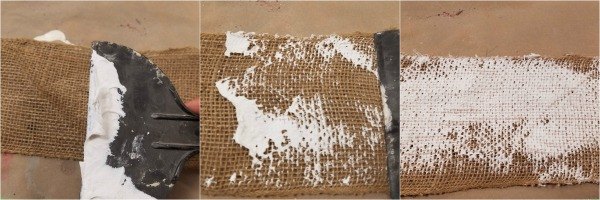
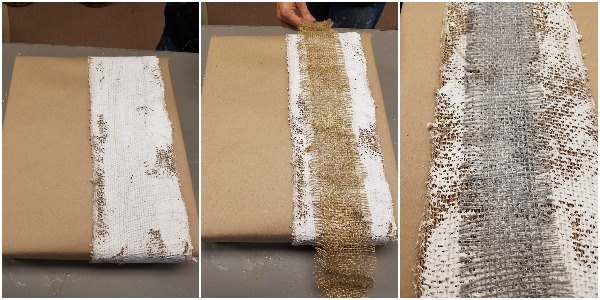
I unrolled a roll of 6" burlap and put a layer of plaster on the burlap with a putty knife. This is what I used. Allow the plaster to dry overnight. When it is dry, turn the burlap over and roll it back up. This will cause the plaster to crack and add even more interest to the burlap ribbon.
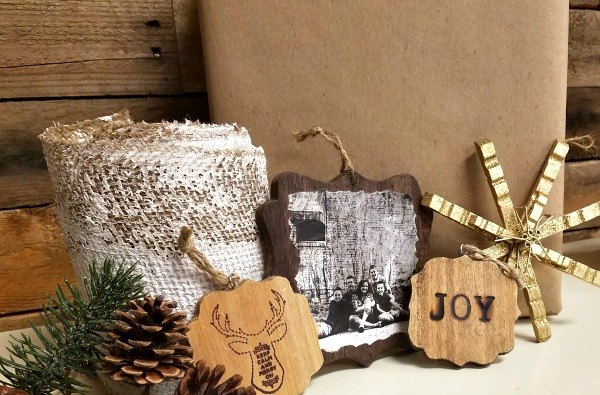
The plastered burlap ribbon is such a dramatic statement that all you have to do is add some simple accessories to make your packages amazing!
Wrap your package in brown paper and then attach the burlap ribbon using a hot glue gun.
Mix up the decorating by putting the burlap in different areas of the package and layering it with other ribbons.
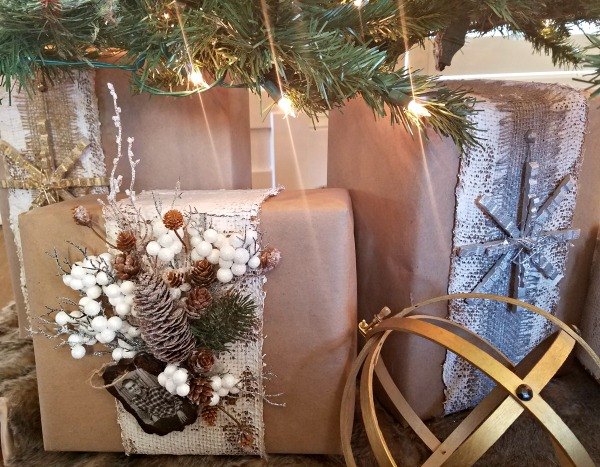
I love giving a bonus present on my packages. This year I made these wooden photo ornaments with my sons Senior Pictures and family photos. I also attached Easy DIY Clothes Pin Snowflakes to the metallic packages. You can find all these projects by following the link below!
{
"id": "3656219",
"alt": "",
"title": "",
"video_link": "https://www.youtube.com/embed/Dn-TM2MWppk",
"youtube_video_id": "Dn-TM2MWppk"
}
{
"width": 634,
"height": 357,
"showRelated": true
}
Want more details about this and other DIY projects? Check out my blog post!


Frequently asked questions
Have a question about this project?