


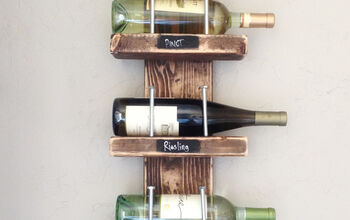
DIY Beer & Wine Rack

by
Stan
$20
.5 Days
Easy
Got wine glasses? Oh wait, here's one for ya. Got beer glasses? What's that you say? You got both! (Proper grammar structure not withstanding.) Then this is the project for you. Some scrape lumber, a few basic tools and a couple hours can give you a classy decor piece that goes well in any room of the house. From a formal dinning room to an everyday kitchen, you'll love it's mix of good looks and versatility.
{
"id": "3670742",
"alt": "",
"title": "",
"video_link": "https://www.youtube.com/embed/6t3Xx3B0vlk",
"youtube_video_id": "6t3Xx3B0vlk"
}
{
"width": 634,
"height": 357,
"showRelated": true
}
The video gives the basic steps from start to finish for this project. I promise it moves along at a pretty good clip and won't waste your time. Have a look.
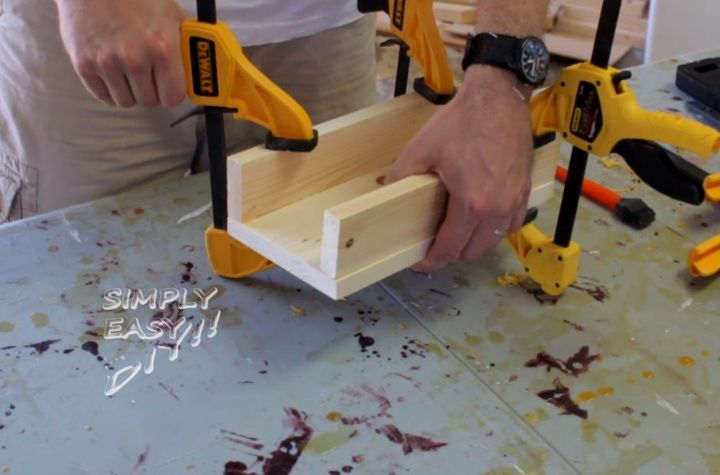
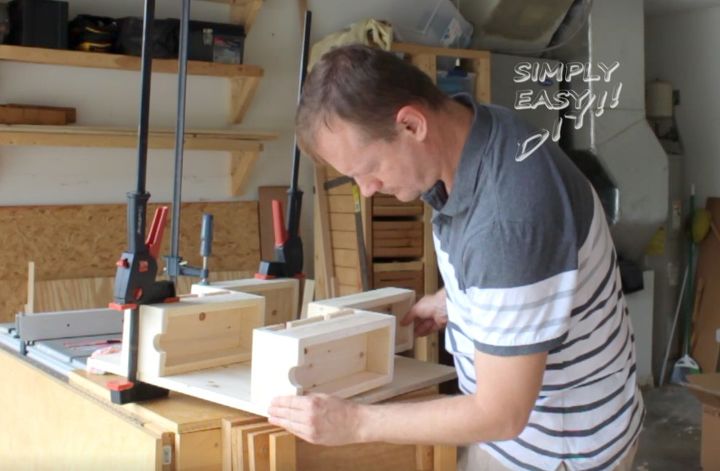
The bottom of the shelves are two 1x4s edge glued together. Then ripped to 5" on the table saw. Glue and clamp the sides to the bottom piece and you could leave it like that. The glue should provide enough strength for a project like this. I added some dowels throughout in order to add structural strength and some visual appeal.
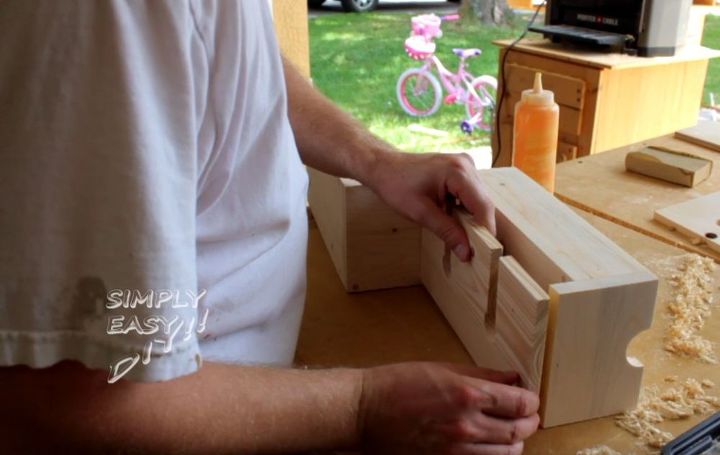
Glue and clamp the two sides to one of the shelf bases assembled in step 1. Drill for dowels if so desired.
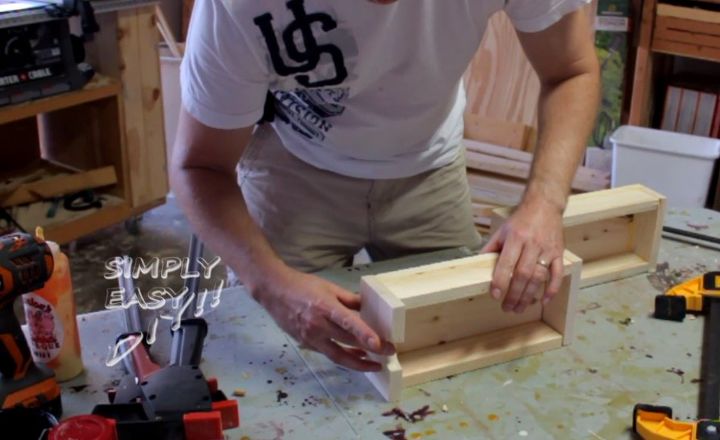
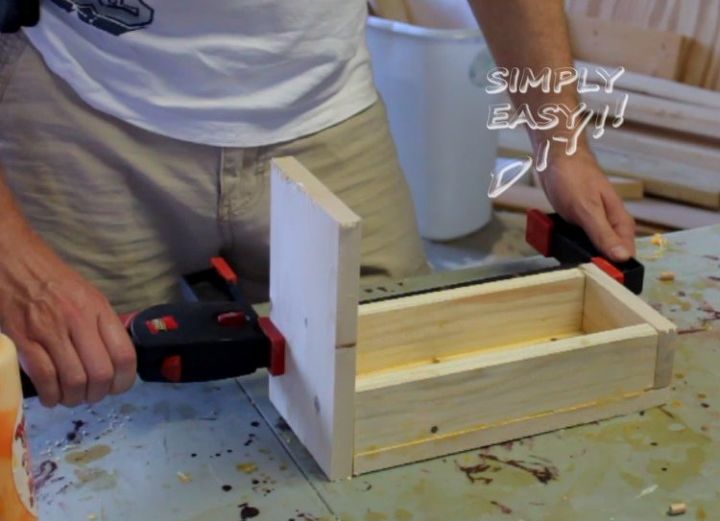
Glue and clamp the side for the other half of the shelf assembly and attach it to its mating pair.
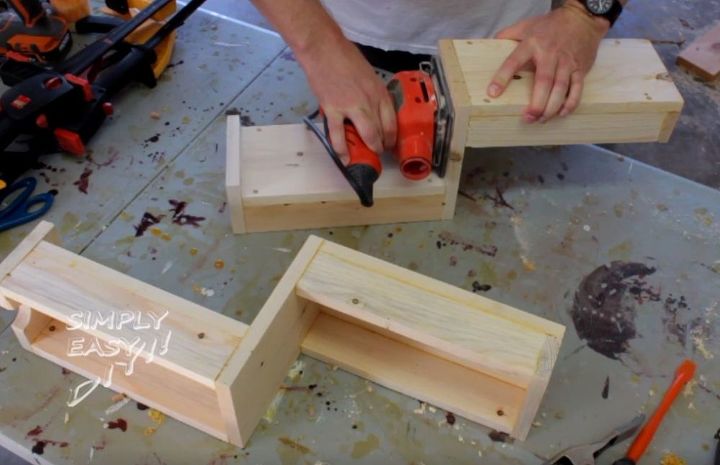
Some sanding with 120 grit is necessary at this point to remove any glue squeeze out and even any misaligned joints.

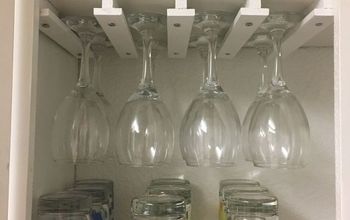
I used the wine glasses that will be hung from my display rack in order to get an accurate representation of how I wanted them to be spaced. Then I measured to get cross marks for the center of the bases. The video above will show more detail.
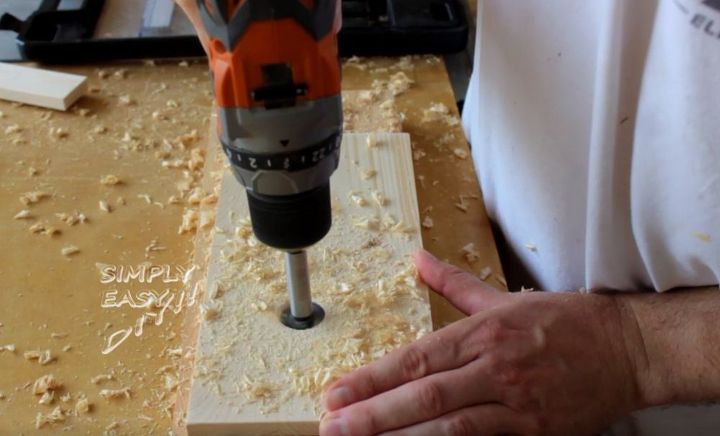
Forstner bits are one of those tools I recommend everyone have in their shop. A set of these comes in handy whether you are just starting out on your DIY journey or your a seasoned pro. My set only cost me $20 at my local home improvement store and has more than paid for itself.
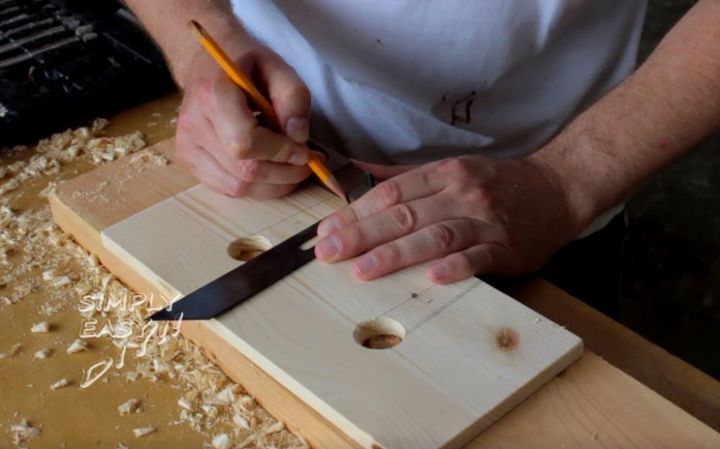
Once the holes are drilled we need to mark for the relief cuts so the wine glasses can be slipped through. I used my antique angle finder to accomplish this task but anything with a straight edge would work.
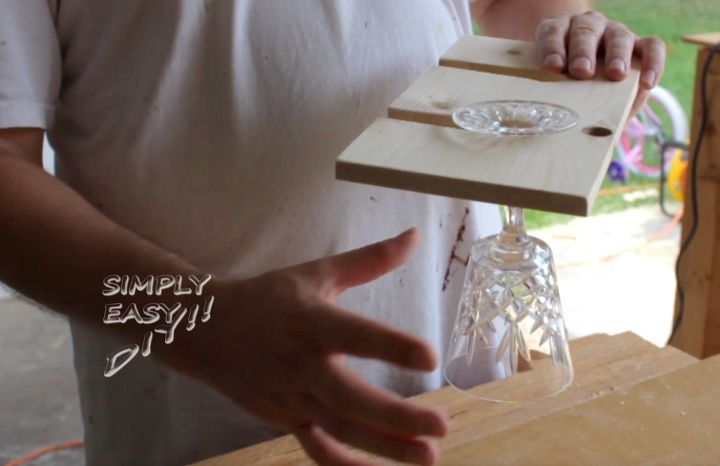
Test fitting is always a good idea. You don't want to complete your wine rack only to find that your wine glasses don't fit how they should. You can fix it now. It becomes a lot more difficult to do so later on.
Glue and dowel joints are used to attach the wine glass shelf to the rest of the assembly. I know dowel joints may sound intimidating but I have simplified the process as I show in the video. I do simple and easy, not difficult and frustrating.
If there was anything about this project that was difficult, (there wasn't) it would be done by this point. Just a layer of glue to attach the shelf assemblies to the base board. The back base is merely 1x4s edge glued together to get the desired width and length. I give a complete run down in the video.
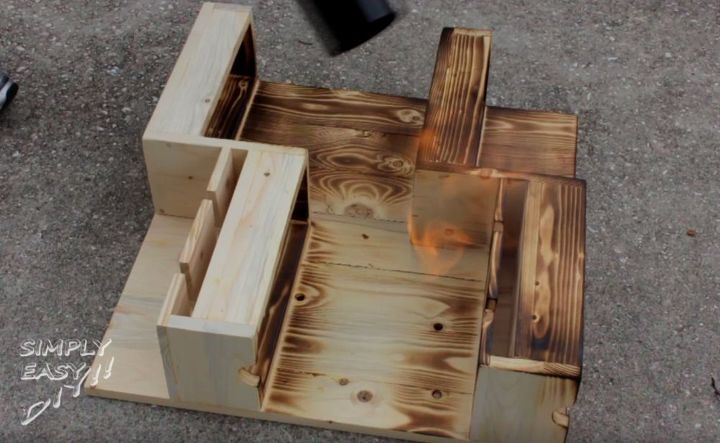
You can finish projects any way you like. I normally don't show what I do to finish a project in a video because I don't want people to get hung up on that detail. However, this one was so unique that I had to show it. An ancient Japanese technique called Shou Sugi Ban which is just burnt wood. I cover it in more detail over on my website. My wife really likes the look it gives.

I applied a few coats of satin polyurethane to give a light sheen that isn't overbearing and plastic looking.
Comments
Join the conversation
2 of 26 comments
-
Quite the project! Wow! Enjoy your lovely work, Stan!
-
This is awesome!!!!!


Frequently asked questions
Have a question about this project?