


Storage Crate on Wheels

6 Materials
$25
1 Hour
Easy
Are you as tired as I am of having so much 'stuff' piling up around you house with no place for it to go? If so, you are going to LOVE this DIY project. These storage crates are the perfect place to hold just about anything. From shoes to clothing, craft supplies to children's toys, they are the perfect solution to tidy up your space. Best of all, they have wheels! You can roll them out to use and roll them back in when your done. Fashionable and functional - the perfect fit! We want to help you DIY, so some of the materials in this post are linked to sellers. Just so you know, Hometalk may collect a small share of sales from the links on this page.
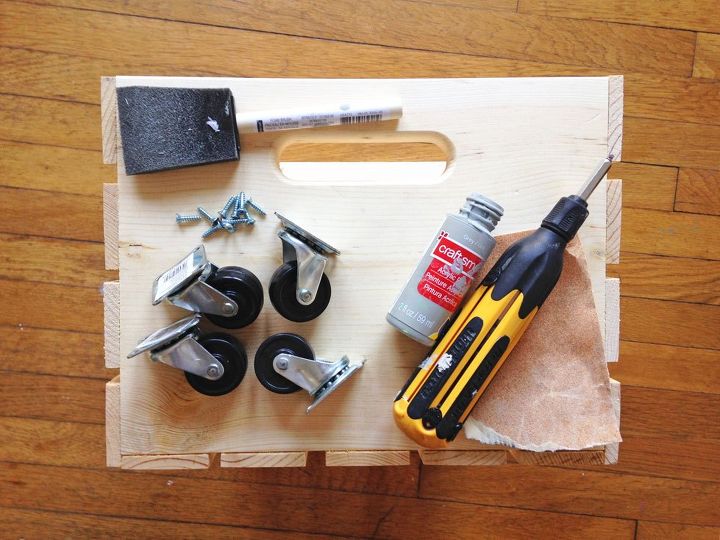
SUPPLIES: - Wooden Crate - 2-inch Everbilt Caster Wheels x 4 - Small wood screws x 16 - Paint (color of your choice) - Screwdriver - Paintbrush - Sandpaper
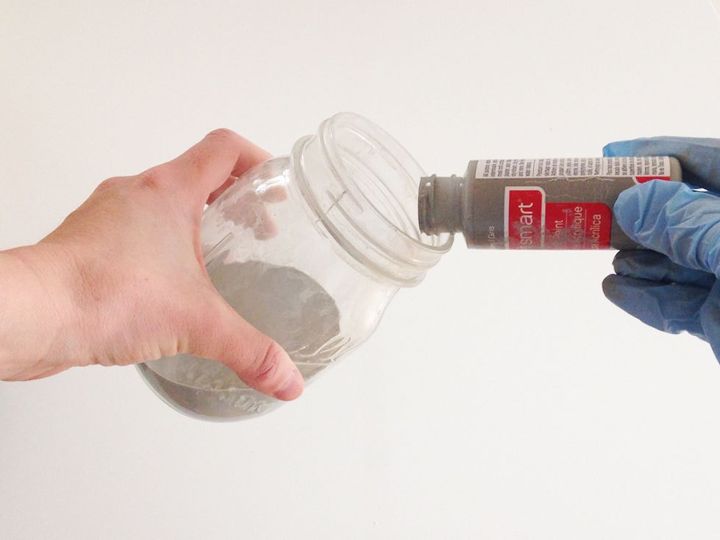
Step 1: Mix your Paint. You can paint your wooden crate any way you'd like. Paint it purple, use chalk paint for a more rustic look or even stain it. Personally, I wanted to create a simple type of wash to keep the integrity of the wood showing through. Using a simple method of items I had on-hand: water and acrylic paint, I created an inexpensive wash. Yes, you can buy professional stains and washes, but I like this method because it dries quickly and doesn't make my house smell like paint fumes. Mix a few dollops of paint with water until you reach your desired color.
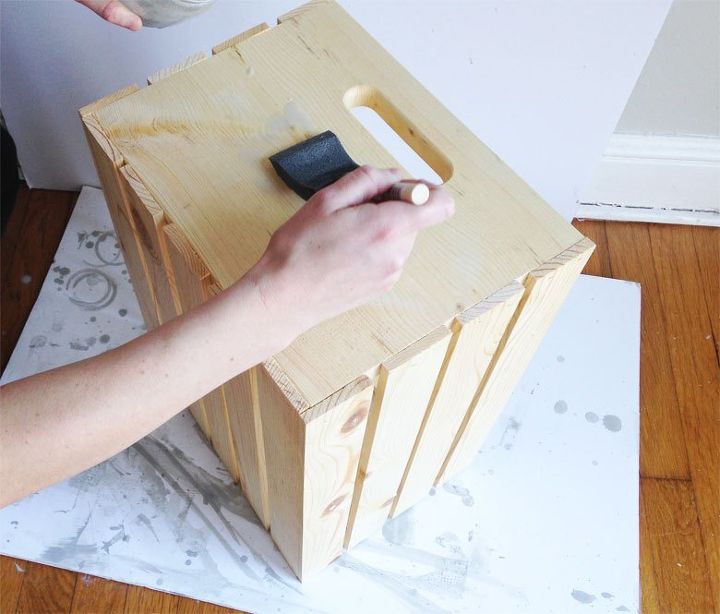
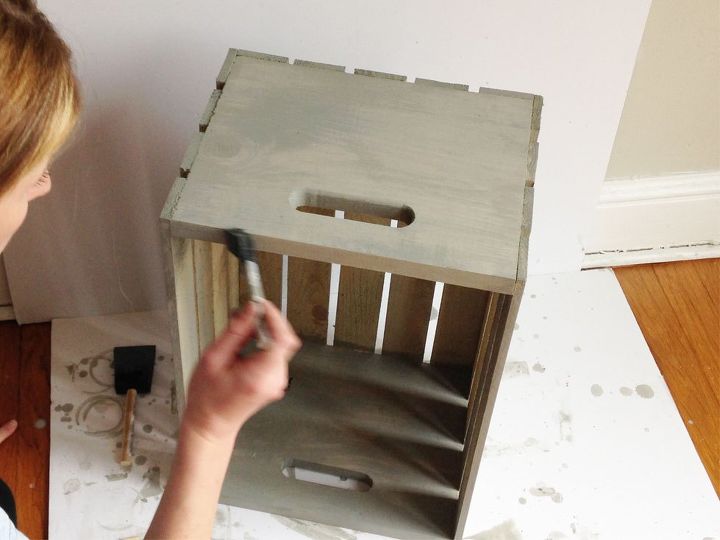
Step 2: Sand & Prep your Crate. Using sandpaper, file away any rough edges, sharp pieces or uneven surfaces on your crate. Using a brush or a cloth, you can brush away dust particles and debris that find their way into the creases of the crate.
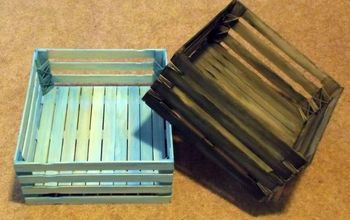
Step 3: Paint Away! Begin painting or staining your crate with whatever medium you choose. I like working with a sponge brush as opposed to a bristle brush for this project to avoid unsightly brush strokes. Let dry completely.
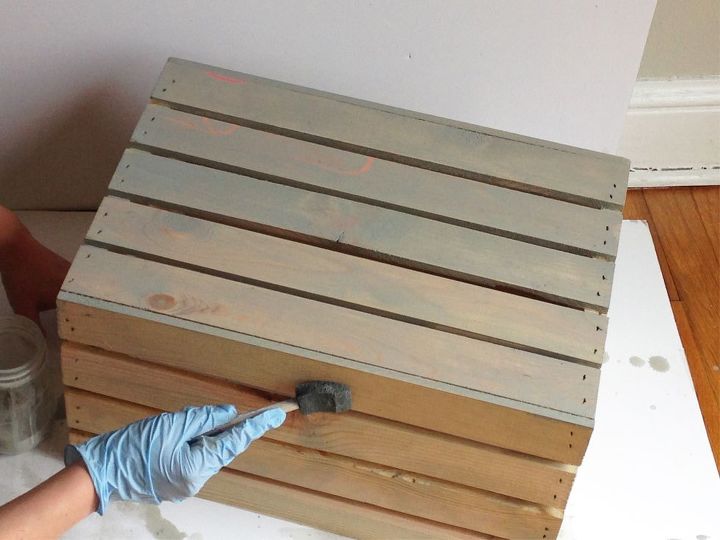
Step 4: Add a second coat Once your paint has dried completely, apply your second coat.
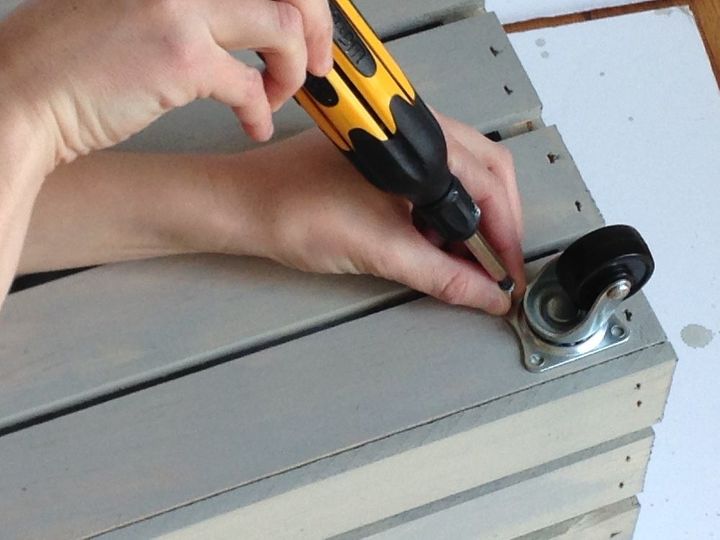
Step 5: Add the Wheels. Grab your first caster wheel and get ready to roll. These wheels are so easy to apply. All you need are four wood screws that fit securely through the holes of the wheel mount. Remember that the wood boards of the crate are not very thick, ensure your screws aren't too long, as you don't want them coming out the other side of the crate base.
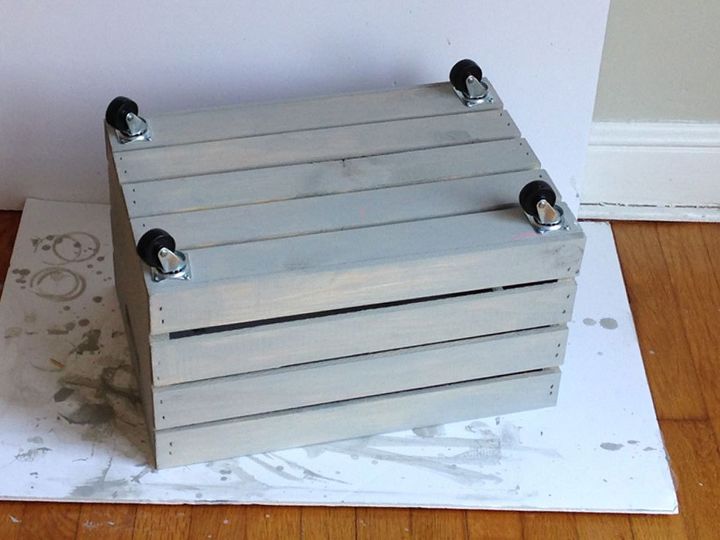
Step 6: Secure one wheel on each corner of the crate. You should have four in total.
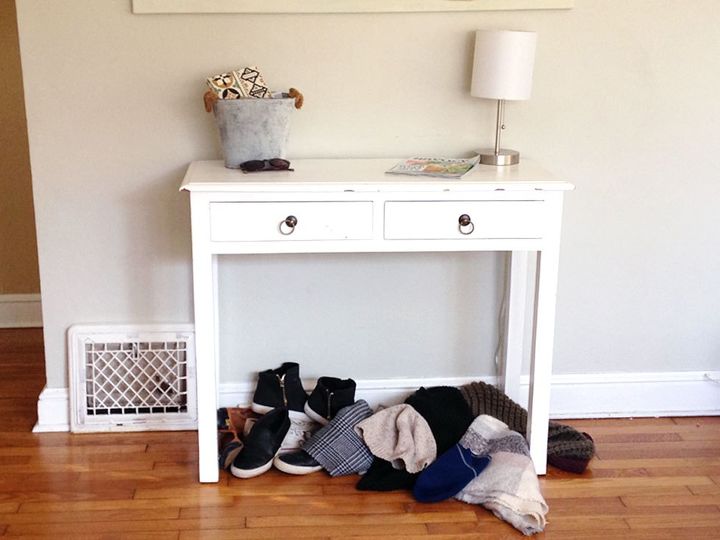
I used these crates in my messy entryway. Clearly, I needed a place for my shoes and winter accessories to 'live'. I was tired of walking through the front door and seeing this disaster!
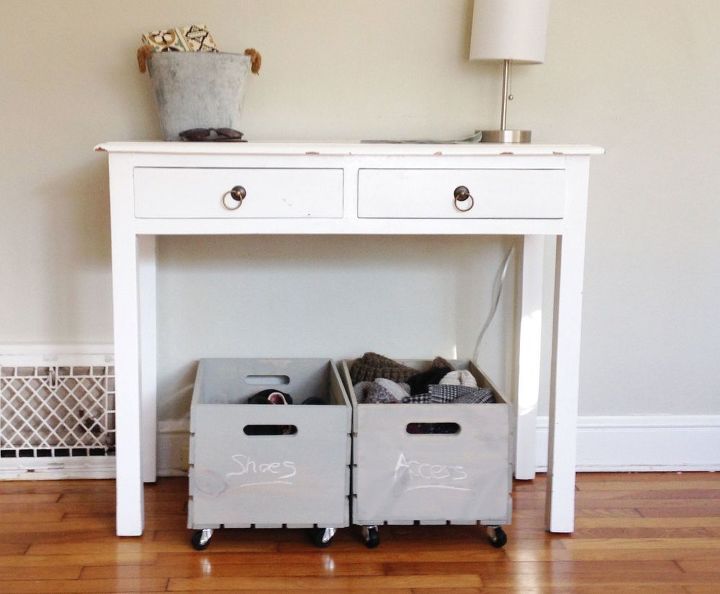
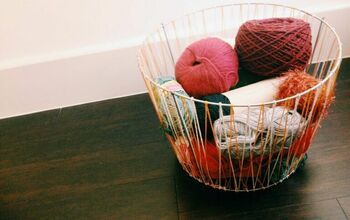
What a difference these storage crates have made! After adding my shoes to one crate and my winter accessories to another, I wrote the contents with white chalk on the outside of the crate. If I decide to use them for another item in my home, I simple wipe away the chalk and write again. I can't wait to start making more! They are SO versatile.
{
"id": "4092374",
"alt": "",
"title": "",
"video_library_id": "8295",
"thumbnail": "https://cdn-fastly.hometalk.com/media/2017/07/31/4092374/storage-crate-on-wheels.jpg"
}
{
"width": 634,
"height": 357,
"showRelated": true,
"noautoplay": ""
}
Resources for this project:


#6 x 3/4" Zinc Plated Flat Head Wood Screw (100 pc), Choose Size, By Bolt Dropper


Any price and availability information displayed on [relevant Amazon Site(s), as applicable] at the time of purchase will apply to the purchase of this product.
Hometalk may collect a small share of sales from the links on this page.More info
Comments
Join the conversation
2 of 75 comments
-
Great way of keeping things organized and from getting lost.
Another idea for these crates would be to add a handles to them so that little toddlers can pull it around to collect their toys.
-
great way to organize, and attractive


Frequently asked questions
Have a question about this project?
Not sure if anyone asked yet, but is the materials list wrong on the caster type. Those used don't have stems, and are in fact screw on style.
This is a really great idea and so, so simple except I have one big problem with it. How do you get the family to use the crates and not just find some obscure spot to throw things like they are used to doing.
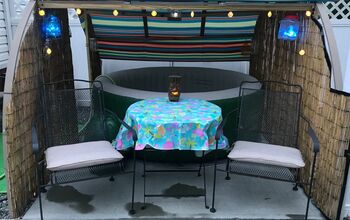
Love your idea. Wanted to ask how did you make that cover on your left for the vent?