


DIY Wood Slice Snowflake Coasters
6 Materials
Easy
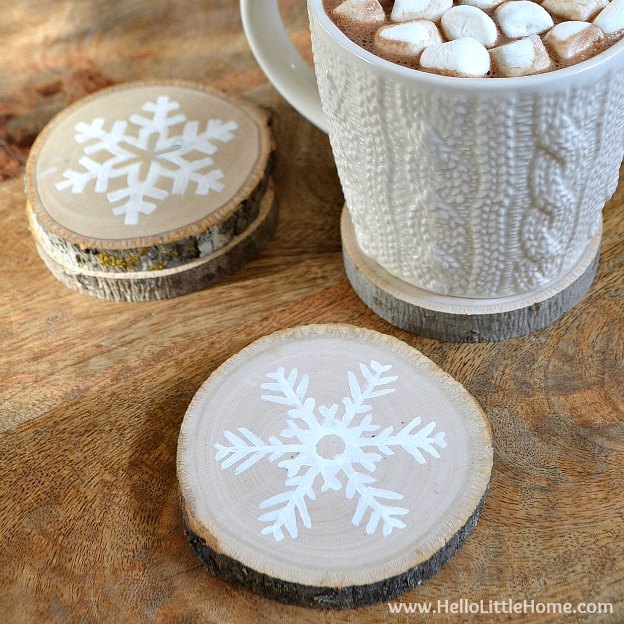
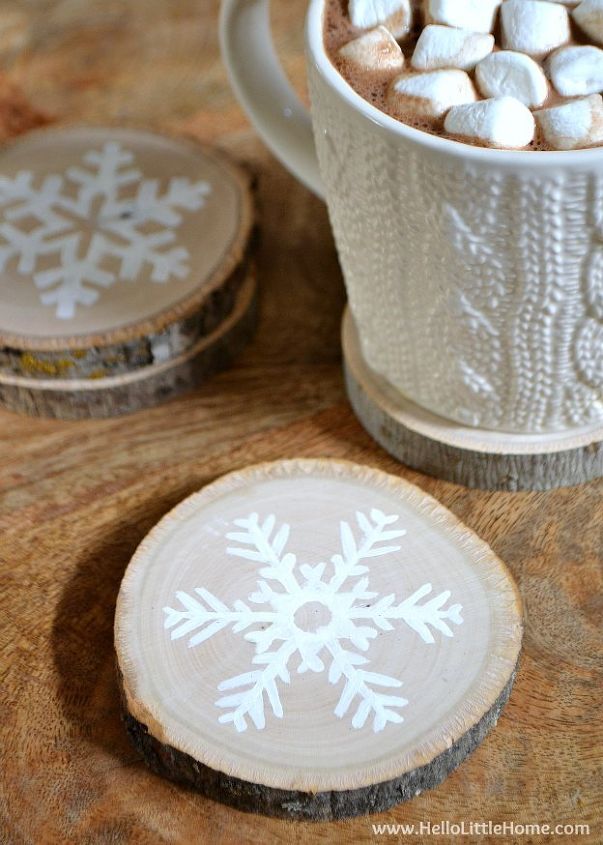
Decorate your home for winter with these cute and easy to make DIY Wood Slice Snowflake Coasters!
Keep them for yourself (they're a fun way to add some winter-inspired decor to your home) or give them as a fun seasonal gift! They'd make a great gift for pretty much anyone.
Keep them for yourself (they're a fun way to add some winter-inspired decor to your home) or give them as a fun seasonal gift! They'd make a great gift for pretty much anyone.
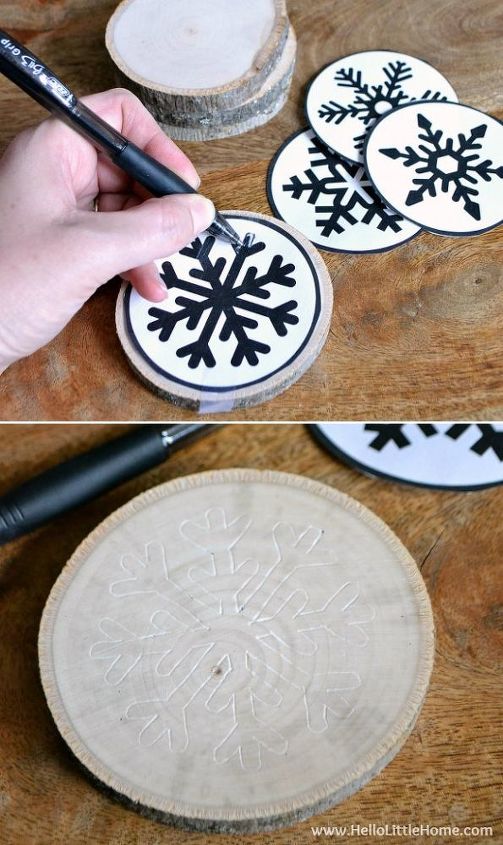
To get started, print out the snowflake template (get it for free on my blog), then cut out the snowflakes. Center the templates on your coasters and tape them into place so they won't move while you're tracing them.
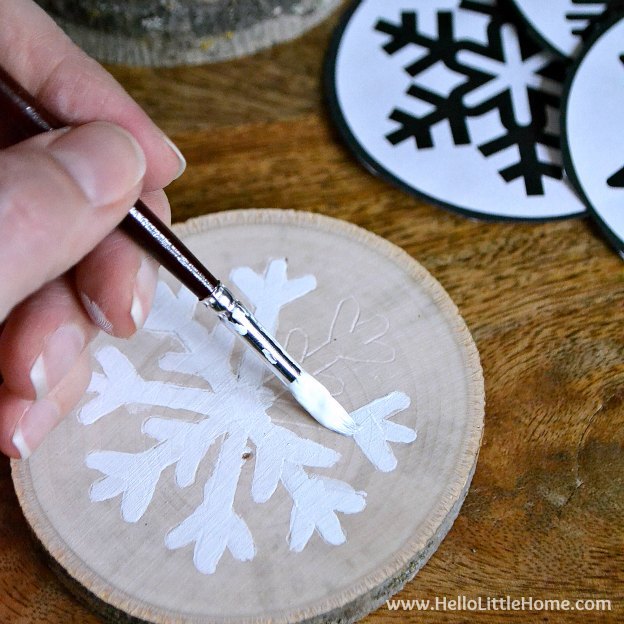
Fill in the snowflake with the white paint. Take your time and don’t worry if it’s not exactly perfect, mine sure weren’t!
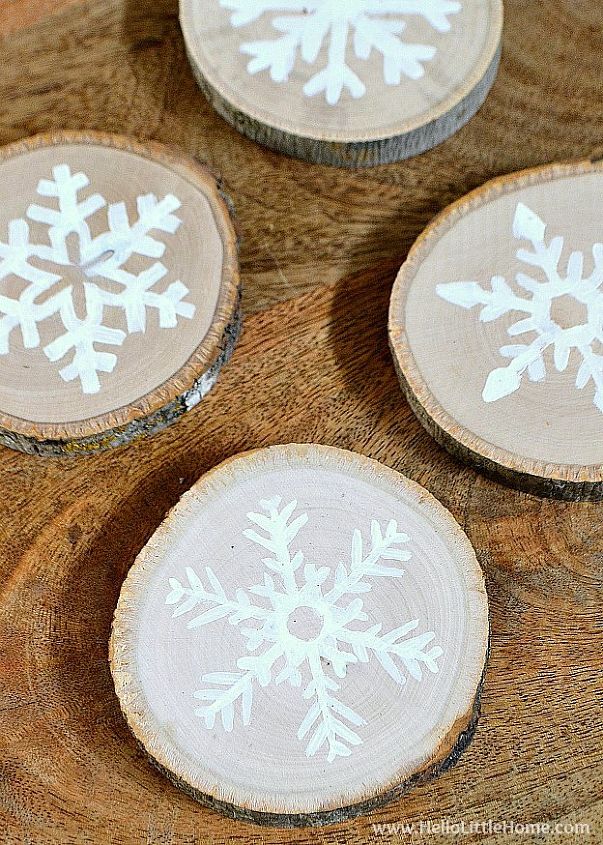
To finish the project, go over your DIY Wood Slice Coasters with polyurethane. This will to protect the flakes and to keep the wood from staining during use.
I packaged my DIY Wood Slice Snowflake Coaster with a red ribbon so I could give them as a gift … simple, yet pretty!

Please visit my blog (the link is below) to get the free printable snowflake template.

Want more details about this and other DIY projects? Check out my blog post!


Frequently asked questions
Have a question about this project?