


Felt Rosette Valentine's Day Wreath
If you love this project, grab your quick start DIY guide & subscribe to our blog!
If you love this project, be sure to subscribe to our blog to receive updates regularly! Love is in the air…. every where I look. Love is in the the air. Have you guys started feeling the LOVE yet for Valentine’s Day?
Now before we hop into this felt rosette Valentine’s Day wreath, let me warn you. This DIY craft is TIME CON-SUM-ING!! Like…..it-took-me-all-weekend time consuming. Like…I-never-wanna-see-another-felt-rosette-again time consuming. You get the point. If you are planning on spending the weekend inside escaping the snow like I was, grab a few good movies and get started. Or binge watch Parenthood, I just finished it again for the 2nd time…gah…gets me every time.
I’ve got one more warning about this project. You’re going to use some hot glue…. and by that I mean a whole boat load of hot glue.

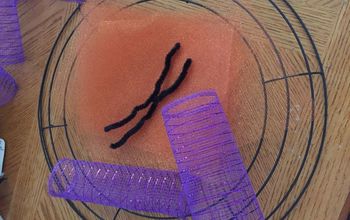
I started with a pizza box! It was the perfect size for what I needed. I cut a large heart out from the top of the pizza box with scissors.
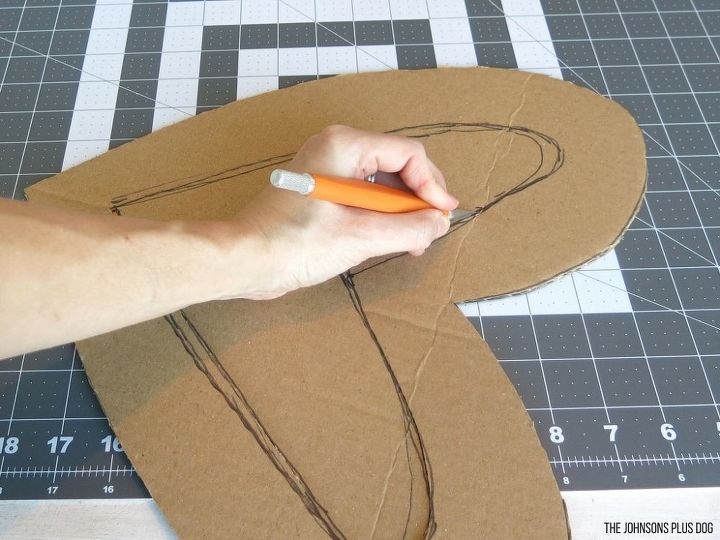
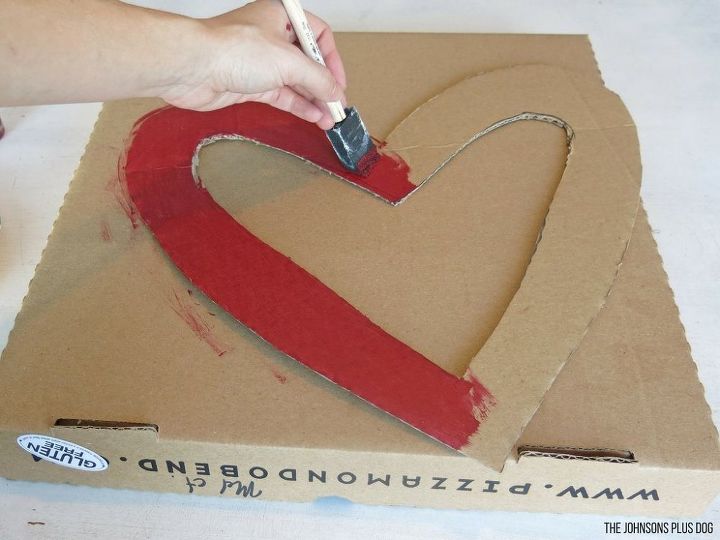
Next I drew another heart on the inside and cut it out with a crafting knife so I’d have a heart that was about 2-3 inches thick. I painted the heart red. This is just in case of it shows between the hearts in the background.
Next I used my super duper awesome new cutting mat I got for Christmas. It is seriously a game changer. It saves so much time if you’re going to be cutting a lot of fabric. It’s going to make a world of difference next Christmas when I start making my homespun fabric Christmas ornaments again.
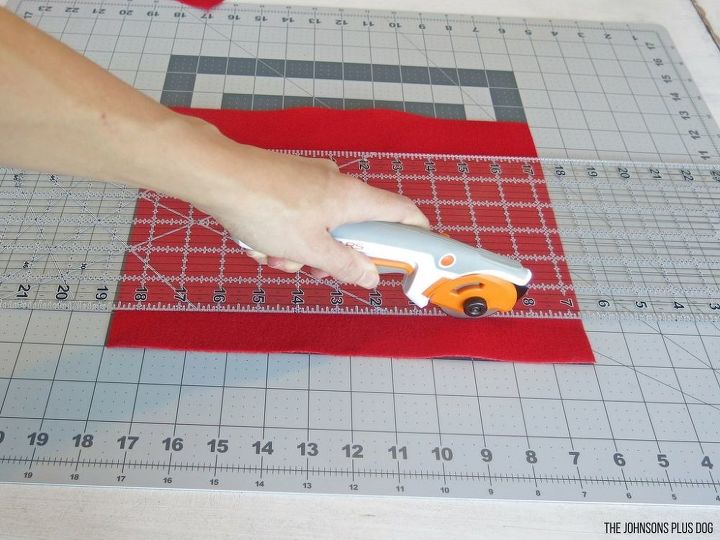
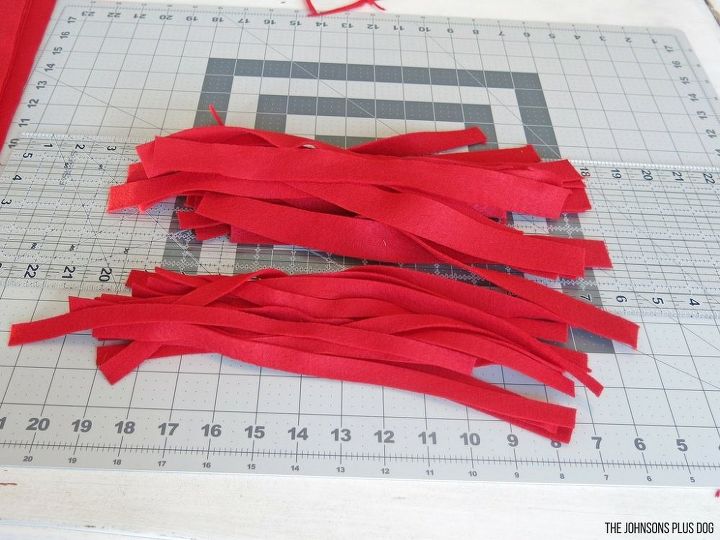
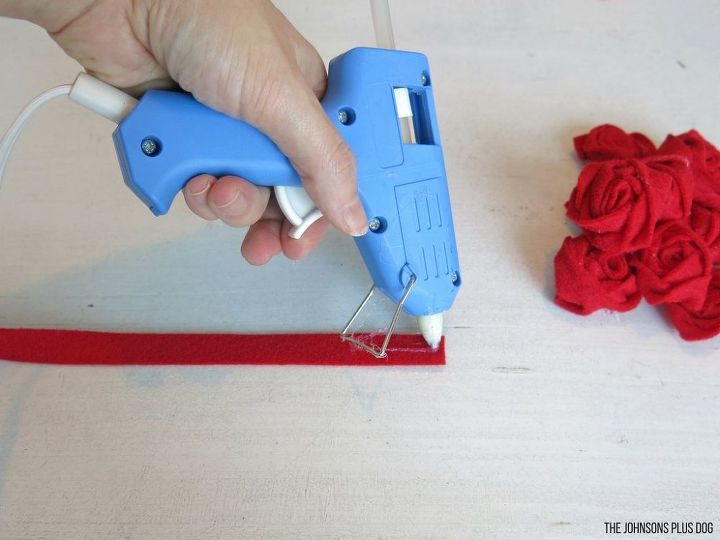
I cut the felt pieces 1 inch and 1/2 inch wide. I wanted different sizes and depths to the rosettes. I also made cut some of the skinnier pieces in half for even smaller rosettes. These ones were great for filling in little gaps or edges of the wreath. Now it’s time to rocking and rolling on the rosettes. This is the part when I suggested a good binge watching sesh of Parenthood. These are really simple to make, trust me. But they are just going to take you some sweet time. Ok….let’s jump in. You start by putting hot glue on the first 1-2 inches of the felt strip.
Now it’s time to rocking and rolling on the rosettes. This is the part when I suggested a good binge watching sesh of Parenthood. These are really simple to make, trust me. But they are just going to take you some sweet time. Ok….let’s jump in. You start by putting hot glue on the first 1-2 inches of the felt strip.
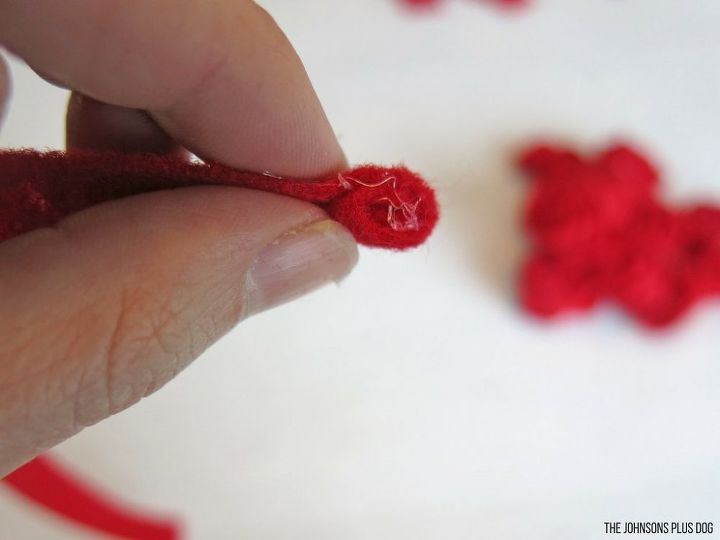
Next you just simply roll up the felt with the glue.
Next you start twisting the felt as you continue rolling it up.
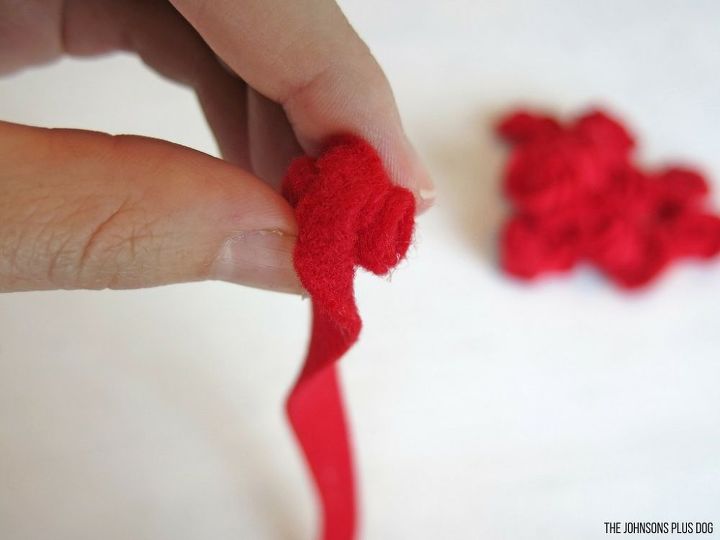
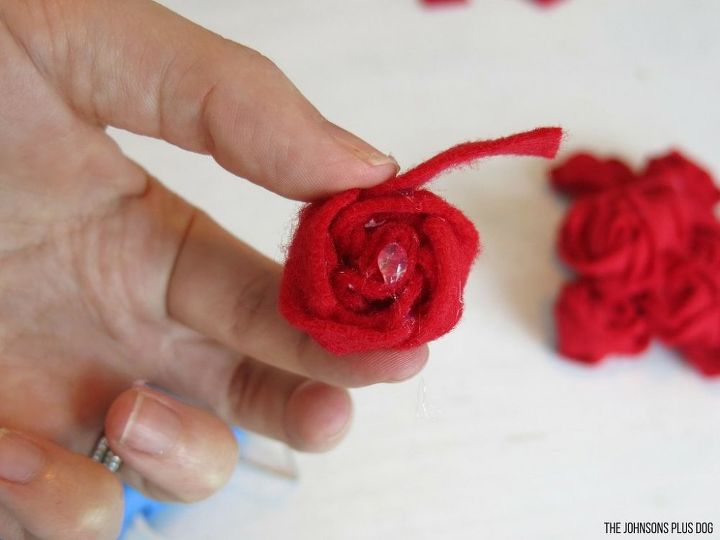
Every few twists, you’ll want to add a drop of hot glue to keep the rosette in place.
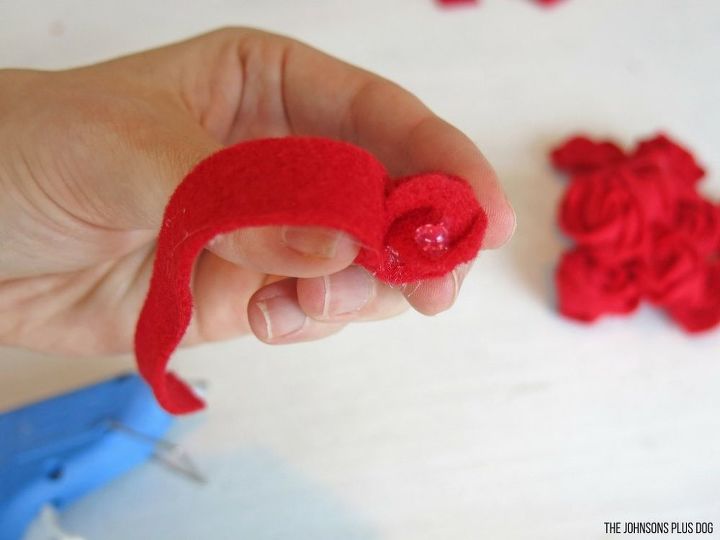
Just keep going…twisting, rolling and gluing until you get about 3/4 inch remaining.
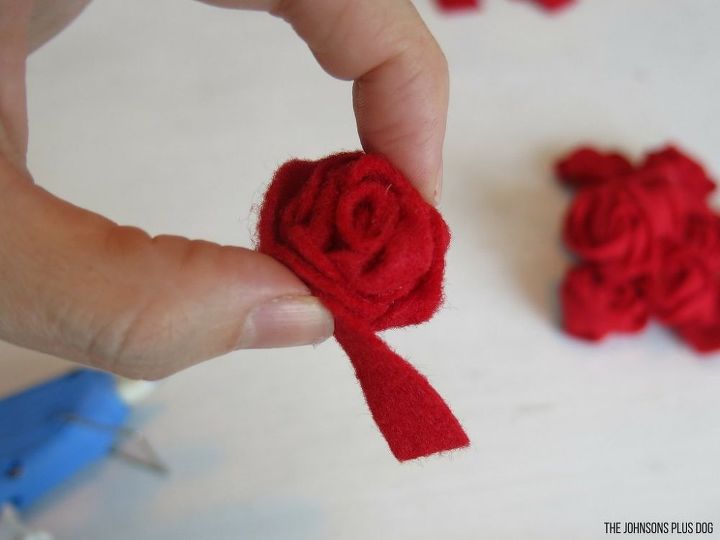
Then, flip the rosette over and at some hot glue to the backside.
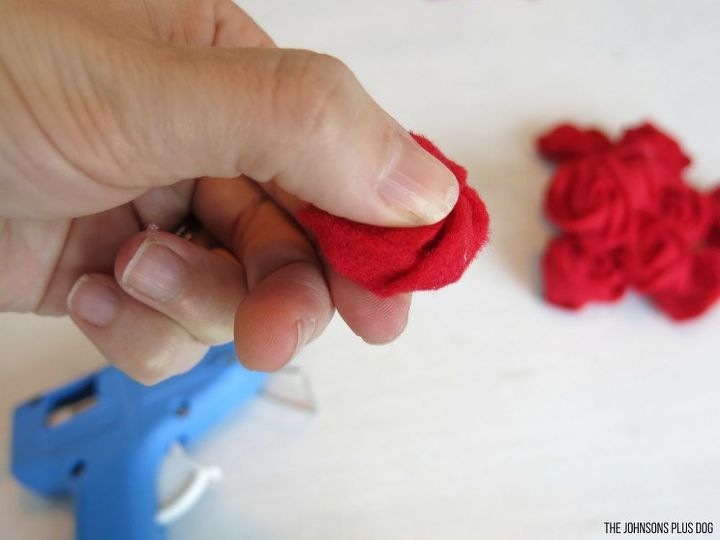
Then, you’ll just press the remaining felt on top of the glue that you just applied to the back. This creates a strong backside of the rosette and and even gluing space when you attach it to your wreath.
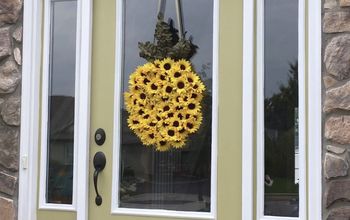
Ta da… Ok… just keep going… and going…. and going. I used 106 flowers for the wreath. Yes, 1-0-6! I swear it’s worth the effort, it turns out sooooo cool! After you get your flowers all rolled up, you can start gluing to your wreath. I wasn’t sure how many I was going to need, so I made flowers, then glued some…make more flowers and then glue some. You get the point.

Now it’s time to get started on that super fun arrow! The cute arrow is my favorite part about this wreath. I used two red and white striped paper straws for this. I actually had these in my craft stash from Christmas at The Dollar Tree. One straw fit perfectly in the middle of the wreath. I just added some glue to the end of the straw and tucked it into place.

For the end of the arrow, I cut a 2nd straw in half and glued the ends in place, tucking them away behind some rosettes. There's a few more steps to this tutorial that you don't want to miss and then, of course, see how it all turns out! Hop on over to the blog post (link below) to see how it all comes together.


Frequently asked questions
Have a question about this project?