


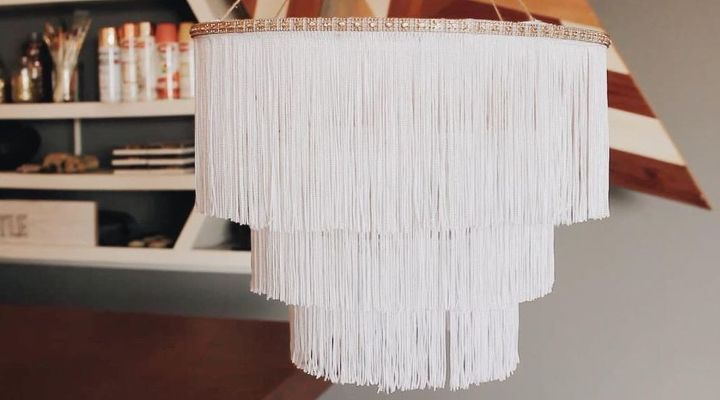
How to Make DIY Boho Fringe Chandelier in a Few Easy Steps

I've been seeing DIY chandelier and light fixtures all over Pinterest so I finally decided to dive and (hopefully) make a tad bit more simplified version of what I have seen out there. I love how this came out and cannot wait to create different versions. You can do this chandelier in any color, more layers, less layers, different metallics, lights or no lights. The possibilities are endless.
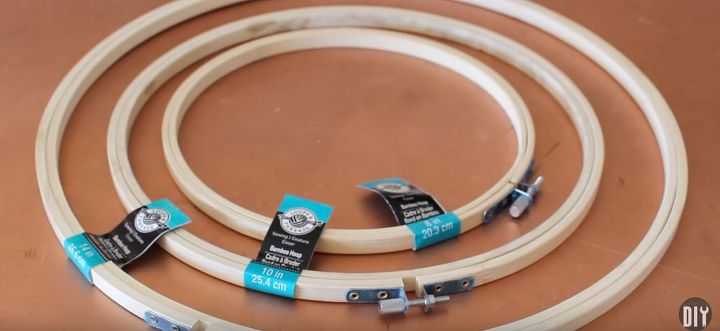
Tools and materials
14-inch, 10-inch, and 8-inch embroidery hoops, fringe (I ordered mine offline since my local craft store didn't have any I liked), rope, scissors, sharpie, measuring tape and hot glue.
More DIY Embroidery Hoop Ideas
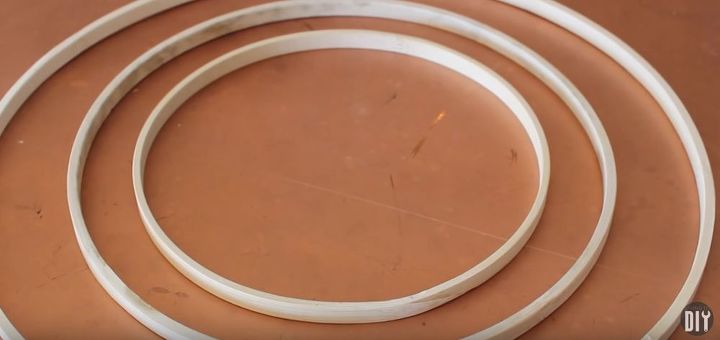
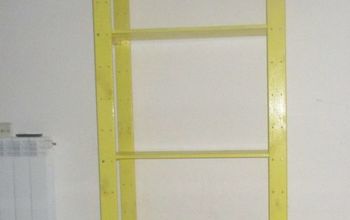
Step 1: Take out the hoop portion that doesn't have the metal on it
I recycle the other part for other DIY's - you can use metal ones if you like but these are less expensive. Tip: Spray paint them the color of your fringe - this will make it blend more.
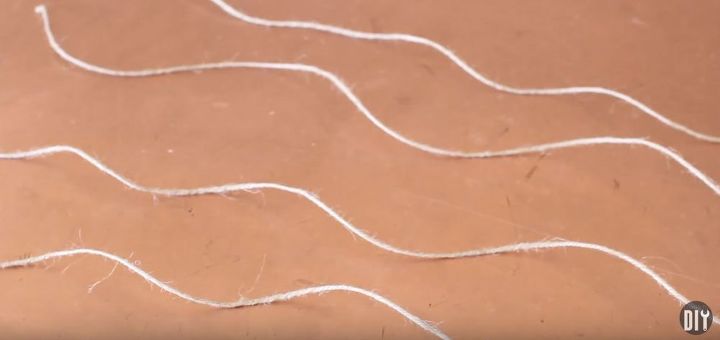
Step 2: Cut the rope
Cut four pieces (mine are one arm's length each) of rope or yarn or whatever your heart desires to hang it.
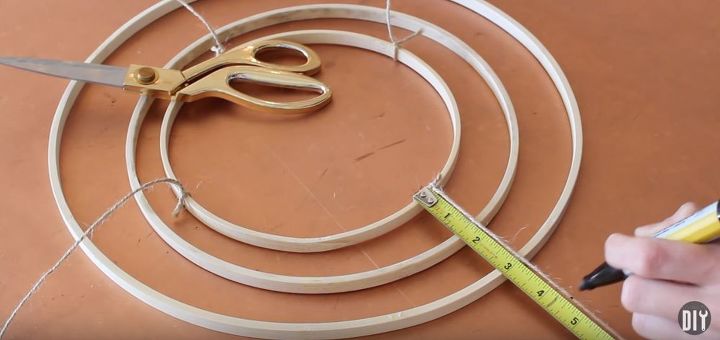
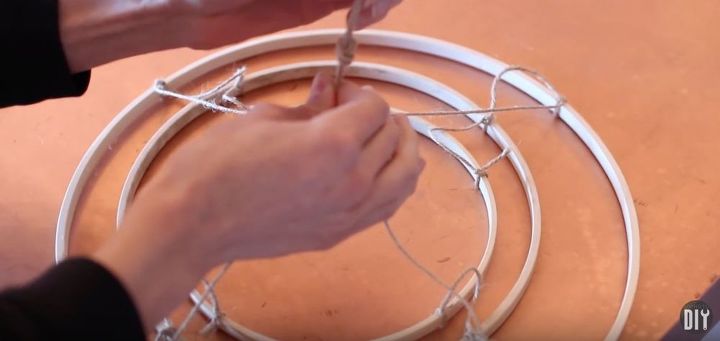
Step 3: Attach the hoops together
Put the hoops on the table, and tie each piece of rope to the smallest hoop. I then pulled it tight and made a mark at 4 1/2 inches on each piece of rope. I then tied the knot at that mark to the second-largest hoop and repeated this step to then tie it to the biggest hoop.
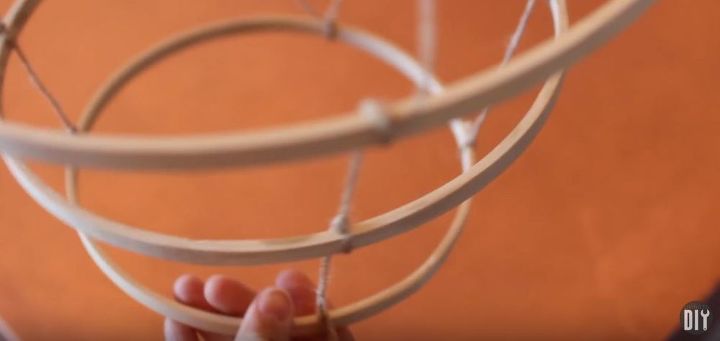
This creates the "bones" of the chandelier for you to hot glue the fringe to. I didn't spray paint my hoops white and ended up hand painting them to blend them in more so don't forget to paint them!!
Step 4: Tie a knot at the top
This ties all four pieces of rope together.
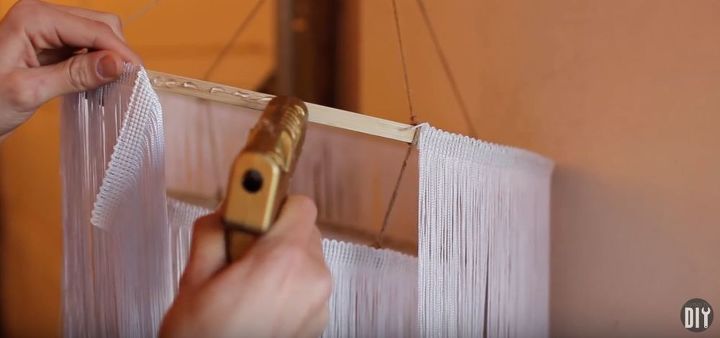
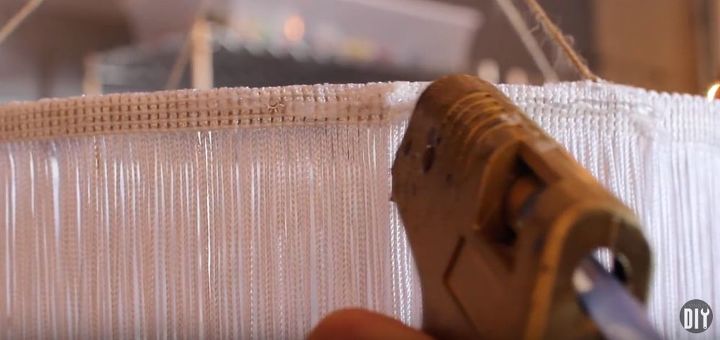
Step 5: Hang it up
Hang it up somewhere and hot glue your fringe on to each individual hoop.

Step 6: Trim your fringe
I did mine evenly across but I think it would look dope to add cut in's or scallops.

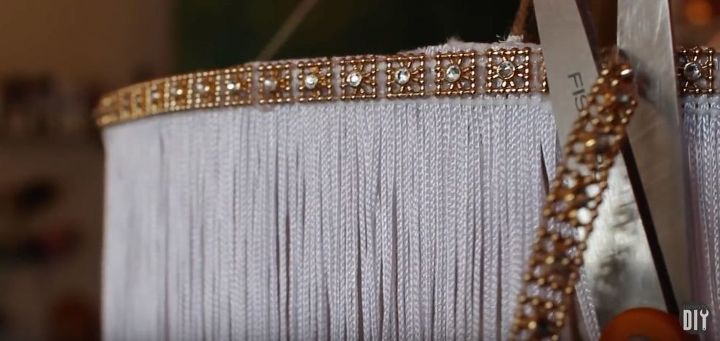
This is totally optional - I found this trim at JoAnn's and wanted to add it to the top.
Step 7: Add trim
Hot glue the top of your chandelier and add it!
Step 8: Trim the excess and you're done!
The possibilities and endless with dip dying it, color ways, lighting it or not lighting it.
And there you have it!
Stay rad 🤘. Connect with me! i n s t a g r a m // http://bit.ly/2eUALeQ p i n t e r e s t // http://bit.ly/2fmG6w4 f a c e b o o k // http://bit.ly/2fE8eKu t w i t t e r // http://bit.ly/2eUxkVx s n a p c h a t // rachel_metz i n q u i r i e s // rachellivingtodiy@gmail.com
Resources for this project:


Comments
Join the conversation
-
Sooo much simpler than the ones I've seen! And it looks great too, thanks for sharing!
-
That looks so cool!!


Frequently asked questions
Have a question about this project?
Didn't the fringe fray where you cut it? Wasn't it possible to order several lengths of fringe in the correct finished length? I suppose you could also change the length of the twine/rope holding each hoop, or would it have been visible through the delicate fringe?
is this just decor or did you add a light fixture?
How many yards of fringe do I need to complete this project?