


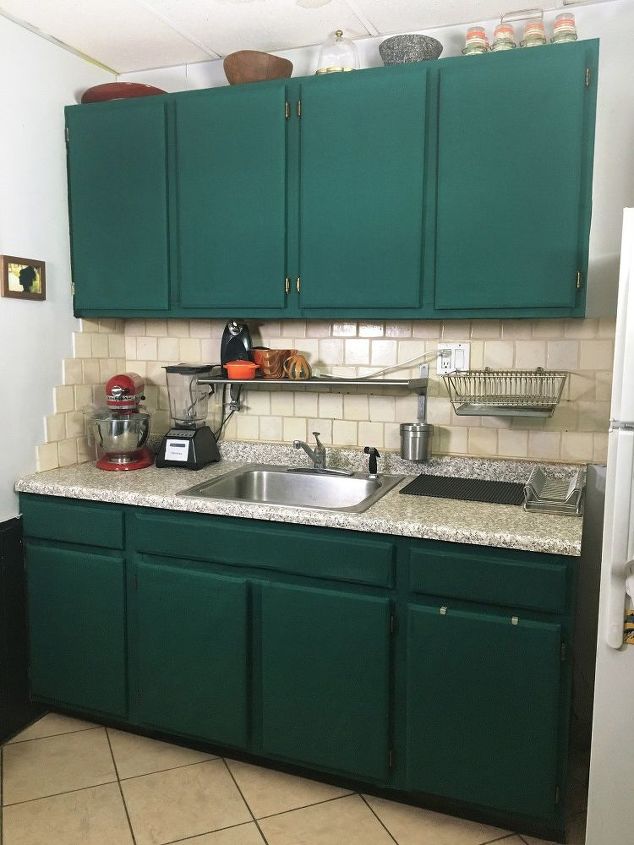
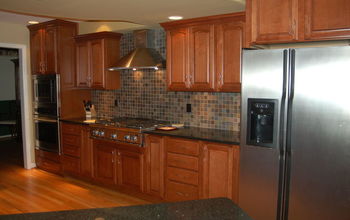
Renter's Cabinet Cover Up

If you rent, you know there are limited with options at times to make a space your own. If you happen to hate your kitchen cabinets, but can't paint or replace them, this may be an option for you! My cabinets weren't all that bad, just your standard simple oak, but I thought I would test this out and share my results. With the fabric of your choice you can "paint" your rental cabinets to customize your space!
We want to help you DIY, so some of the materials in this post are linked to sellers. Just so you know, Hometalk may collect a small share of sales from the links on this page.
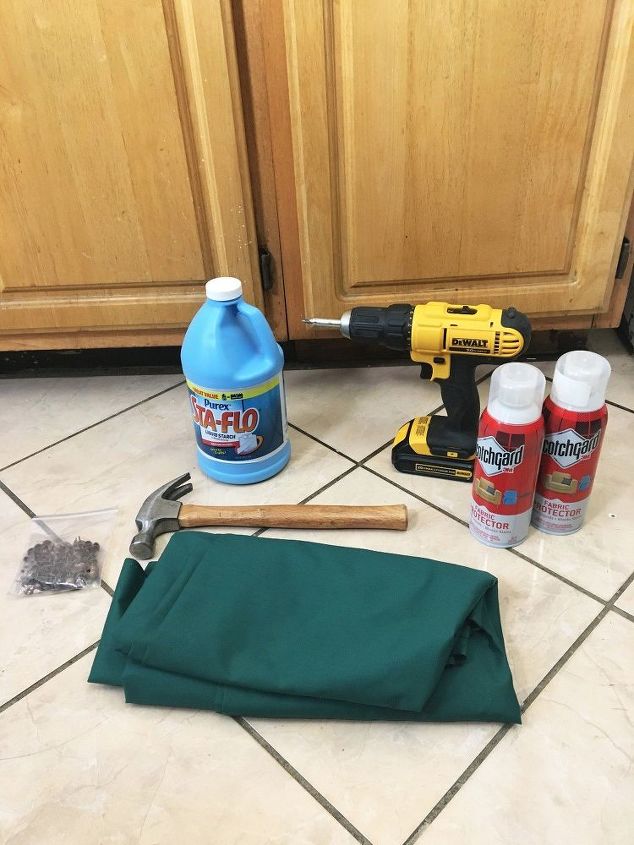
SUPPLIES:
- Scotchgard Fabric Protector against liquid and stains
- Drill
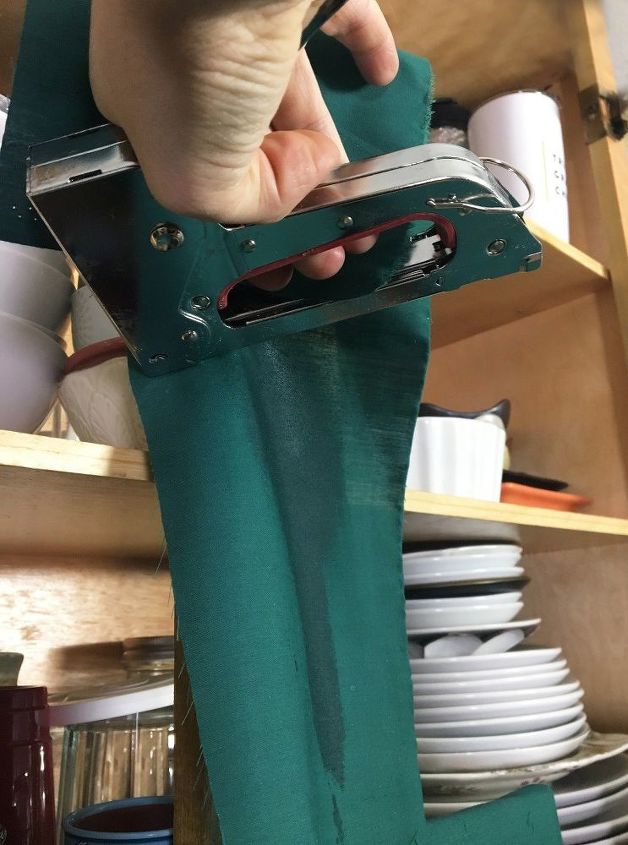
- Staple Gun - I know a hammer and pins are pictured above, however I found that using a staple gun was much more efficient and just as removable!
- 6 yds. fabric
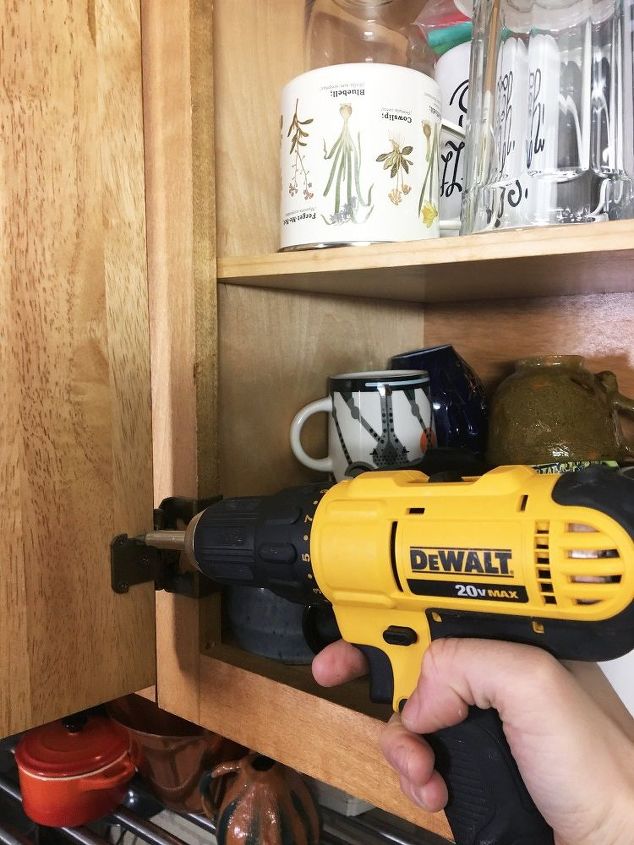
STEP 1: Remove your cabinets Using your drill, remove your cabinet doors and their hinges from the cabinets.
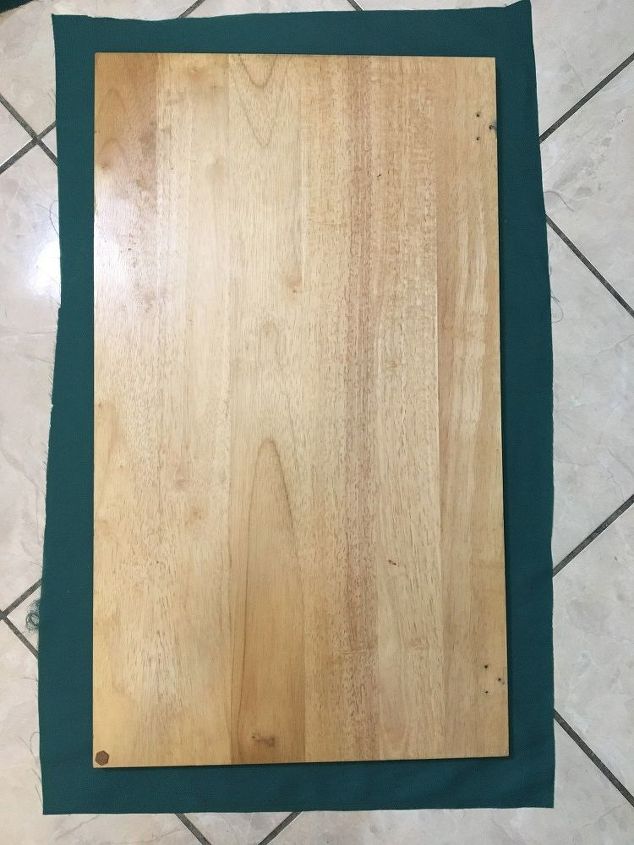
STEP 2: Measure your fabric Lay your door onto your fabric and cut out a piece of fabric with a good 1.5" excess on each side.
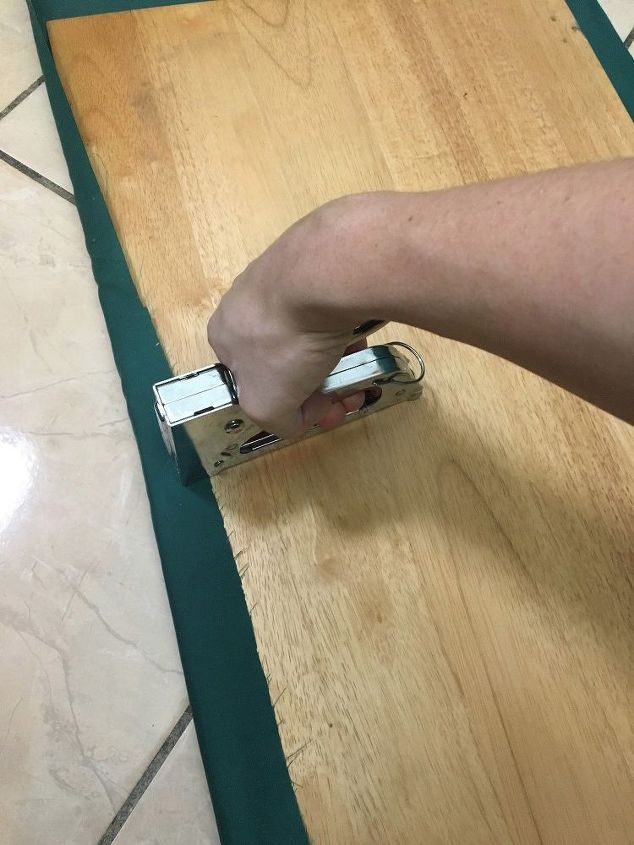
STEP 3: Staple the fabric Grab your staple gun and staple the fabric down to the back side of the doors. You will start by stapling one side and then the other making sure the fabric is nice and taut. If you are worried about the staples you can also use mod-podge or just extra starch on the edges to secure it in place
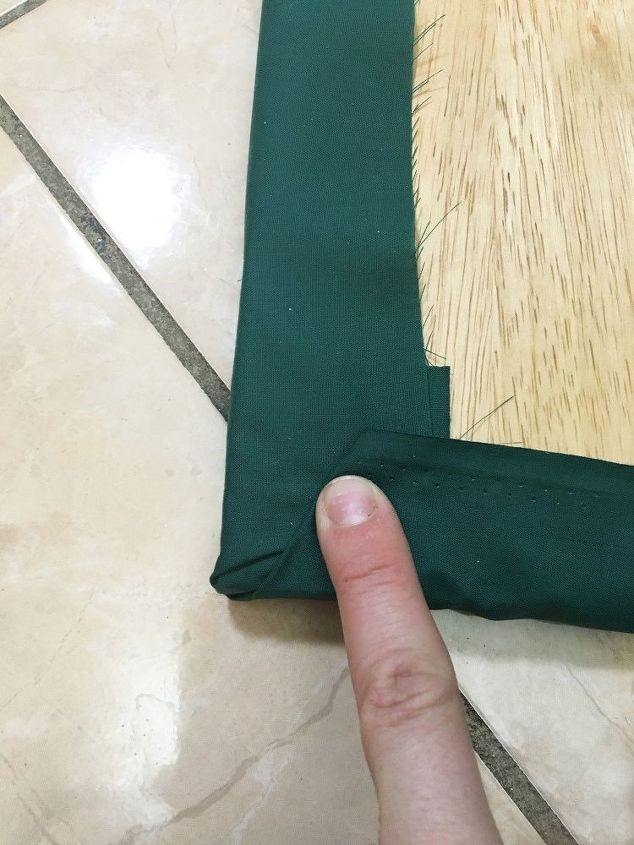
STEP 4: Fold the fabric for the corners For the corners of the door you will need to fold each side over one another and then staple it in place. It helps to pull up the corner of the fabric over the edge and then fold one side over and then the other over that and then stapling through all 3 layers.
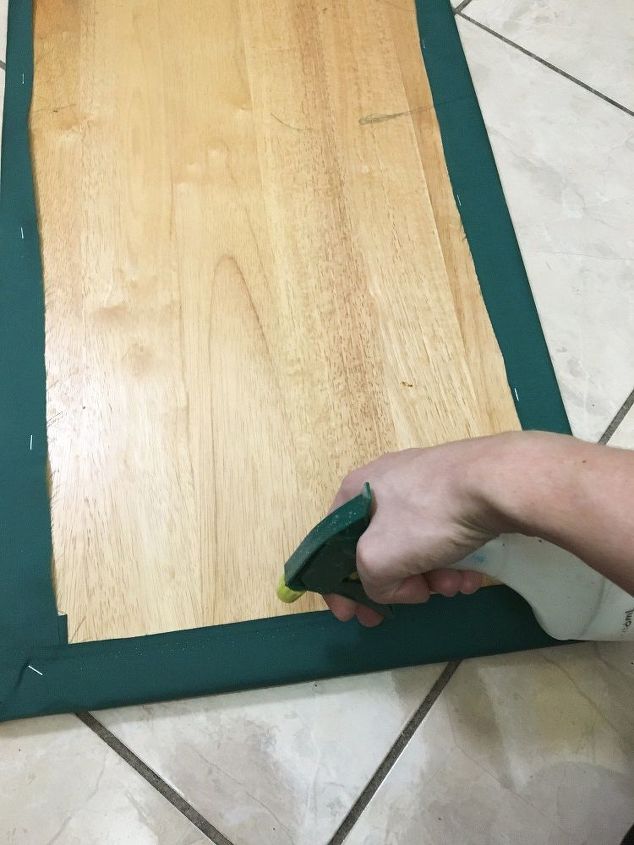
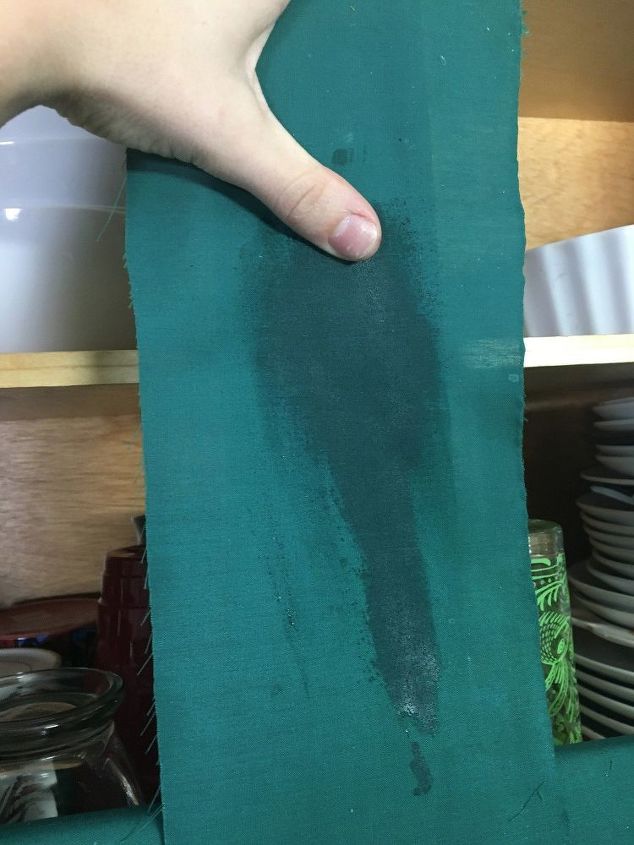
STEP 5: Seal with liquid starch Once all your sides are stapled down seal the fabric border in place by spraying it with some liquid starch. It serves as a temporary glue and will keep your fabric in place.
STEP 6: Prepare the cabinet frame Cut pieces for each section of the cabinet that lies behind the doors with some excess on each side to fold over and around the edges. For each section spray the surface with the liquid starch.
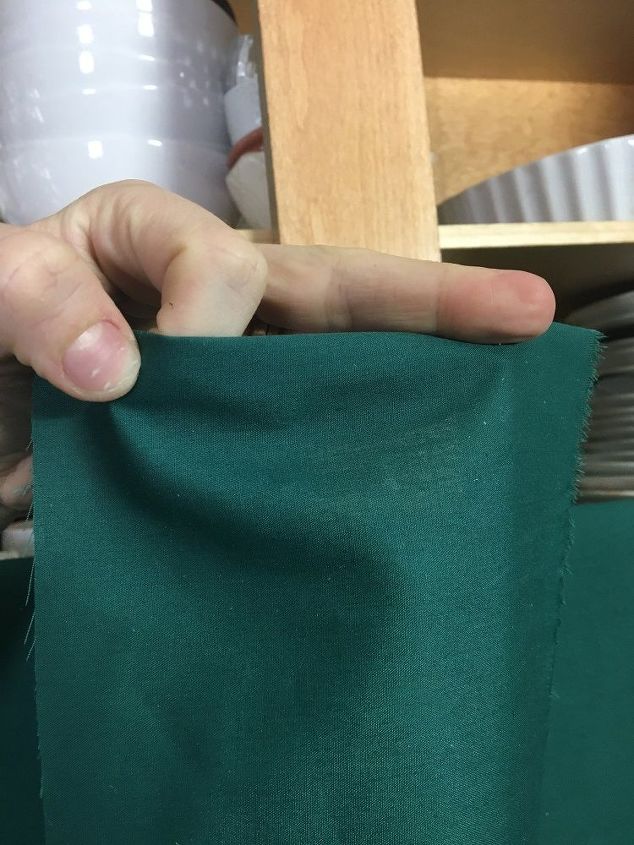
STEP 7: Add fabric to the frame Grab your fabric piece fold over one edge so it is clean.
Stick your fabric to the surface and spray it down with more starch making sure it is nice and smooth. I found it helped to go with the seams of the wood as a guide for where the strips of fabric will meet.
STEP 8: Get rid of the excess fabric Wrap the excess edges of the fabric around the edges of the cabinet and staple them in place (again if you don't want to staple you can use extra starch or mod-podge to seal the edges in place) making sure the fabric on the front surface is lying nice and smooth. Add more liquid starch to help smooth it out and keep it in place. Repeat steps 6-8 for all uncovered sections of your cabinets. *For drawers you will use a combination of how you cover both the doors and the back surface.
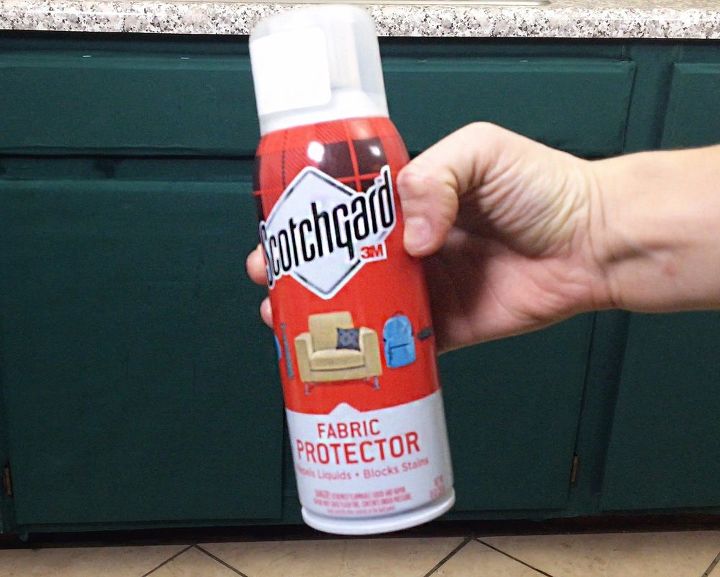
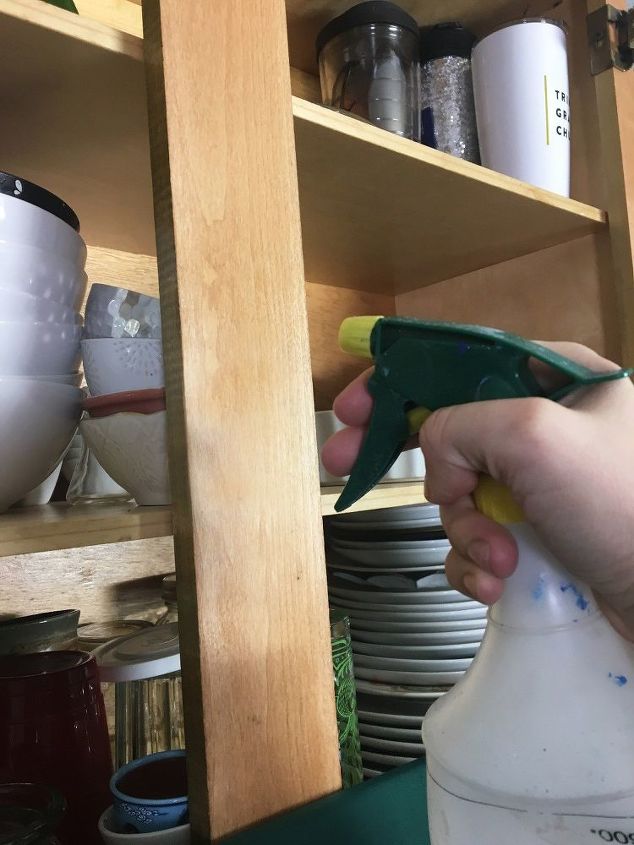
STEP 9: Spray down every crevice with a liberal amount of fabric protector. This will help to keep the cabinets water and stain resistant. Since kitchens get dirty this is a MUST! When you are ready to remove the coverings you just remove all the staples with a flathead screwdriver and wash away the starch with a wet sponge and some soap.
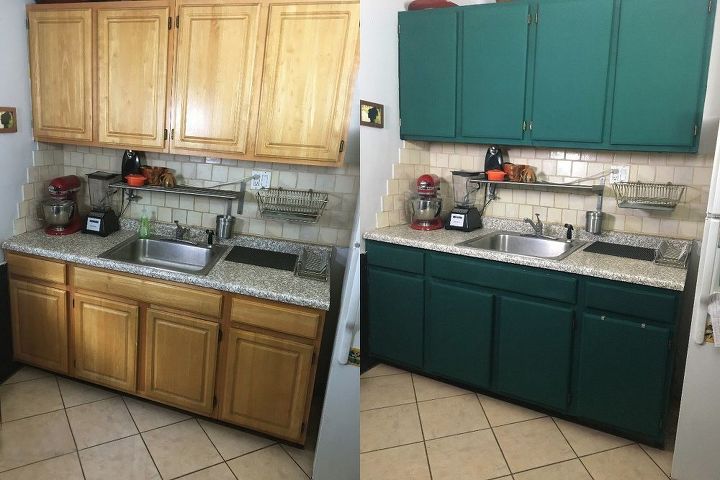
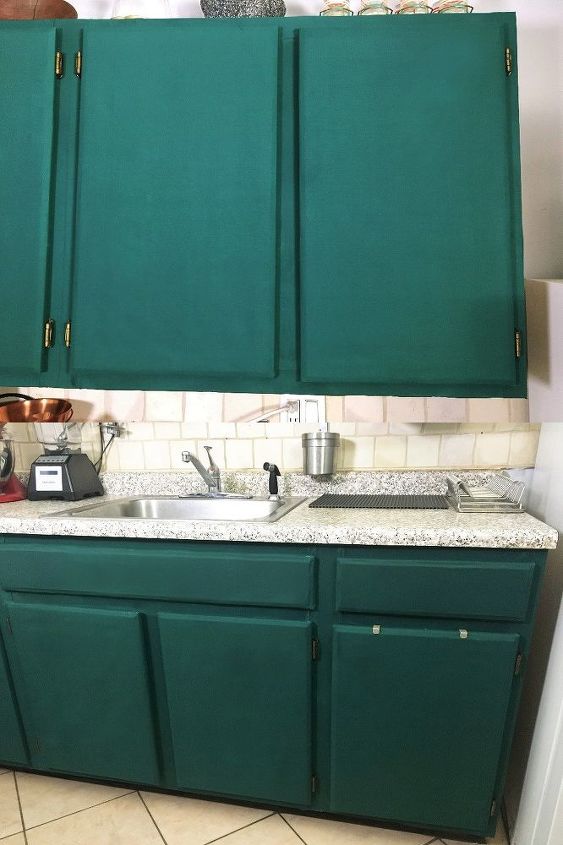
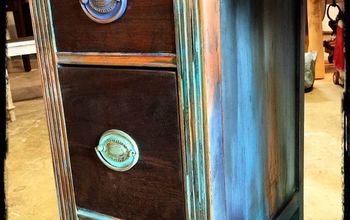
Here is a before and after of the cabinets! Such a transformation! I must say I do love an emerald green color in the kitchen. I may have to add some hardware!
Though I would prefer to just paint them, this is a nice option for those who aren't able to paint and want something different from what they have got going on in their rental!
I did take an iron and press out the folded creases to help make the seams nice and tight!
Resources for this project:
See all materials


Comments
Join the conversation
-
We lived in military quarters, (leased housing while overseas). You were not allowed to change any surfaces throughout your house. You could paint walls, as long as they were returned to white when you moved out. That could be costly when you were transferring every 2 to 4 yrs. I have used contact paper on many surfaces. I was told about, and used many, many times, the fabric and fabric starch to decorate. However, I always soaked the fabric in the starch till completely wet. Squeezed, never wringing. Unless of course you are looking for a crinkled surface. Apply to surface and squeegee excess starch with hands. Allow to dry and trim any excess with a ruler and razor knife. You dampen a corner with sponge and peal entire surface with no damage when you move!!!
I don't see why cabinets could not be done the same way and then sprayed with protectant while drying. We are 40 yrs retired from the military, I might try this on my own cabinets, hmmm....!
-
As a property owner that has spent countless hours repairing tenants projects, I would advise against this. Using a staple gun on cabinets damages them, and it’s time consuming to clean off the starch residue. Also, double face foam tape damages painted wall surfaces and please don’t cover the countertops with contact paper! It’s a nightmare to remove the residue.


Frequently asked questions
Have a question about this project?
Your putting LIQUID starch and SPRAY protector on to fabric that is against wood. I would think that this would damage the wood finish! Have you removed this since doing it? I’d like to know the condition of the cabinets after this has been done to them. This seems like a very dumb idea I’d certainly be cautious if I was a renter, I foresee some big repair costs in your future
I love your makeover! It looks beautiful. Definetely take it up a notch and get the hardware. As long as it doesn't damage the underlying finish, what can the landlord be angry about? Simply stunning!
Sure would love to know how you managed the top frame under the sink. The decorative panel isn’t removable, at least on mine, it’s glued in place. Trying to get it off would probably damage the panel and the frame. On top of that my cabinets have depressed paneling, so it would show after a while. Plus, how do you get the grease off of them? I suppose cleaning up the frames and just covering the doors and draw fronts would work, too. It’s important to keep the original hardware if you are in rental or leased property.