


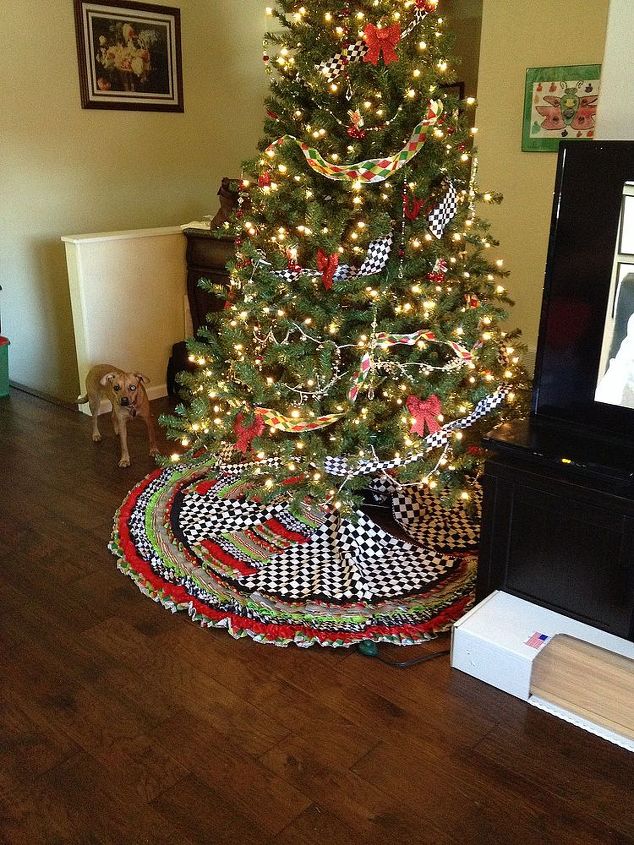
Ribbon Tree Skirt, and Beaded Garland Measurments Included

$200
4 Days
Medium
I love MaCkenzie-Childs but I could never afford their products. So I decided I would make my own using Hometalk posts to help me get ideas. So here is what I did. I have a 7 ft. tree and like my tree skirt large enough to cover the space under the tree and be seen with gifts on it. The time and cost will truly depend on you. I have collected ribbons over the years that I really liked that were on sale. I also had the table cloth and glue gun. I splurged on ribbons that matched. I have kids so I had to take breaks often for several hours at a time. Materials for Tree skirt for a 7 ft tree: Glue gun, tons of glue sticks, 1 .25 yards of fabric, 60' inch diameter plastic table cloth, 2 - 60 ft rolls of ribbon per pattern and color that you desire. I used 8 different ribbons types. I used pattern then solid color alternating. Ribbon with wire edge is much easier to pleat. The Garland materials: Plastic beads with clear facets so the light could shine through, Heavy wire that can hold enough weight not to break, Crimping bead ( Jewelry making area of the local hobby store has this). Hope this helps you!
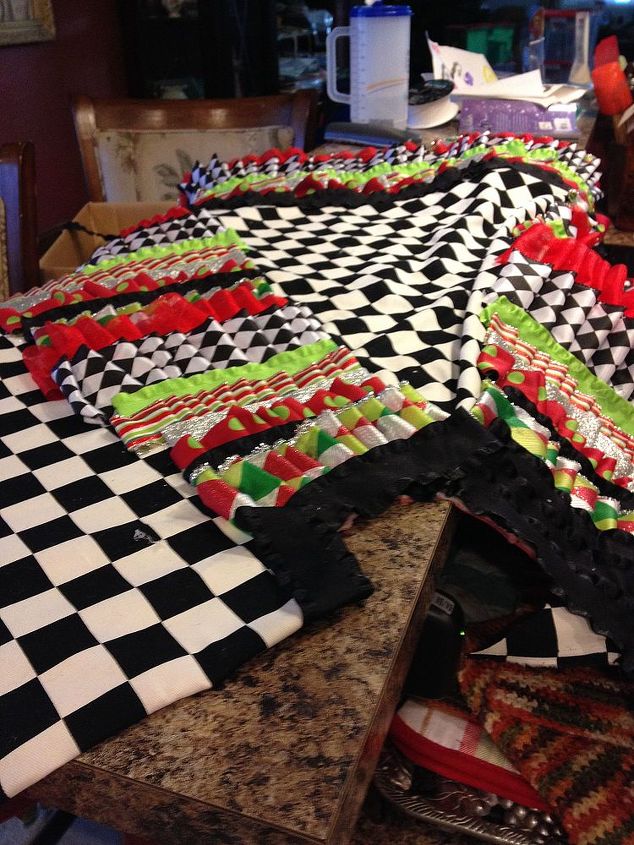
This is my final product but lets go step by step for making this MaCkenzie-Childs inspired tree skirt. I bought items at Wally World a local fabric store, and hobby shop.
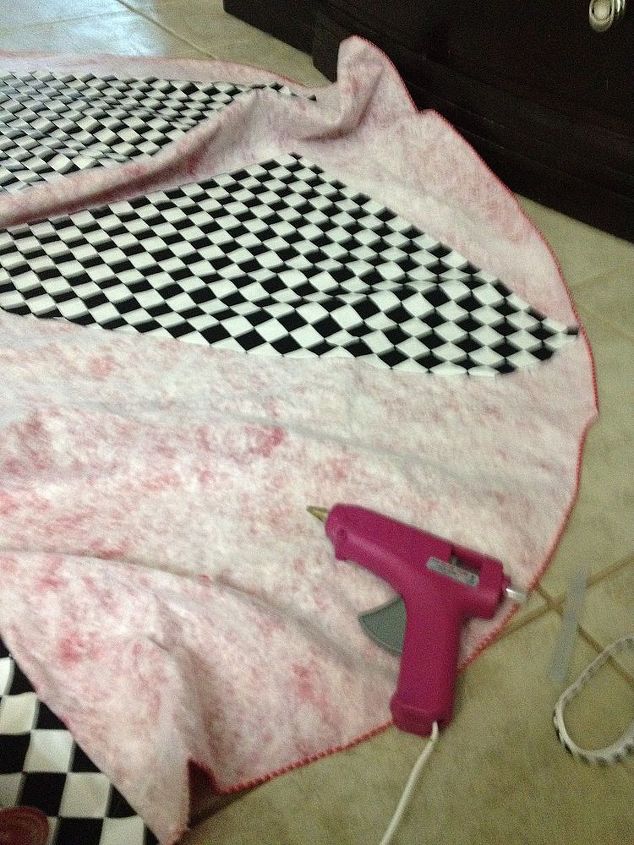
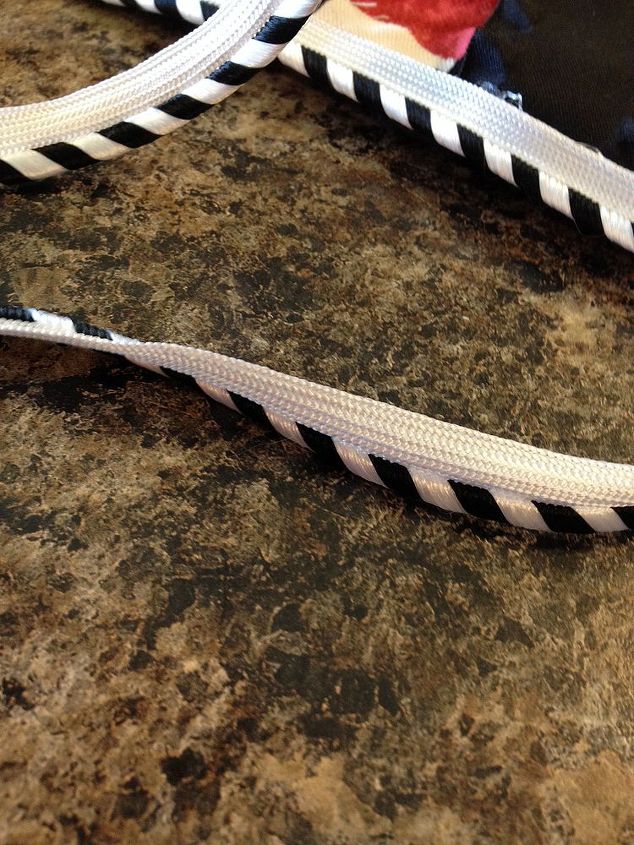
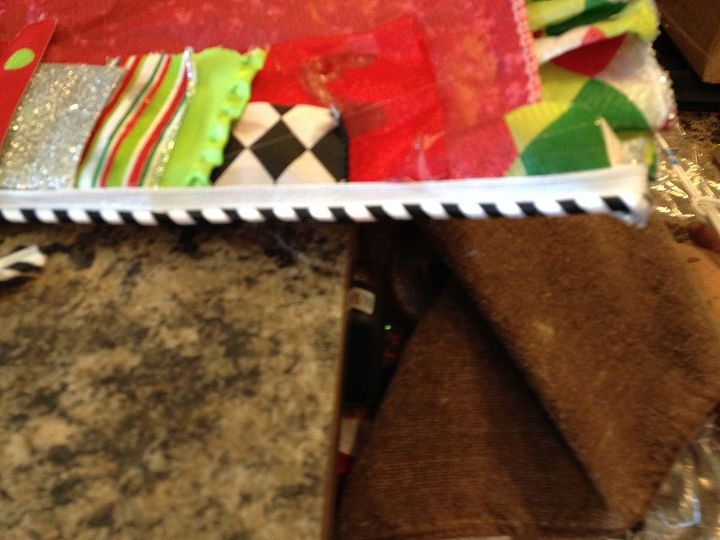
Ok so lets get started: Buy a cheap plastic round table cloth. 7" ft tree 60' inch diameter table cloth. 1.25 yards of fabric. I hunted down patterns that reminded me of MaCkenzie-Childs. I used a glue gun to attach everything.
Get a ton of glue sticks. Ribbon that inspires you I found that 2 bolts of 60 feet gave me enough ribbon for a few pleated rows. I used 8 different patterned ribbons.I cut the table cloth and used a bowl to cut out a spot for the skirt to go around the tree. Glue the fabric that you cut in pie shapes to the table cloth.
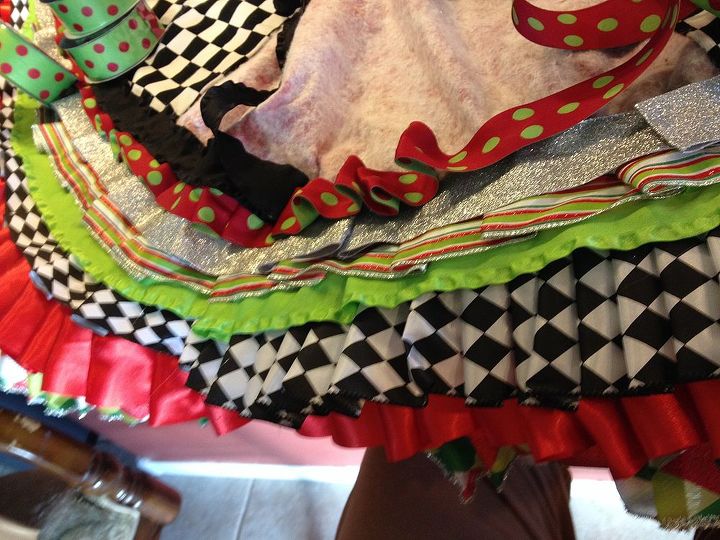
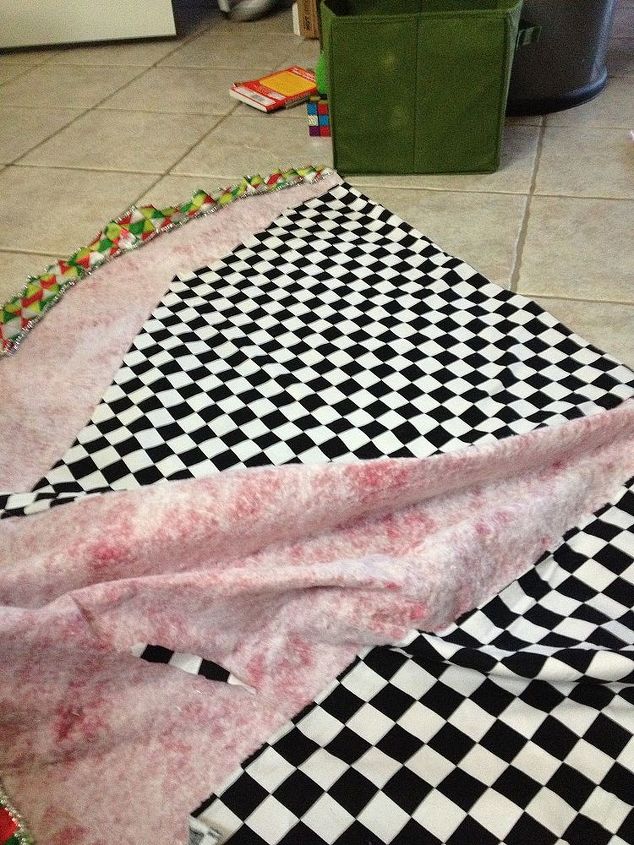
Starting on the out side edge I wrapped the ribbon around and glue it to the side you are not working on this will help give it a finished look. Then I folded the ribbon in pleats and glued it all around.
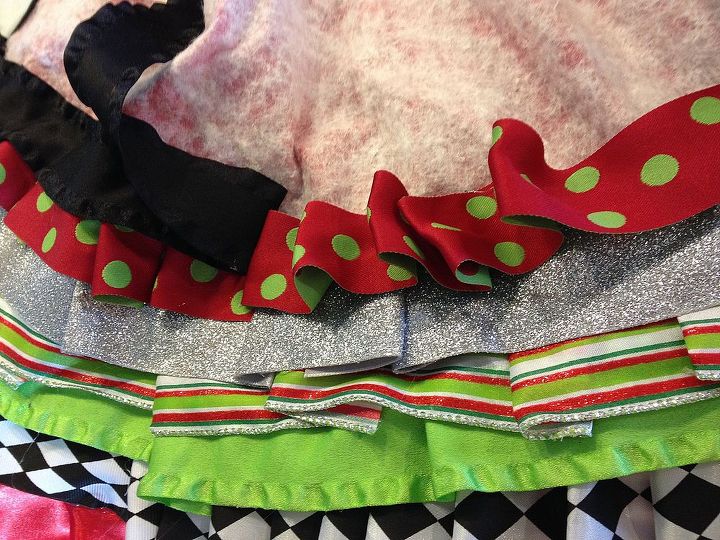
I found that ribbon with wired edge made folding and pleats much easier. Also I used pattern and then solid ribbon alternated looked best. I also tried to use the new or top ribbon slightly over the last to hide the glue marks.
I made several rows of continuous ribbon layers at the bottom until I covered about an inch or two over the fabric. Then I went up in smaller rows between the fabric pie shapes. I ended with the solid color.
Now warnings this gets very heavy, and the glue gun can burn the crud out of your fingers, arms or anything that may touch the hot glue! I had several blister by the time I was done.
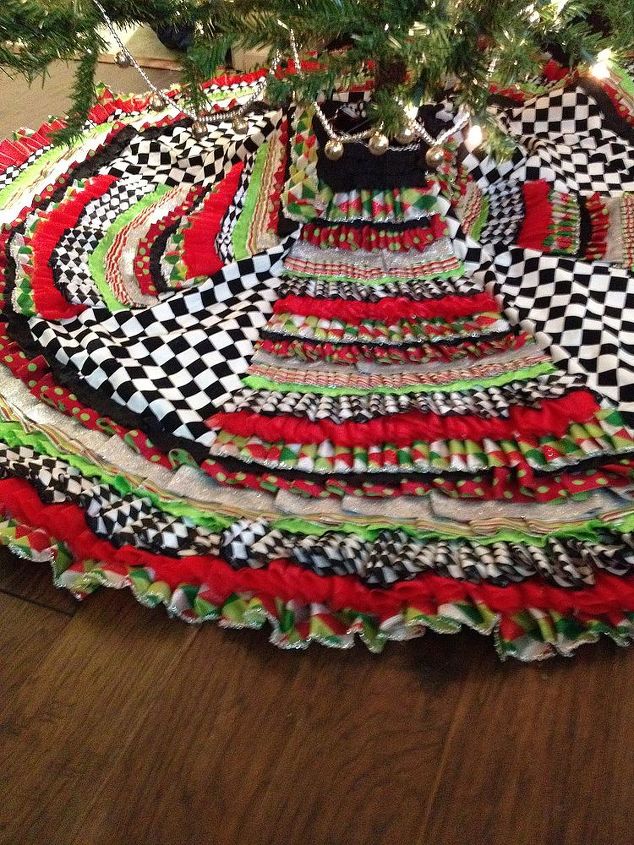
I finished with an edging on the edges...ok so that was a dumb statement. But you get the idea.
I just glued it down on the side with the ribbon edge folded over. The little touches really make the finish project look professional.
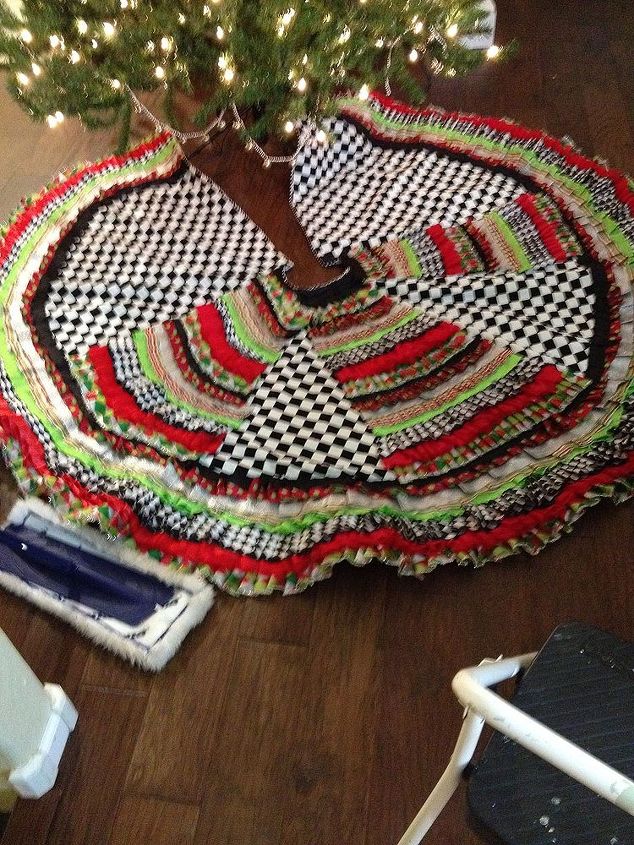
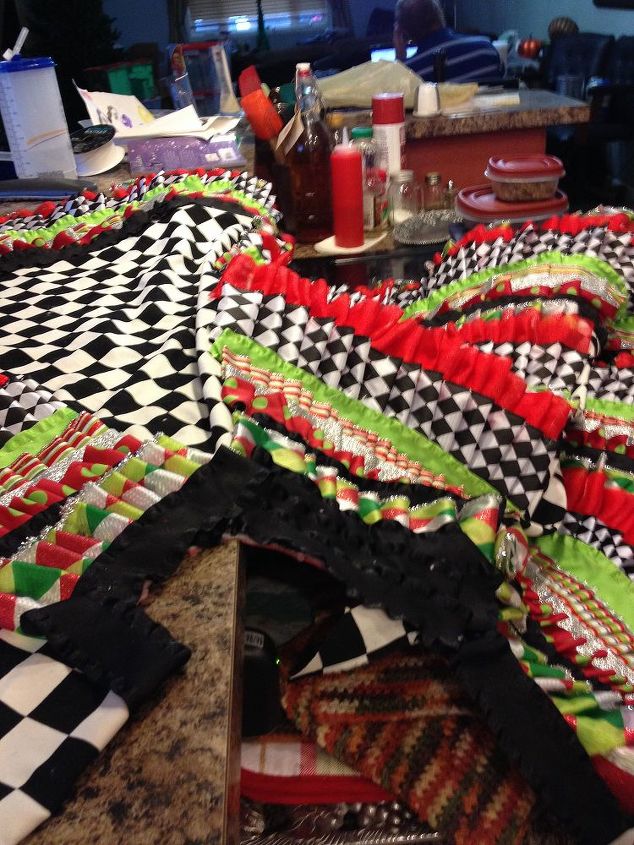
This is the final skirt. about to go under my tree.
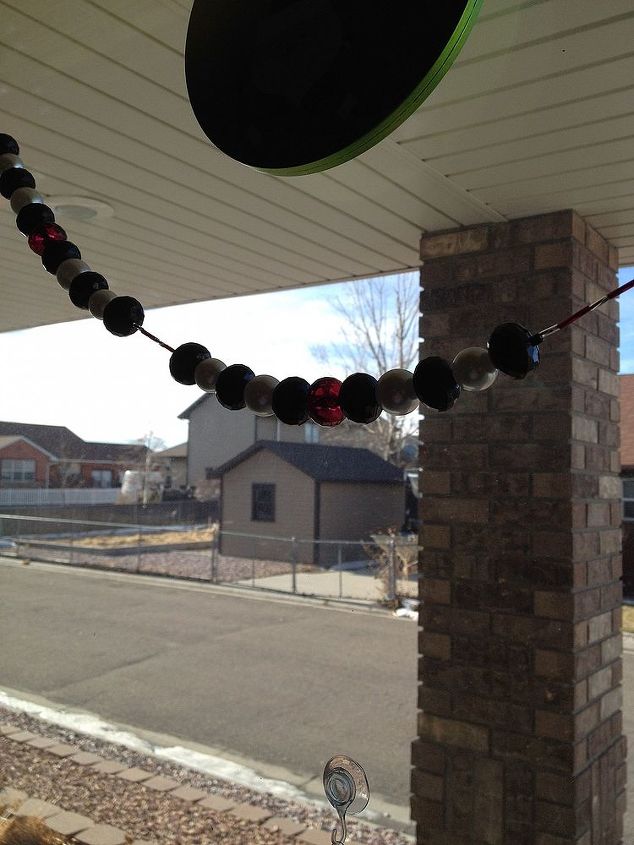
Beaded garland I used plastic beads with clear facets so the light could shine through. I used colors that matched my tree skirt. You need wire string that can hold a fair amount of weight, depending on the size of the beads.
Comments
Join the conversation
2 of 52 comments
-
i too love makenzie childs....and i too can't afford it....but, you did a great job! where did you find the black and white harlequin fabric?
-
I would of guessed you quilted it, but that hot glue gun is a tool you can't live without......This tree skirt is EXCEPTIONALLY beautiful and well designed!! Merry Christmas.


Frequently asked questions
Have a question about this project?