


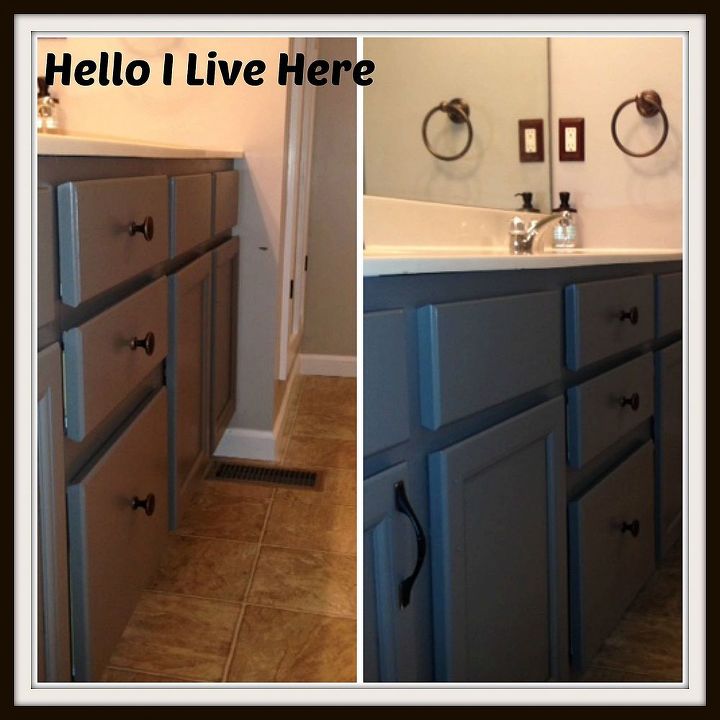
Updating a Bathroom Vanity
$65.00
1 Day
Easy
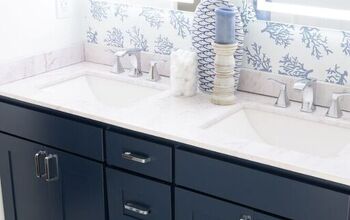
Happy Wednesday everyone! Welcome to part III of our master bathroom update. Yesterday, we shared how we installed ourBoard and Batten Wainscoting (featured on Bob Vila Nation), and our masterbathroom storage we build in the first two parts of the master bathroommakeover. Today my post is about the updating a bathroom vanity thatwas builder grade with a splash of color. I never liked the lighter cabinetry when we purchased our Villa, and Iknew I would be updating a bathroom vanity as soon as I could with paint.
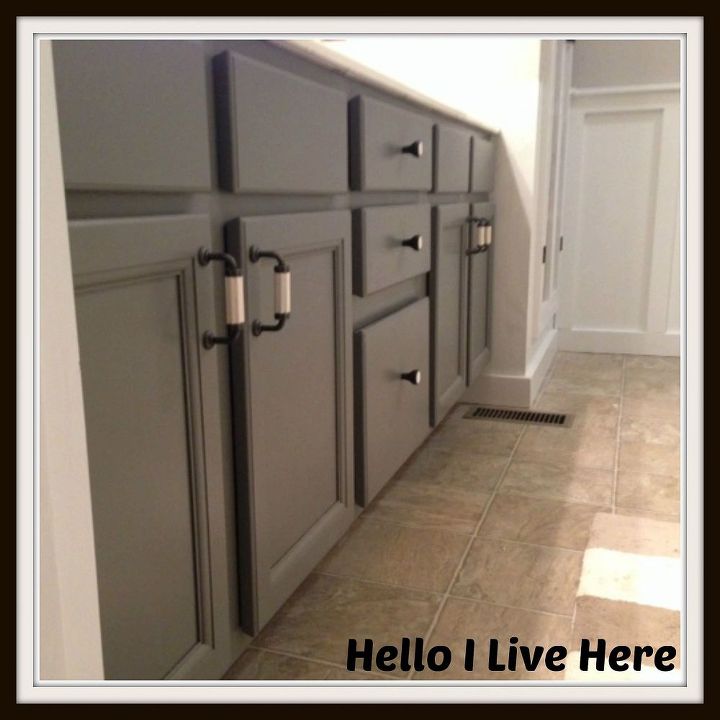
Updating a Bathroom Vanity - Finished product - Hello I Live Here
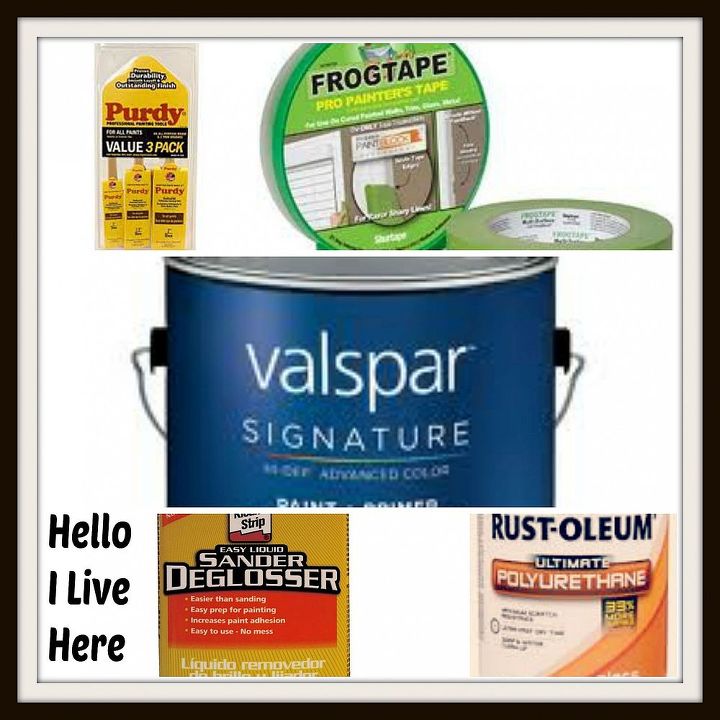
Updating a Bathroom Vanity - products you need - Hello I Live Here
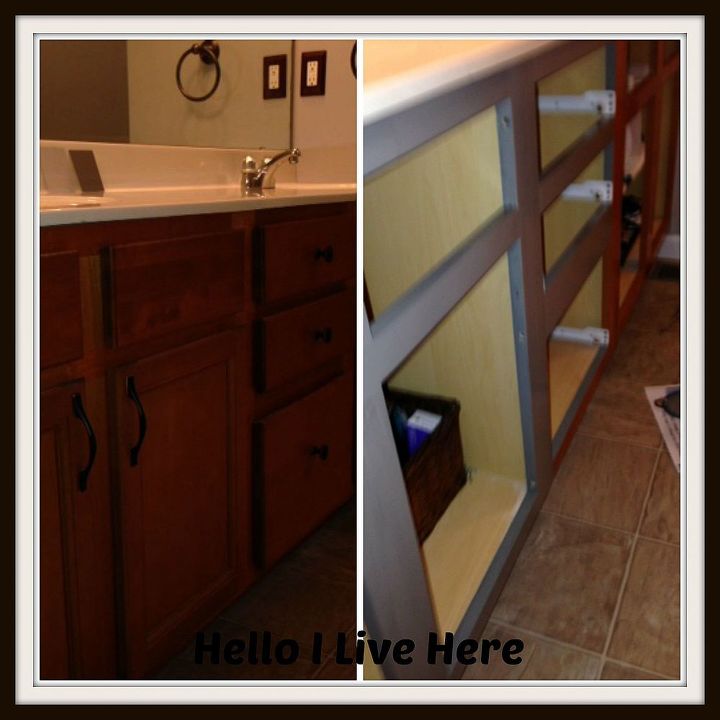
Updating a Bathroom Vanity - Prepping the vanity - Hello I Live Here
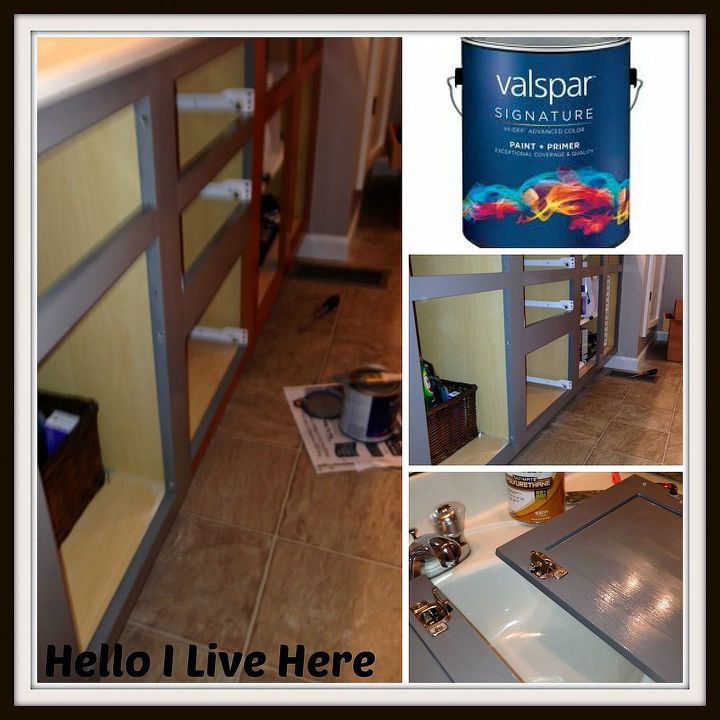
Updating a Bathroom Vanity - painting the Vanity - Hello I Live Here
Updating a Bathroom Vanity - Finished product - Hello I Live Here

Want more details about this and other DIY projects? Check out my blog post!
Comments
Join the conversation
5 of 7 comments
-
I really like the color you chose for the vanity.
-
just saw this and you did a fabulous job. I am in the middle of doing mine now. Just hope the paint sticks. I primed, but saw some slick spots so I will prime again. Any suggestions??


Frequently asked questions
Have a question about this project?