


DIY Photo Transfer Cubes
2 Materials
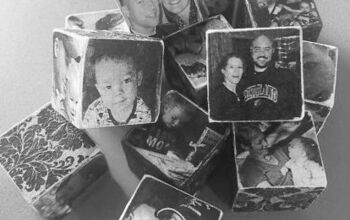
I cannot wait to share this week's DIY project with you! It's a photo transfer technique using 1Gel, your favorite photos and some wood blocks! So let's get started with a brief overview, then you can jump on over to my page for the detailed operation!
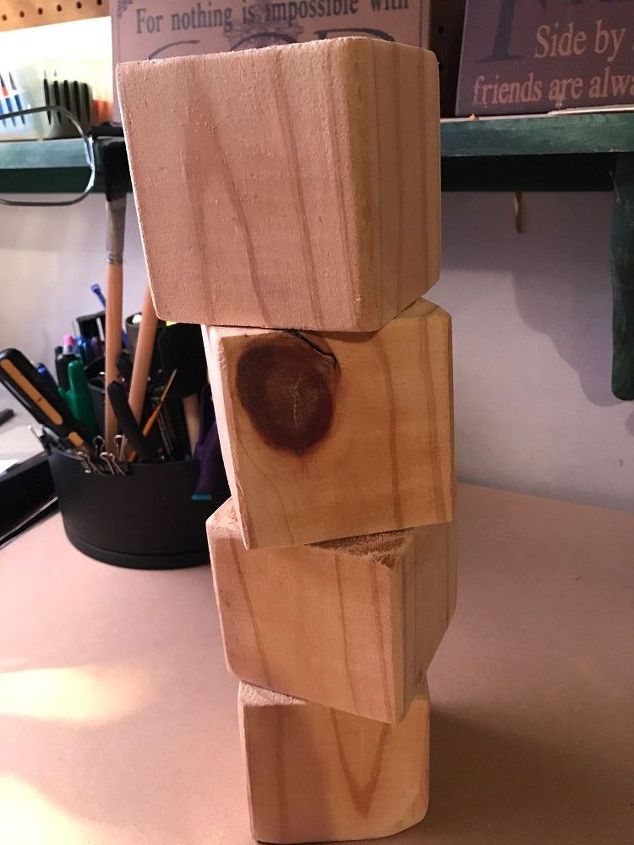
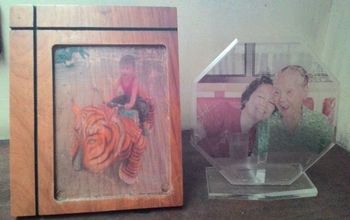
Grab yourself a 4x4 post from your local DIY store and sweet talk those sweet folks into cutting it into 4x4 blocks. Next, you'll head on back home, get out the sand paper and sand off the rough edges.
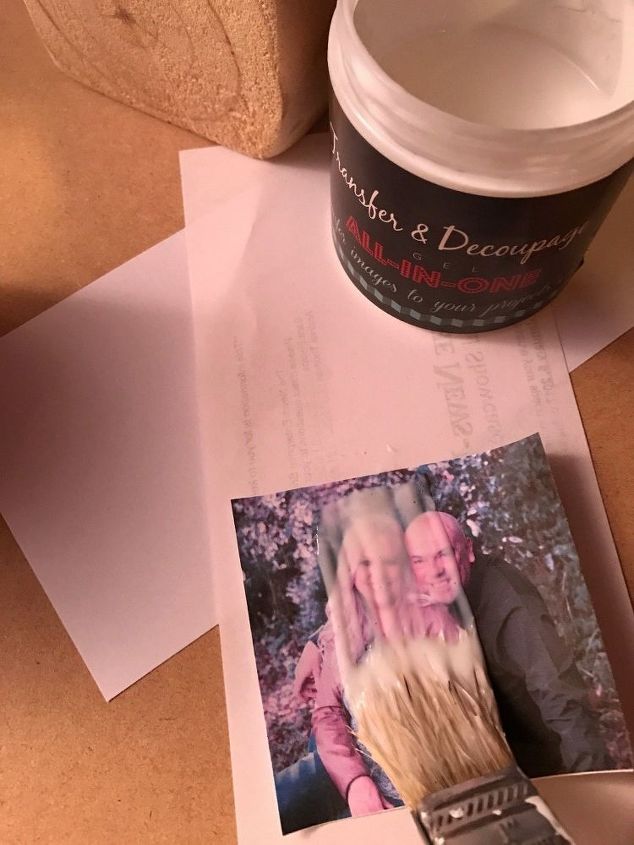
Once you've chosen the photos you're going to use, have them printed out on copy paper and mirrored. Brush this magic solution in a bottle, called 1Gel from Heirloom Traditions Paint, on one side of the block and the image.
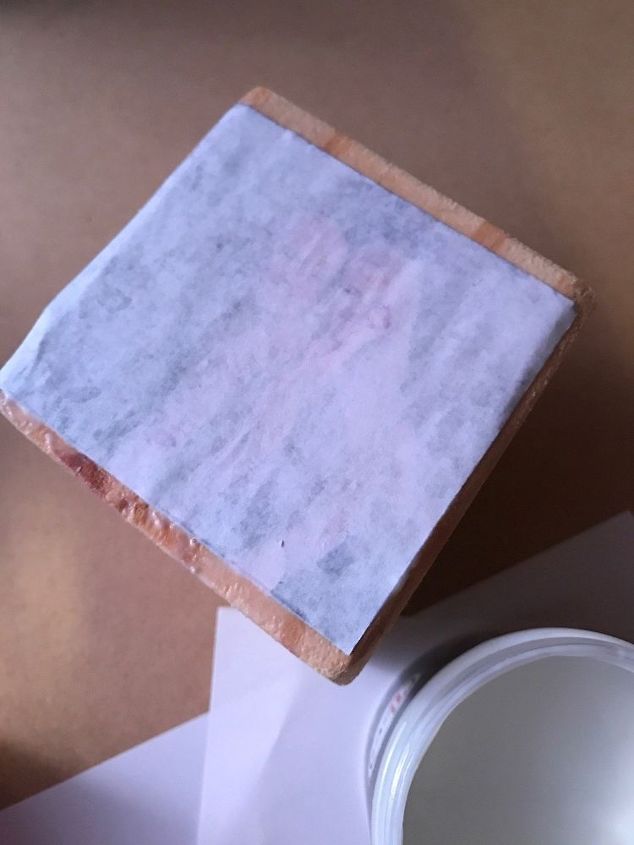
Now lay your coated image faced down onto the coated side of the wood block. Wait 6-8 hours for the medium to dry. Once it is dry to the touch, grab a water spray bottle and mist it real good! Take your pretty fingers and in a circular motion, begin rubbing the paper off.
It will take several times of misting the paper and rubbing it off to reveal the crisp image.
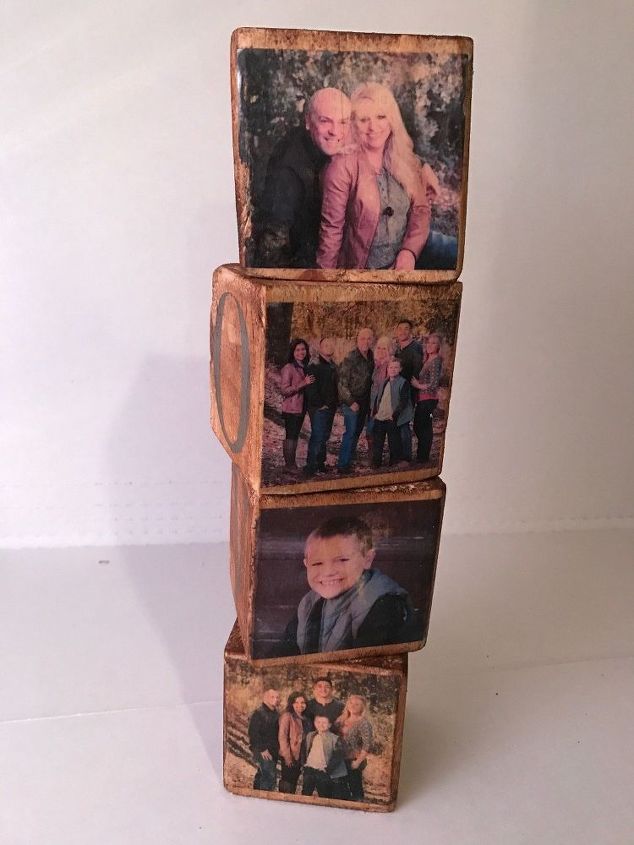
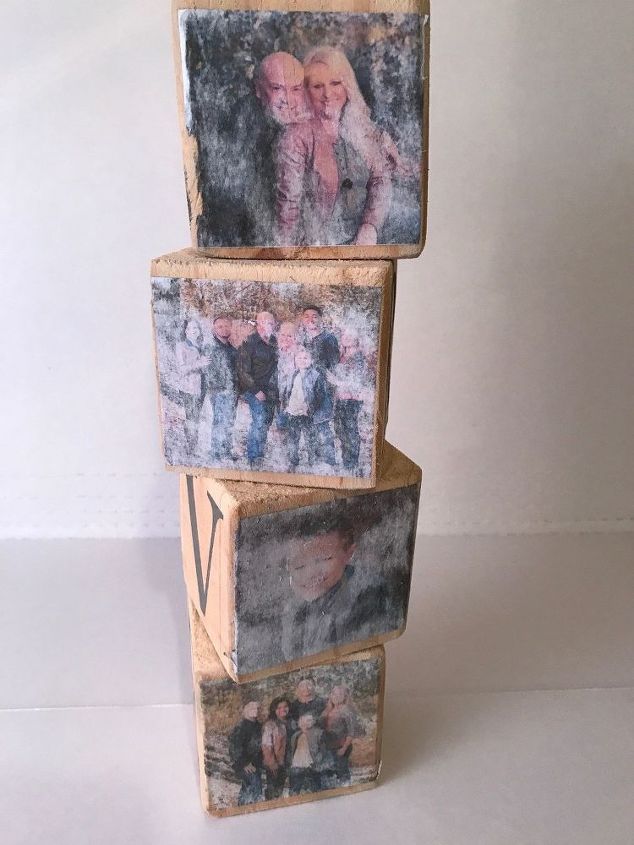
Once, you've removed all the paper, you will see that you're left with a beautiful image. It is permanent and will not rub off. To complete your project, use a clear or brown antique wax to seal your image.

Want more details about this and other DIY projects? Check out my blog post!
Comments
Join the conversation
3 of 16 comments
-
I really like this
-
Nicely done! I've done photo blocks with black and white prints decoupaged on Dollar Store alphabet blocks. I'll have to try your technique.


Frequently asked questions
Have a question about this project?
what do you mean about mirrored
what do you mean about mirrored