


This Is The Easiest Headboard DIY (No Joke!)

by
Tikva Morrow
5 Materials
$20
2 Hours
Easy
Even though I'm truly an amateur DIYer in practice, my brain is always teeming with fun DIY ways to dress up my small city apartment. Skip to last week when I was a week overdue and heavy into nesting, and you can imagine that my DIY inclinations were in full overdrive!
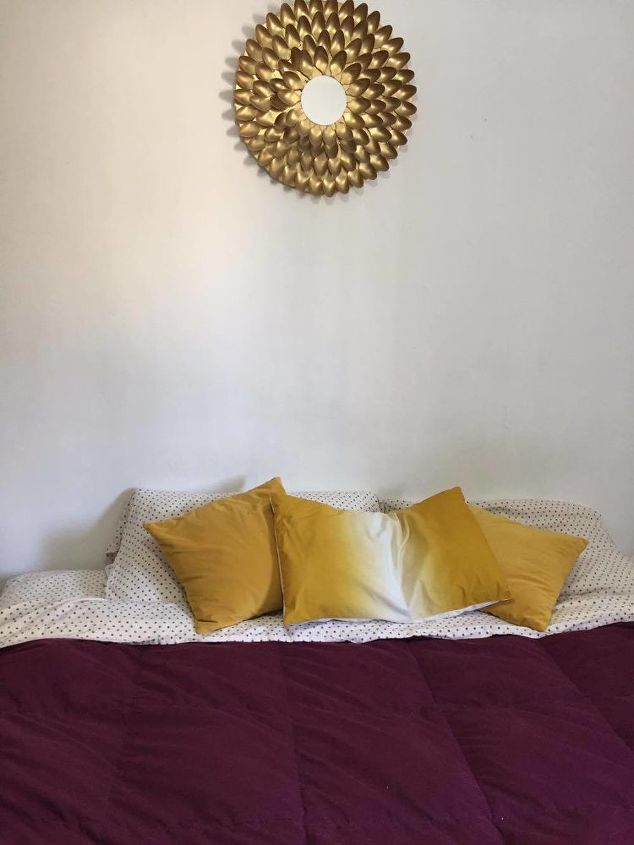
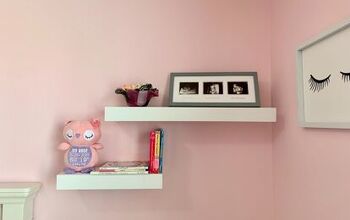
You've heard of sparse, but have you ever seen a bedroom wall quite this Sahara Desert-like?
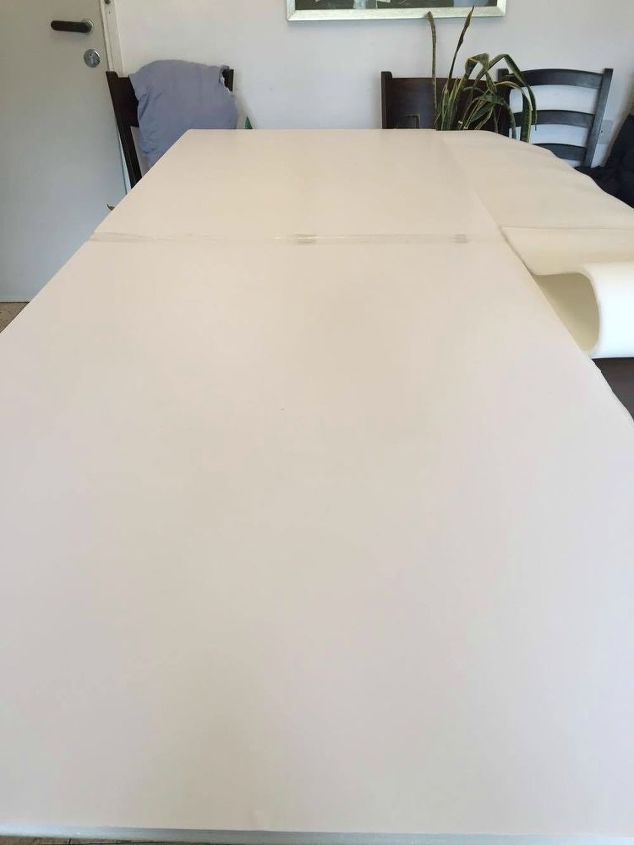
Step 1: Make a foam core board base
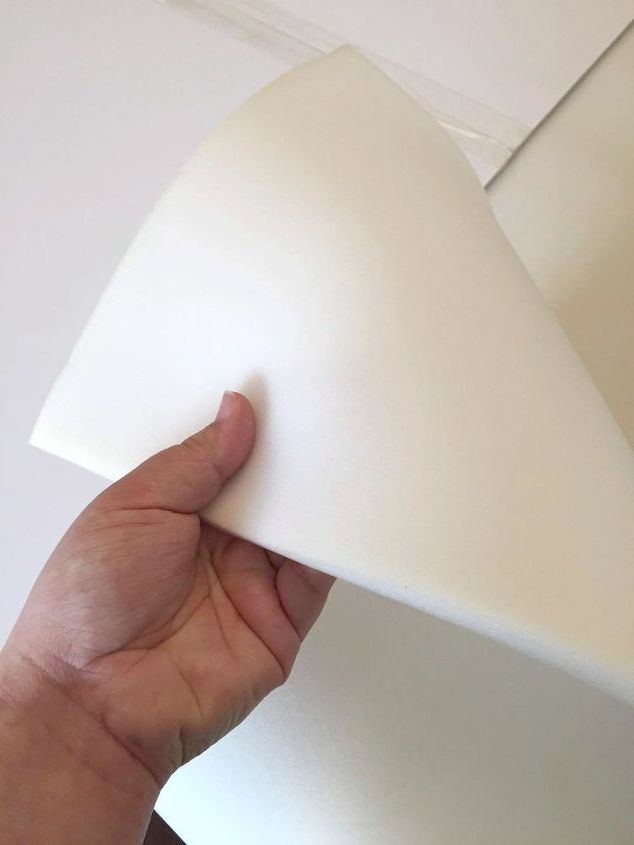
Step 2: Cover boards in foam
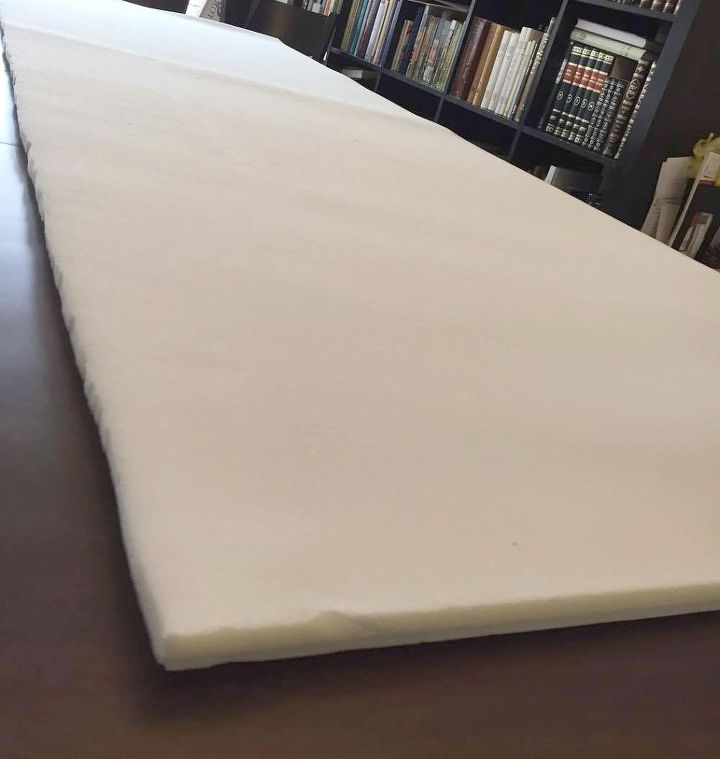
I laid the foam on top of my board base and cut the edges so that there was no overhang. If I had been using batting or something a little more flexible, I could have left extra on each side to wrap it around the foam board, but I was going for simple, cheap, and super quick so foam was perfect.
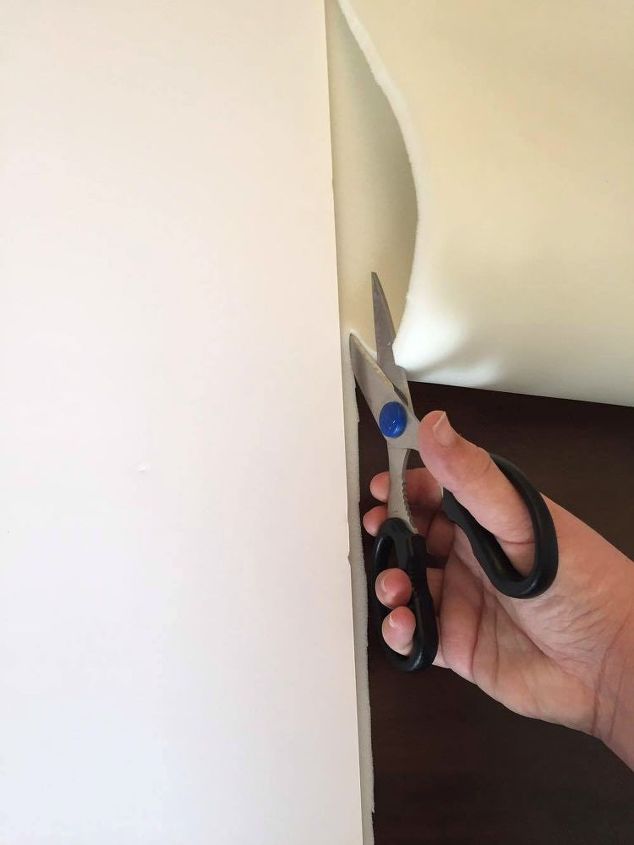
After I had the shape right, I went back around and cleaned up the edges so that they wouldn't look too choppy when I added my fabric. My chubby late-pregnancy fingers were making the cutting job a little difficult, but I got the foam straight-edged enough that fabric would hide any tiny blemishes.
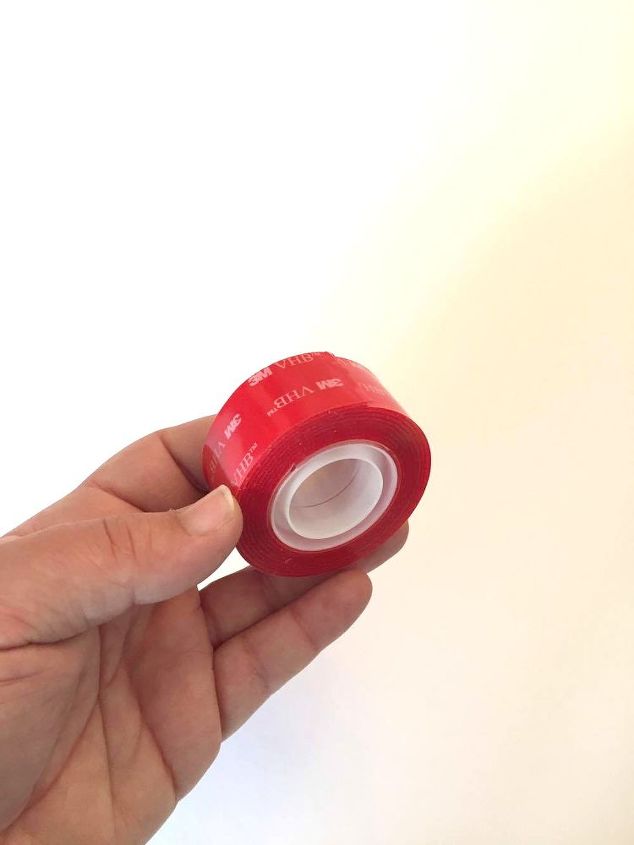
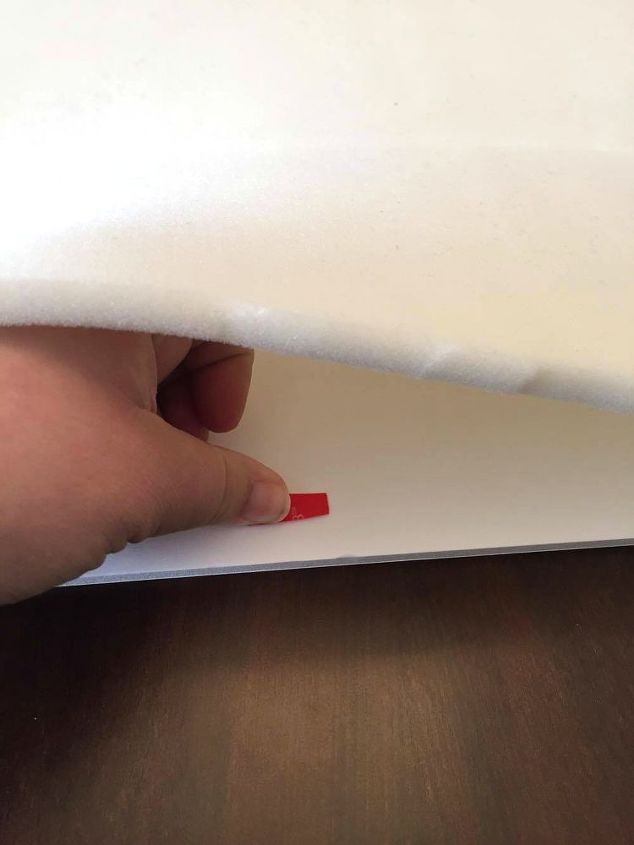
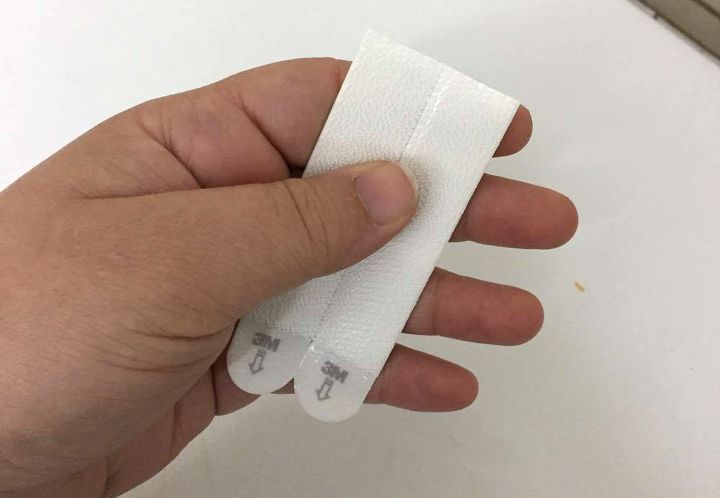
Step 3: Stick your foam to your base
Just a small square every couple of inches around the edges held the foam in place well enough before I added my fabric.

Pulling the thin red backing off the sticky plastic tape was almost enough to make me go insane, but I REALLY hate that blank white wall, so I kept at it until the foam was completely stuck down.
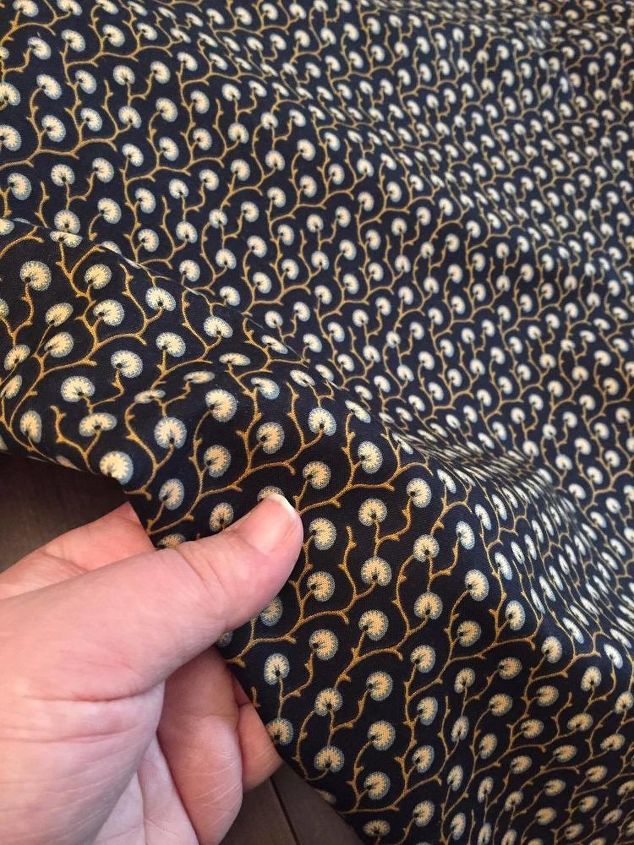
Step 4: Wrap it all up in fabric
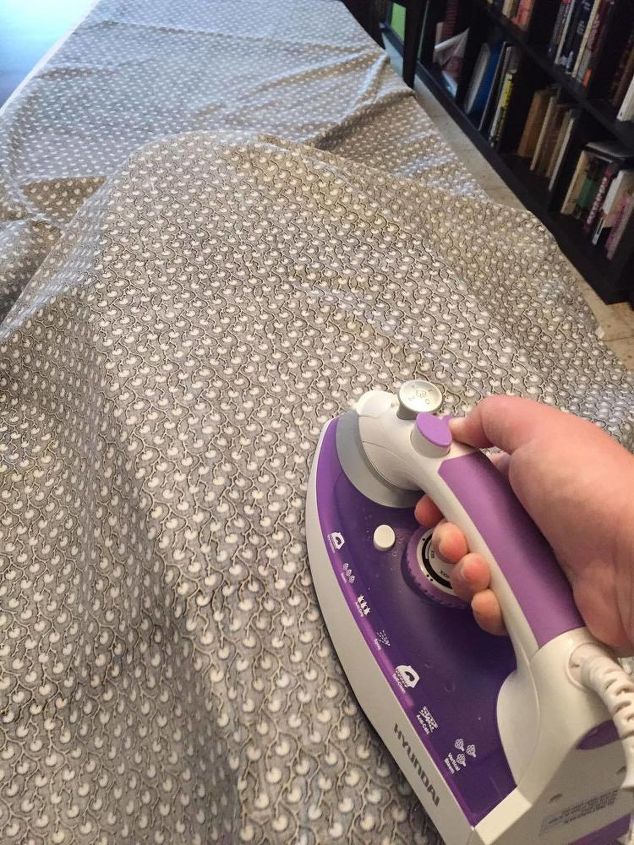
The first thing you want to do before upholstering anything (even faux upholstering) is iron out the creases. How frustrating would it be to finish your entire headboard and hang it up only to realize there's a very deep, very noticeable crease running right across it?
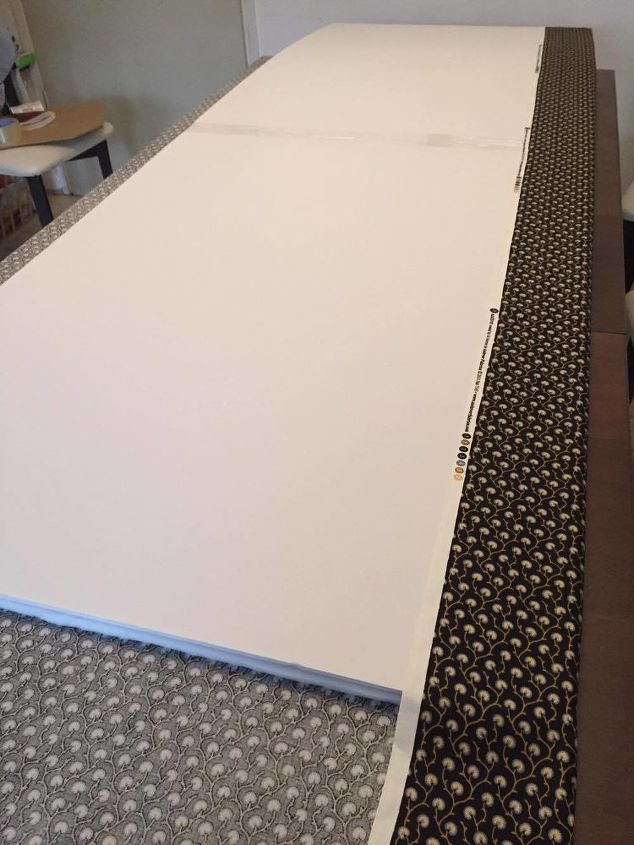
Once all the wrinkles were straightened out, I laid my foam covered boards foam-side-down on the fabric and cut the ends so that there wasn't too much overhang.
To secure the edges, I thought about using a staple gun, but ultimately decided that the staples might be too deep for the foam board and stick through, which would make bedtime a less than enjoyable experience! To avoid that, I actually went with heavy duty duct tape (eek! I know, but it worked!) to stick down the fabric.
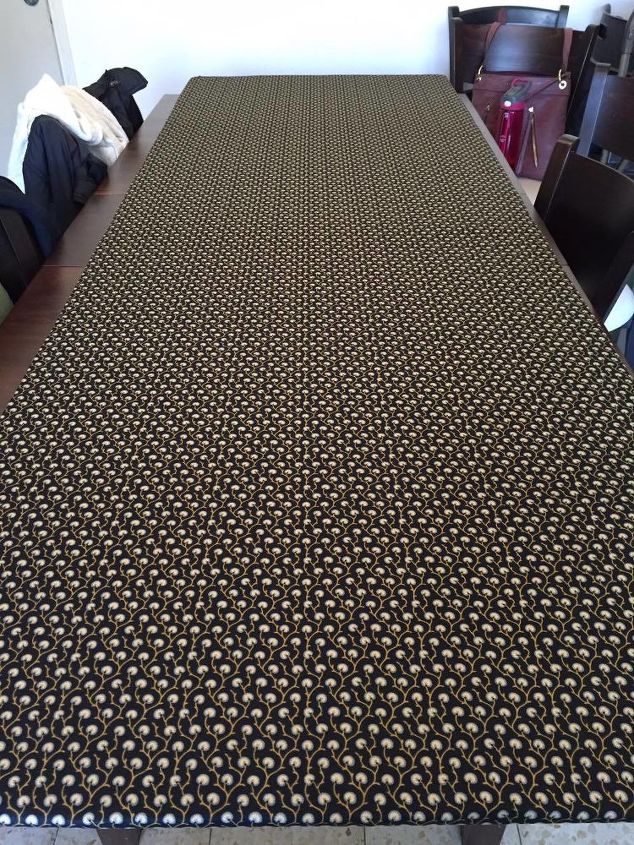
Once everything was secured in place, I flipped my headboard over to see the finished product before it went up. I really couldn't believe that with so little effort it looked pretty darn good!
Step 5: Hang your headboard
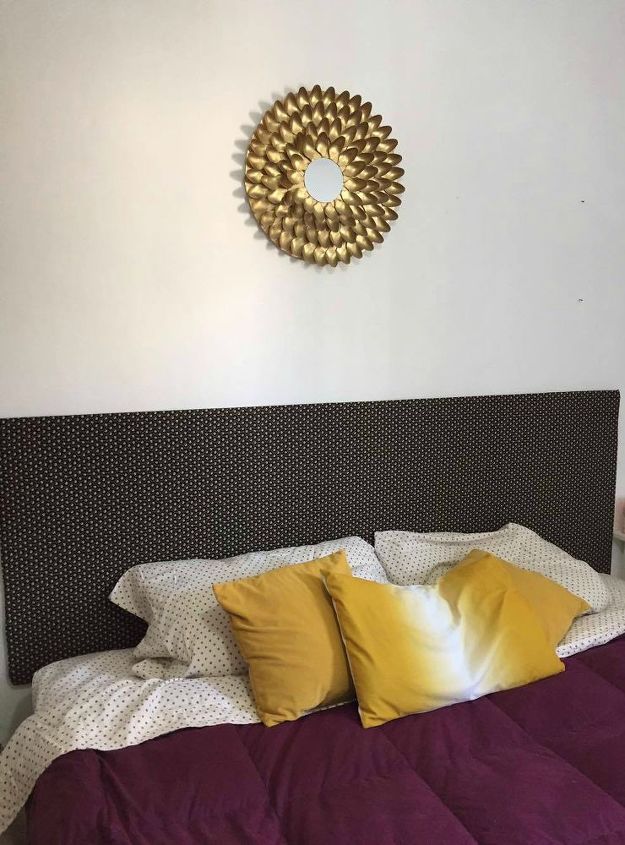
And here it is in place and all hung up! We usually have a few more throw pillows on the bed, so it looks a touch classier, but even with pillows missing, isn't this 10 times better??
Resources for this project:
See all materials


Any price and availability information displayed on [relevant Amazon Site(s), as applicable] at the time of purchase will apply to the purchase of this product.
Hometalk may collect a small share of sales from the links on this page.More info
Comments
Join the conversation
2 of 111 comments
-
Beautiful job!! Congrats on your new baby too!!
-
Looks so classy! Hope baby loves it as much as the rest of us do.


Frequently asked questions
Have a question about this project?
Edna: Yes , I will do this. How were you hanging it up?
I’d love some of the home talk headboard creators to show how they mounted them to the wall. Thats the most confusing part for me. How do you get it level?
I want to try to do this but I'm wondering how I could because part of my wall behind my bed is framed windows one of which has a window AC unit in it??!!