


DIY Marquee Sign Love Sign

by
Rachel Metz
6 Materials
$20
1 Hour
Medium
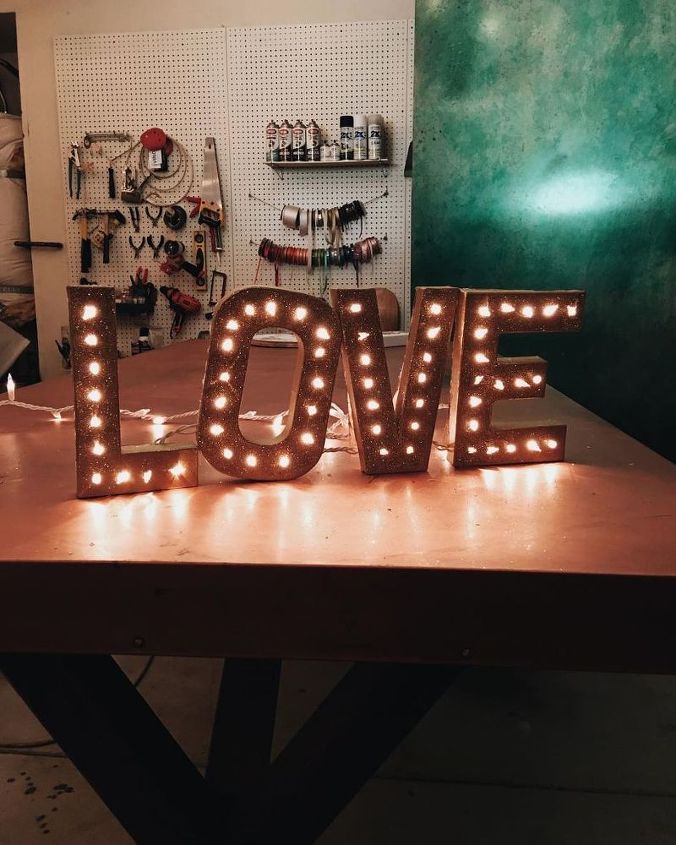
Simple way to spend much less on marquee letters! The round bulb string lights that I originally intended on using for this DIY didn't come in time so I settle for some left over Christmas lights. Please leave all your suggestions below! Can't wait to see how you guys want to add to it/make it better. Let's get started!
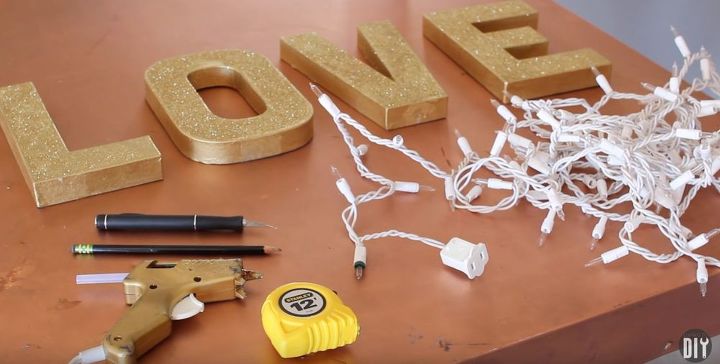
Step 1: Gather materials - cardboard letters from your local craft store, your string lights of choice, measuring tape, pencil, exacto knife and a hot glue gun/hot glue! My letters are gold and glittery because of a prior DIY that I did. Paint your letters whatever colors you'd like or leave as is!
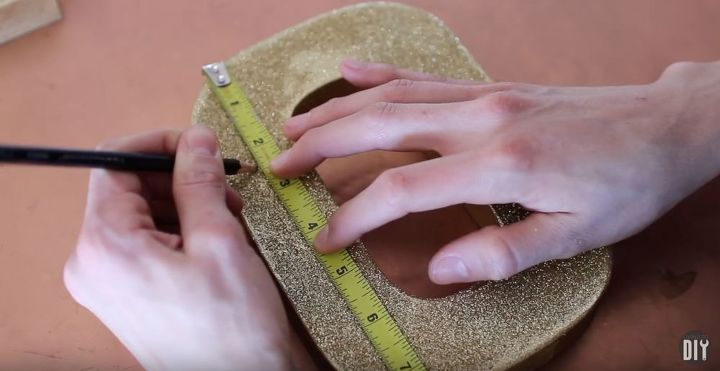
Step 2: Take your measuring tape and equally space/mark a dot for every spot you want to place a light. You can space them super close or far apart - totally your call.
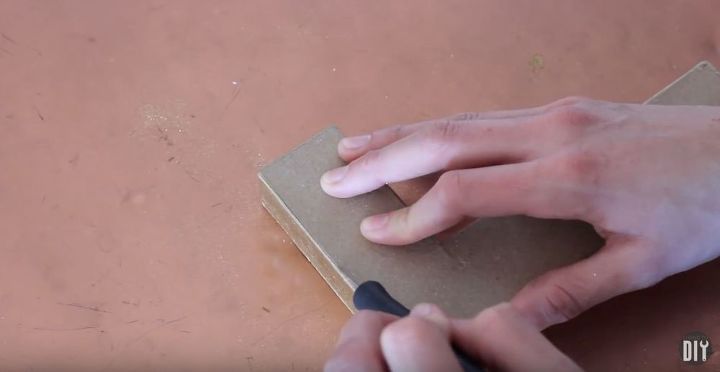
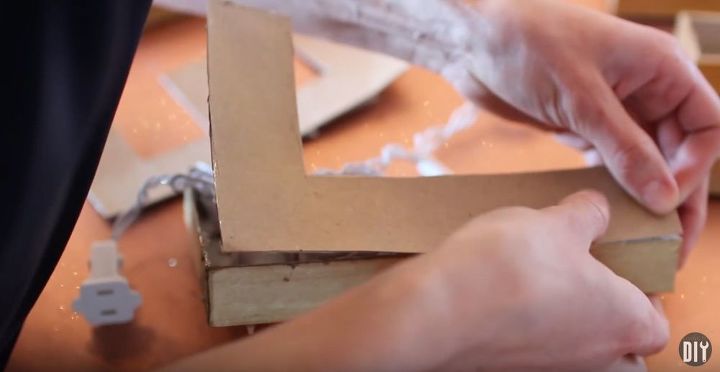
Step 3: Flip your letters over and cut the outline of the backing out (carefully) with your exacto knife. When you peel it back, it should look something like this.
When you peel it back, it should look something like this. This is where I am at currently - your's should look similar!
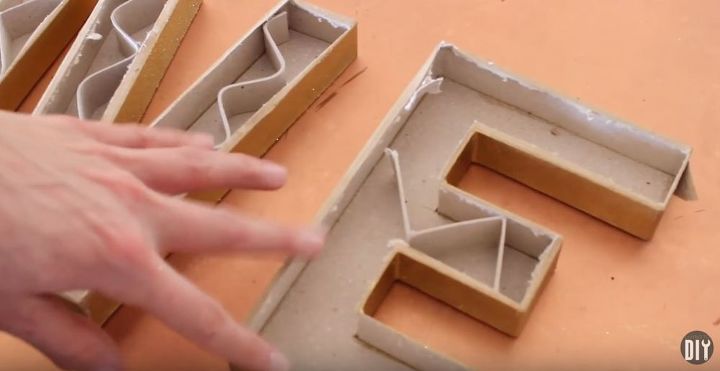
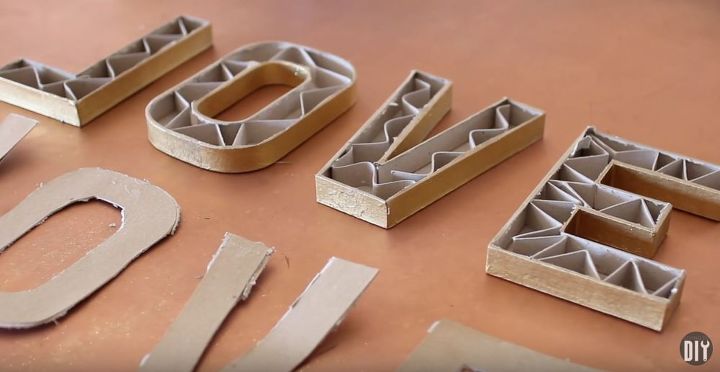
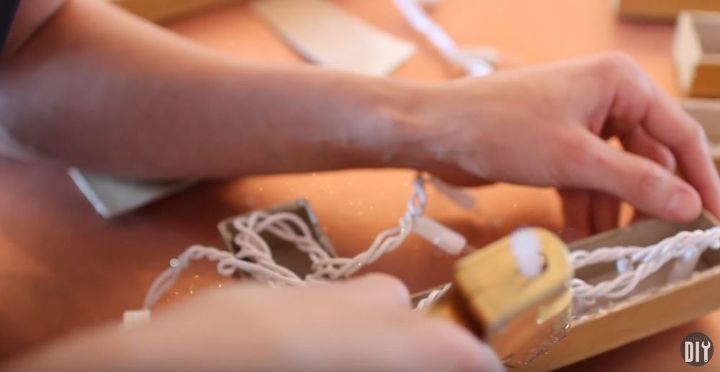
Step 4: Take out the insides.
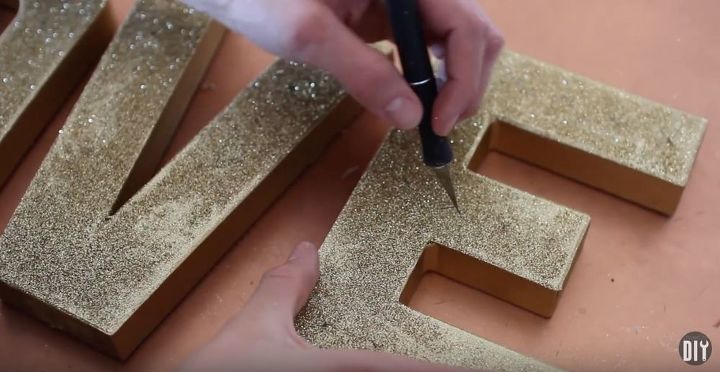
Step 5: Where you made your dots with your pencil, make a X with your exacto knife at each and every one of them.
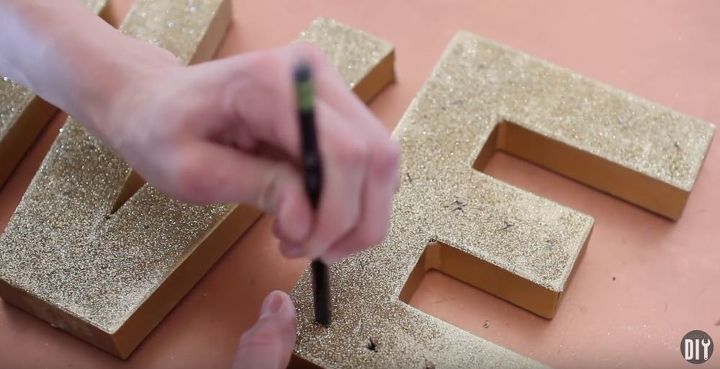
Optional: open up the holes a bit more with your pencil - this made it a little easier for the lights to poke through BUT you don't want to open up the hole too much or else the light won't fit snuggly. Example of what my letters looked like after poking holes into them.
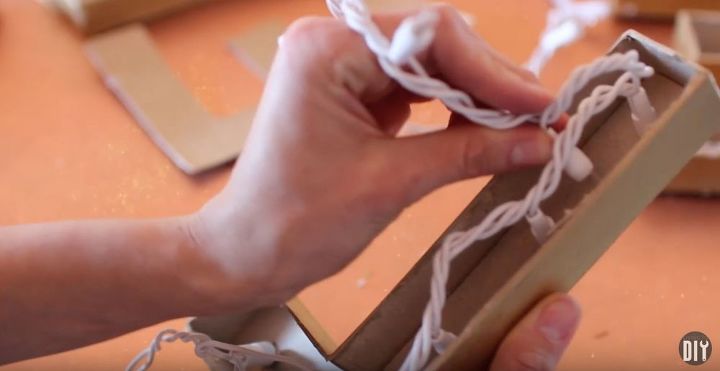
Step 6: Pop a lightbulb into each one - this took a little bit of patience since you have to fit the strand in there as well so hang tight! I had to try a couple times to get the right (ish) fit.
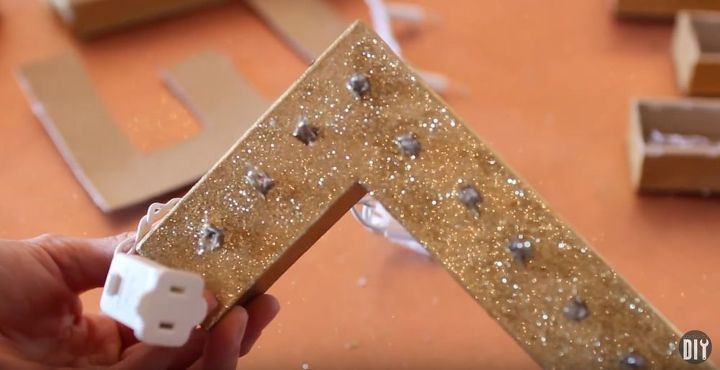
It would look prettier with the lights I originally ordered.
Step 7: Hot glue the backing back on the letter so strands stay in place.
See the full video on my YouTube channel which also gives you two different option for "love signs"! An easy rope/wood one and a marbleized/stencil option. Stay rad xx. Connect with me! i n s t a g r a m - https://www.instagram.com/rachel_metz/ p i n t e r e s t - https://www.pinterest.com/rachel_metz/ s n a p c h a t - rachel_metz i n q u i r i e s - rachellivingtodiy@gmail.com
{
"id": "3739664",
"alt": "",
"title": "",
"video_link": "https://www.youtube.com/embed/YTOAhdp4eFg",
"youtube_video_id": "YTOAhdp4eFg"
}
{
"width": 634,
"height": 357,
"showRelated": true
}
Comments
Join the conversation
2 of 27 comments
-
Yes I will try this. Great idea
-
I’d use solar lights. Otherwise love this idea!


Frequently asked questions
Have a question about this project?