


Repurposed Cereal Boxes for Magazines/Important Papers

8 Materials
$20
1 Hour
Easy
Now that we are knee-deep in our little kitchen/living room reno, and my new work station is almost complete, I'm trying to find any and all office organization for my desk top. Half of this project is perfect for my desk top and the other half is perfect for my kitchen--best of both worlds with one project! I'm one happy girl!
We want to help you DIY, so some of the materials in this post are linked to sellers. Just so you know, Hometalk may collect a small share of sales from the links on this page.
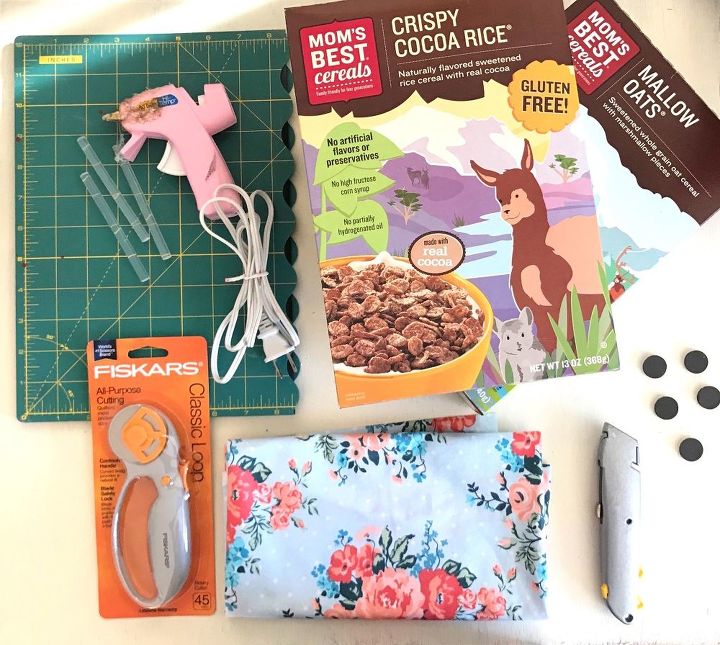
SUPPLIES:
-cereal boxes
-fabric (I purchased 1-1/2 yards just to be ensure I had enough.)
-cutting mat
-Fiskars Classic Loop All Purpose Cutting tool (Fiskars has a ton of great cutting tools, and you can check out a bunch of them here.)
-HiTemp mini hot glue gun
-mini hot glue sticks
-small magnets
-box cutter or scissors (I ended up using scissors instead of the box cutter pictured because I felt they were easier to cut the cereal boxes.)
Not pictured:
-straight edge (I used a T-square that I've had since college.)
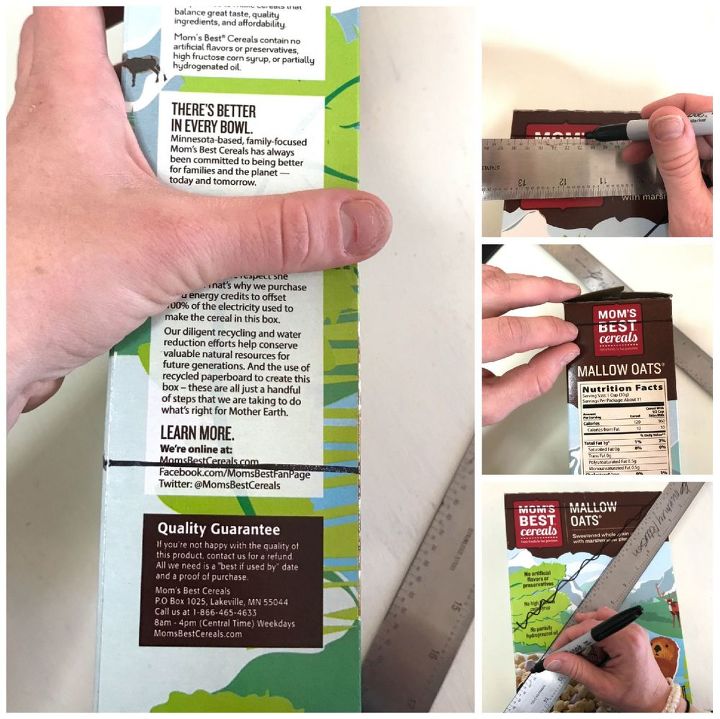
STEP 1: Mark up boxes
For this project, I did two different types of magazine/paper holders. In this step, I'll show how to mark up one of the styles of boxes. The other you will see is simple and straight forward without having to go through explaining.
FOR THE FREE-STANDING MAGAZINE HOLDER:
First, I marked up the larger of my two cereal boxes to create a free-standing magazine holder. I took my T-square and on one of the slender sides of the box, I marked about 2" from the bottom. Then, I marked about 1/2" around the top of the box, and finally I marked from the top corner of the box (on both sides of the broader sides of the box) to the first mark I made on the slender side of the box.
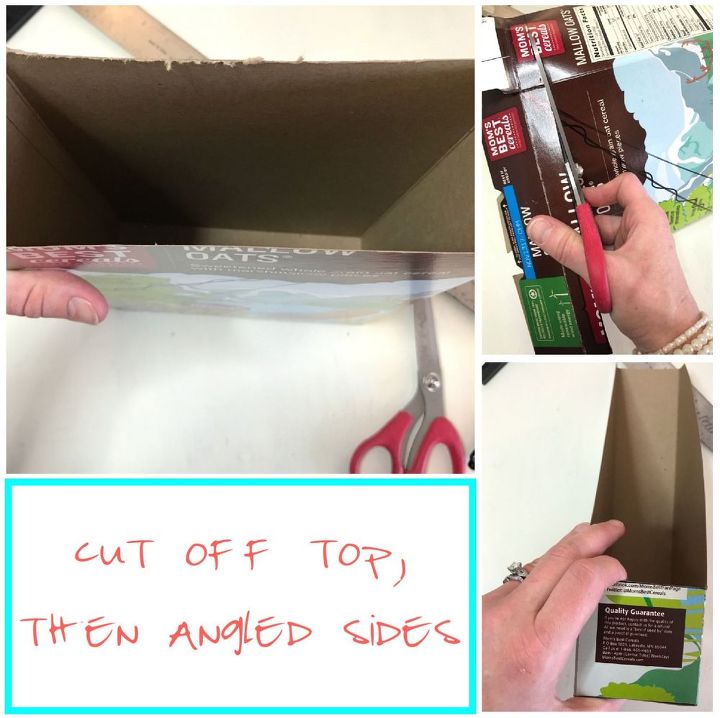
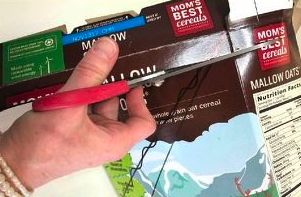
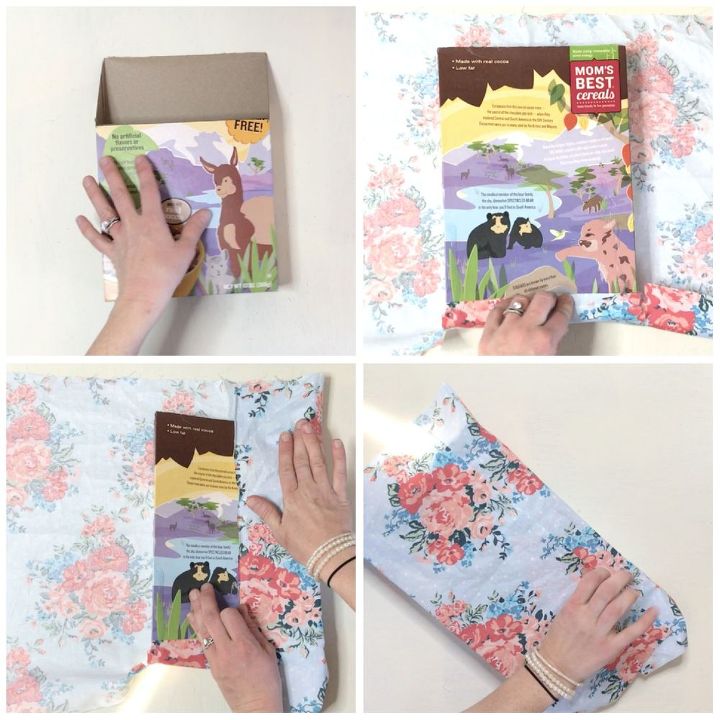
STEP 2: Cut box
Next, I cut the marks that I made. I first cut the top off of my cereal box, then I cut down the sides, and across the slender side.
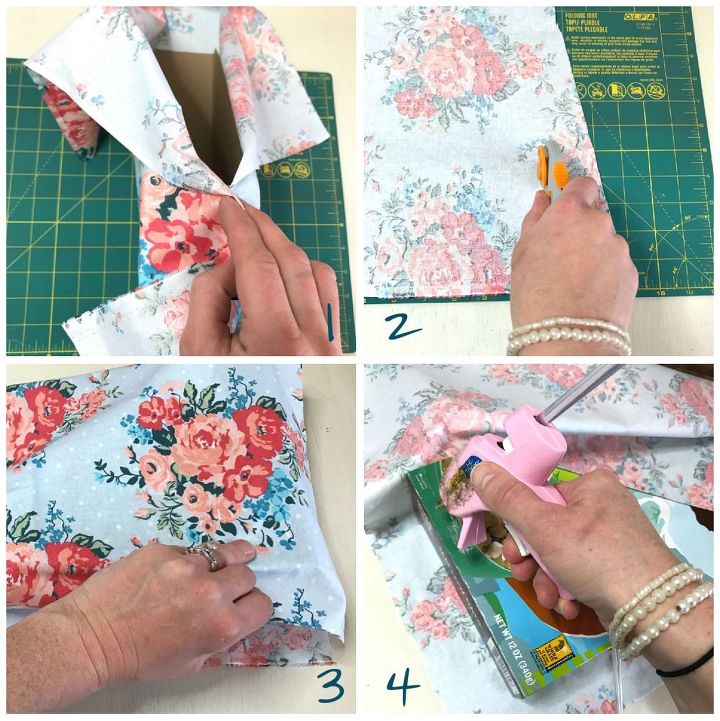
STEP 3: Figure & cut fabric
After my box was cut, I figured out how much fabric I needed for my box by ensuring the fabric completely covered the box. Then, I used my cutting tool to cut off all excess fabric and hot glued the edges of the broad sides of the box, ensuring that the fabric was pulled tight. Once the broad sides were secure, I hot glued the fabric on the back slender side of the box.
Next, I folded and hot glued the bottom of the box much like I wrap a gift.
Lastly, I took the excess fabric that was covering the hole of the box (where magazines would go) and cut it from the top, straight down to where the the opening stopped. Then, I cut off the excess, folded and hot glued the fabric to the inside of the opening.
Here is the final result of the magazine holder and what it should look like.
FOR THE MAGNETIC PAPER HOLDER:
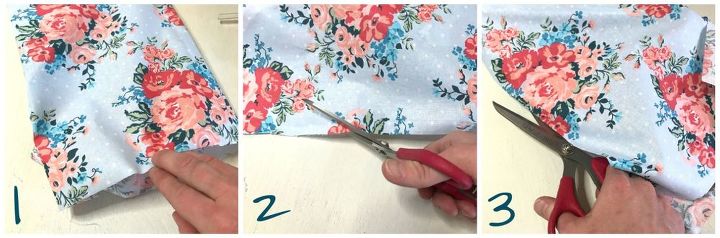
STEP 1: Wrap with fabric
The cut for this box was simple--just down the front corners at an angle and straight across. Once my box was cut, I wrapped the whole box in fabric, making sure that my seam was at the back, then hot glued the fabric down at the edges.
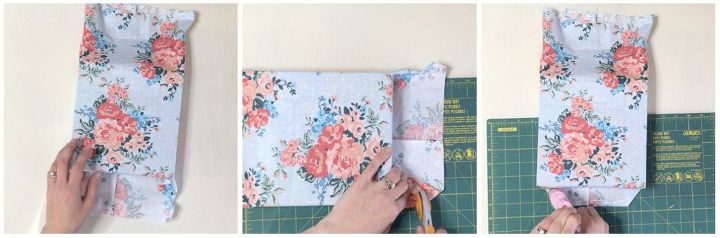
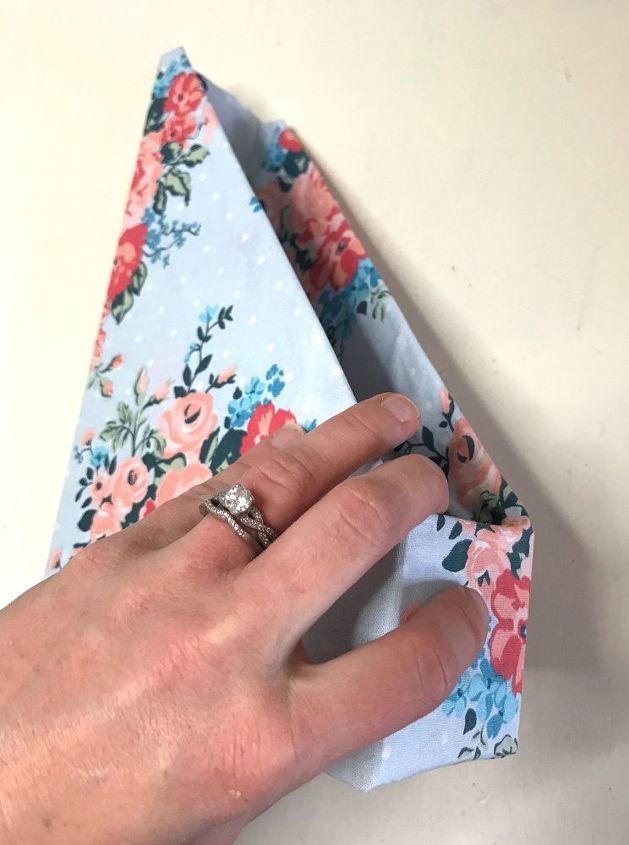
STEP 2: Cut excess fabric
Then, I cut off the excess fabric at the bottom end and folded the fabric as I would a gift. I hot glued the fabric down to secure it.

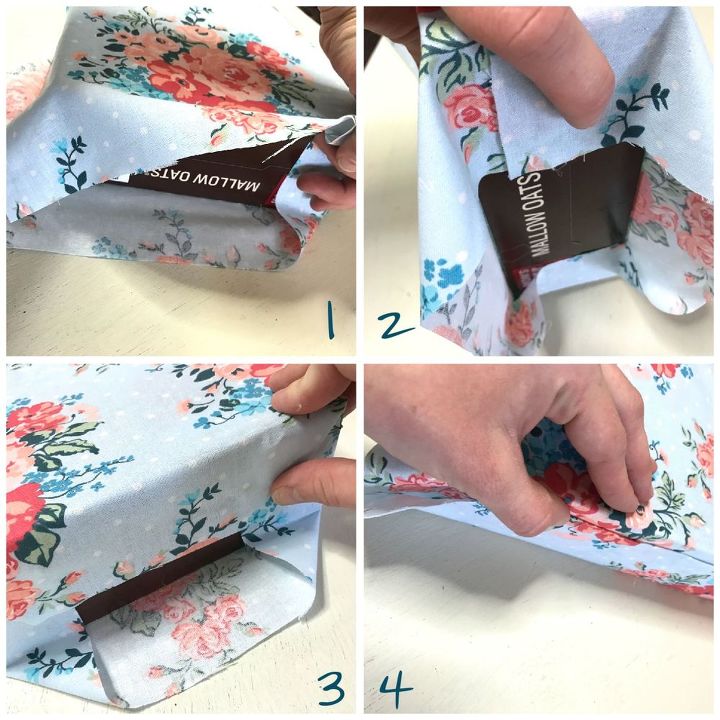
STEP 3: Finish inside of box
I'm sure there's possibly a way to create this whole look using just one big piece of fabric but it wasn't working for me so I cut off the excess fabric at the opening of the box. Then, I measured out a separate piece of fabric and hot glued it to the exposed part of the inside of the box. Honestly, in person you can't even tell the difference and it was much less headache for me.

Here is the finished look of the front of my magnetic paper holder.
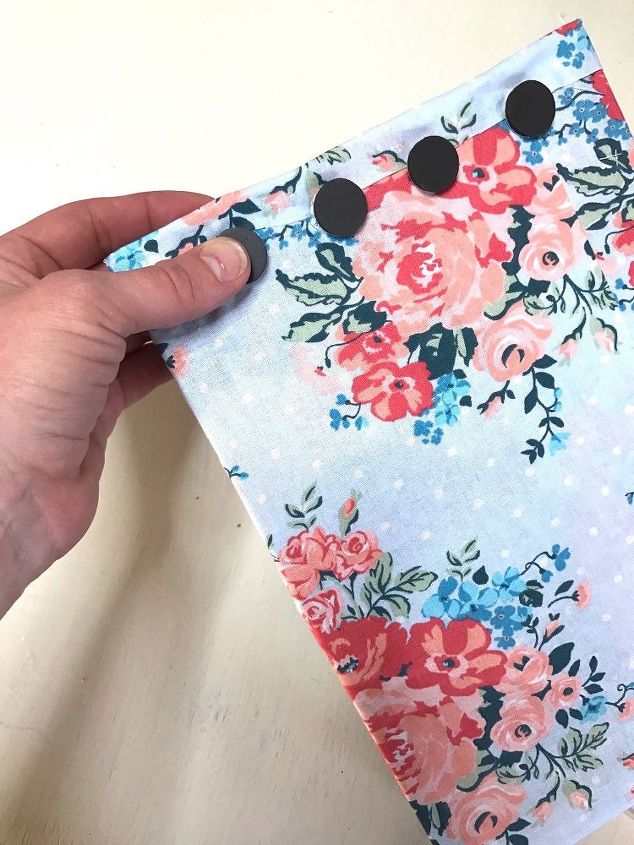
STEP 4: Add magnets
Finally, for the magnetic paper holder, I hot glued six small, round magnets to the back of the paper holder--four across the top and two at the bottom for extra support so that the paper holder wouldn't slide down my fridge if it had a little extra weight in it.
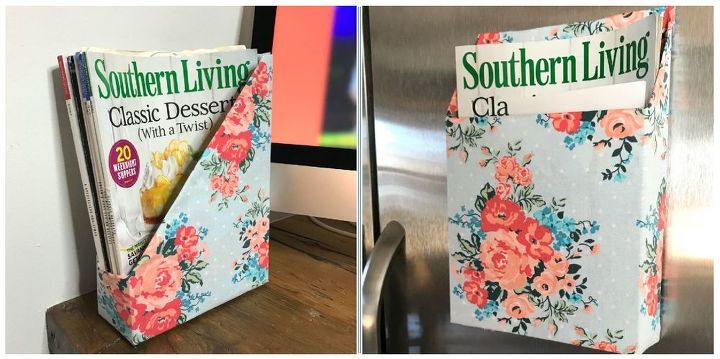
I really love how these magazine/paper holders came out! They were pretty simple to create and I'm obsessed with the fabric!!! With all the Southern Living magazines I have, I know I'll have to make more of the magazine holders--and the magnetic paper holder is perfect for paperwork that doesn't need to be forgotten about, reminders, invitations, etc.
Comments
Join the conversation
2 of 127 comments
-
These are lovely >'.'
-
I've been wanting some stogage boxes for magazines but they can be either pricey or ugly. Your idea is perfect and very clever! Thank you for sharing!


Frequently asked questions
Have a question about this project?