


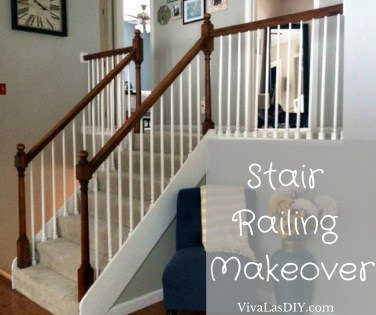
Our Stair Railing Makeover
2 Materials
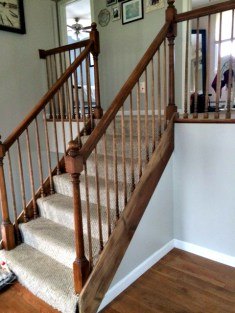
This project has been on our to-do list for a long time, well technically only for 8 months since we bought the house! We were disappointed with the old, worn railings that were in the house, and decided to spruce them up. After a bit of research, we found that all we would need is paint! That’s it! I swear, paint can transform ANYTHING.
Lesson Learned: Expect to tackle this project alone if your partner has zero patience!!
You can find more details of this post over on my website here!!!!
Step 1 – Clean all the railings
Use some TSP and a little elbow grease.
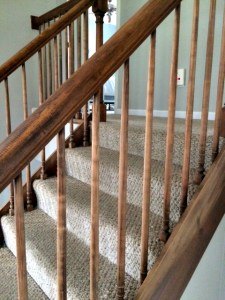
Step 2- Sand all the railings
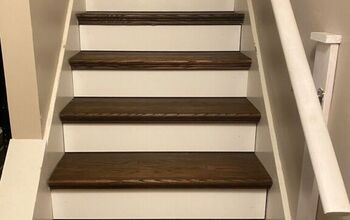
Here is where you’ll need to decide on your design, and which portions you want to paint. For our railings, we decided to keep the top hand-railings and 4 main ballasts (posts) the original wood stain, and paint the spindles and baseboard. For the areas you will be painting, use 150 grit sandpaper to lightly sand the surface area. I say lightly sand because you will be painting this surface, and just need to buff up the wood for better paint adhesion. If there are any holes or dents in your wood’s surface, now would be a good time to repair them with some wood filler, let them dry and then sand smooth again.
Step 3 – Paint with a Foam Roller
Time to paint!! You can use any paint of your liking.. I simply used some white trim paint that I had left over in our cupboard from earlier decorating projects.
I used a small paint brush to reach the end of each rail - I did not want to have to tape so I was just careful!!
Painting may take you a couple of coats - ours took 4 !!!!
In-between each coat I lightly sanded with some 250 grit sand paper to remove and small marks or drips - if your careful when rolling then this should take 5 minutes.

Step 4– Poly & Sand
Now this is the final step and can be carried out once your final coat of paint is dry, and you are happy with how smooth your finish is.
To apply your final protective coat, use a rag or foam brush to apply Polycrylic. Similar to your painting steps, wait for your final coat to fully dry and then smooth out any drip/rough spots with fine grit sand paper.
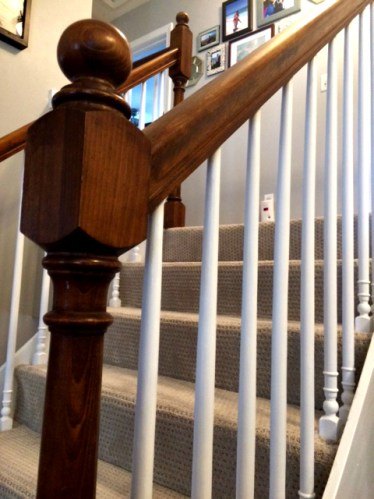
I love how they came out!! It brightens the whole space up.
What do you think?

If you love this project, then please head over to my website by clicking here!!!! where there are tons more easy DIY projects and builds!!

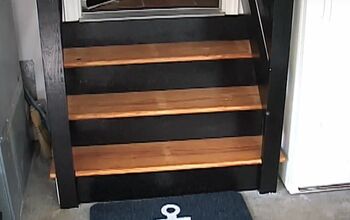
And 1 more because I never get bored of seeing them!!!!
On to the next DIY project, I have some exciting projects coming soon so please please follow my Instagram for updates, I have shared some sneak peaks already!!
So until next time...
Ari xoxo

Want more details about this and other DIY projects? Check out my blog post!
Comments
Join the conversation
3 of 6 comments
-
Well, I now know that I painted my railing wrong. I thought the top should be painted white, but know I realize it looks so much better with the dark colour. Guess I will be getting out the paint and brushes. Yours is very bright and beautiful. Thanks for the new idea. Cathy
-
Love this!


Frequently asked questions
Have a question about this project?