


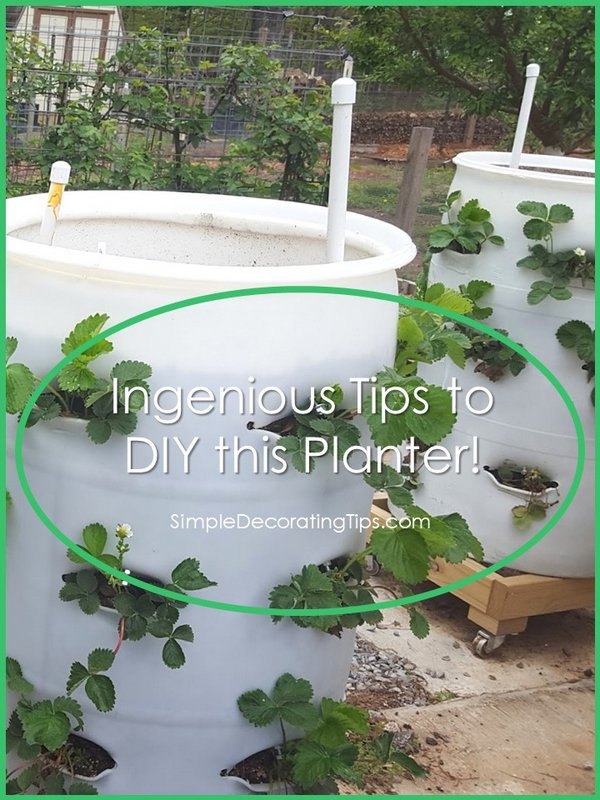
Ingenious Tips to DIY This Vegetable Planter!
Hi! Liz here from the DIY & decorating blog SimpleDecoratingTips.com. To see all the details of creating these planters be sure to check out the full post at: DIY this Vegetable Planter
Here are the ingenious tips to DIY this vegetable planter straight from my parent’s garden…
My parents are great grandparents, if that gives you an idea of their age, but they prove over and over that age is relative to one’s mindset. They are always learning and trying new things. It’s that active mind and body that keep them so young.
I’ve shared with you before how much my Dad loves to garden. I was raised on a farm in Wisconsin. To see a picture that was taken of our family when I was a little girl the farm just after my parents purchased the 100 year old farm… before they started cleaning it up and actually farming, check the full post at SimpleDecoratingTips.com, see link at top...
Though we had the typical animals of a hobby farm… a few pigs, cows, chickens, ducks and a couple of ponies, not to mention the all important farm dogs and cats, our farm wasn’t a hobby farm. It was how my Dad provided for our family. We grew vegetables… acres and acres of vegetables. He has an amazing gift at it. That was so many years ago, but he still is gardening… now just in the back yard at their retirement home in Arkansas. Every time I talk to them on the phone, they tell me about another ‘planting’ Dad’s working on. I’m excited to share a few posts this Spring with you about some ingenious engineering he’s implemented into his garden.
Here are the details to create these amazingly creative planters, (repurposing at it finest!) straight from my parents:
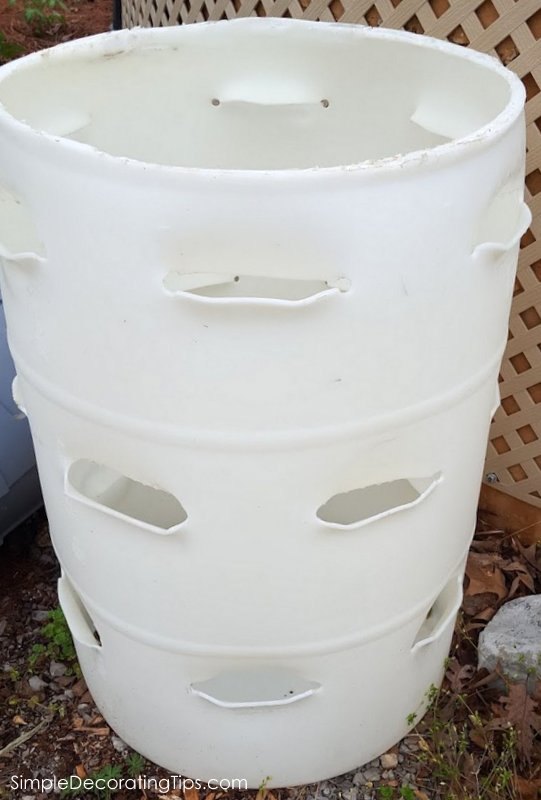
Barrel: Be sure to get your barrel from one that hasn’t had harsh chemicals in it. Ours were from a car wash soap distributor – the soap comes out easy, and from some that had vinegar in them.
Dad got heavy paper to make a full sized jig before starting on the actual barrels.
(There is a lot of detail on the full post for making the paper jig, cutting the barrels and bending the slots open. If you're interested in reading those details to actually make one yourself, please check the full post at my site SimpleDecoratingTips.com, see link at top)
Drilling the holes: Dad used a sawzall (you can use a jigsaw but it take a LOT longer), you need to decide what you will cut the slots with and how wide the blade is before drilling the holes. Your drill bit has to match the widest part of the saw blade you will using. ie: ¾” inch blade = ¾” drill bit. Now you are ready to drill your holes. (see full post, see link at top)
Bending the slots out. Get a good 2×4 about 3 feet long, Cut one end in a wedge along the wide side so it will more easily pry into the slots after they are heated to pry them out into a pocket form.
(see full post to bend the slots and heat the barrels etc., see link at top)
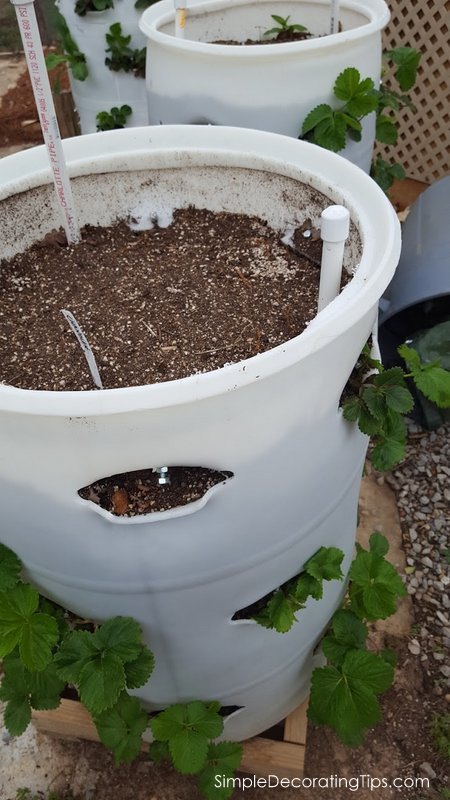
You can water the barrel from the top or if you want to get fancier you can make two watering pipes. Take two 2” or larger PVC pipes, one to water the middle row and one to water the bottom row. Cut one long enough to reach the bottom row of plants plus 12” more – the extra foot of length will give you a place to pour water into at the top of the barrel.
(see full post for more details on the PVC watering pipes, see link at top)
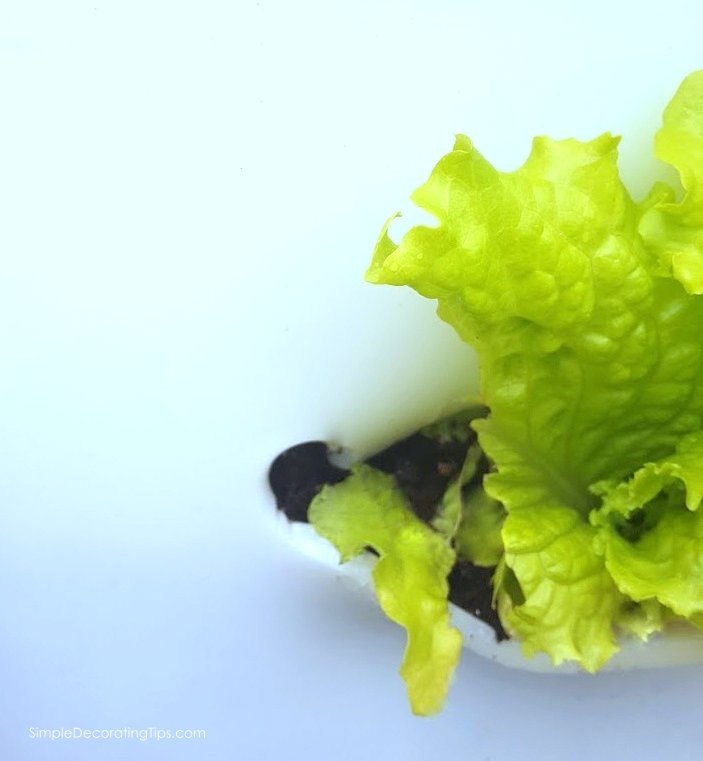
Planting Mixture: No soil, use equal parts peat moss, perlite, and vermiculite and then compost and worm castings mixed in with organic additives, kelp, alfalfa, fish emulsion, neem seed meal, or fertilizer and humus.
(see full post for more details on soil and actual planting tips, see link at top)
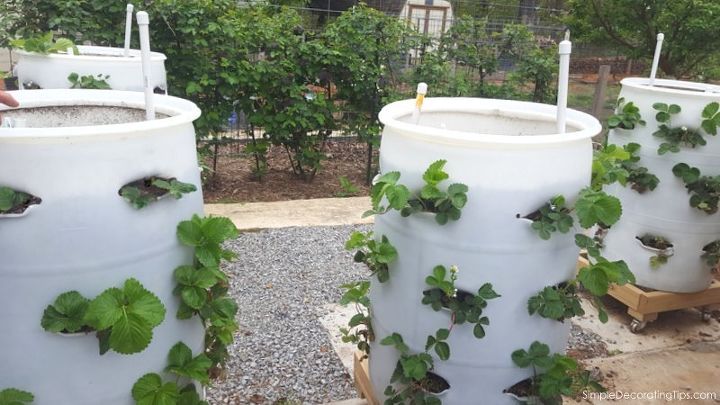
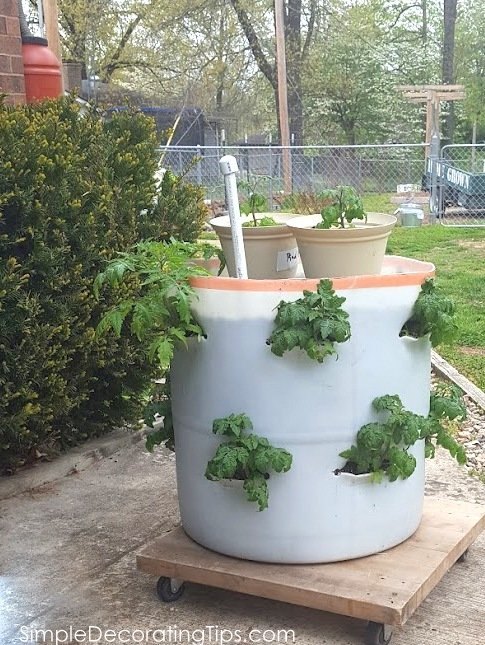
Pretty amazing, huh?! They have strawberries, tomatoes and lettuces planted in the barrel planters, and they grow really well in them.
Once more tip from my parents: The barrels are very heavy when filled up, so you’ll want to have them in place before filling… or, do like my dad did and make some wheeled platforms from scrap wood to easily move the planter barrels around. (as long as they’re on a hard flat surface like this back patio, that works great to wheel them around rotating each side towards the sun)
My parent also raise worms! The effects of the worm castings in the soil of their vegetable plants has an unbelievable positive effect. You can either mix the castings directly into the planting mixture, or make the casting tea to water the plants with.
Do me a favor… if you DIY this vegetable planter, tell me about it! I’d love to share it with my parents.


Frequently asked questions
Have a question about this project?