


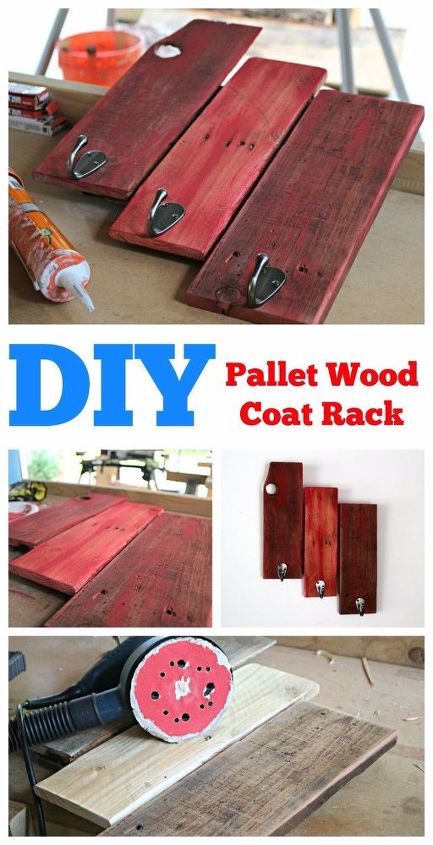
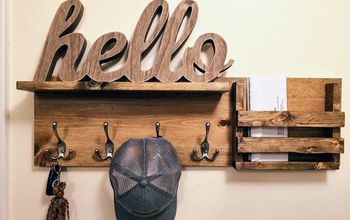
Simple Pallet Coat Rack
5 Materials
$8
1 Hour
Easy
This is a super easy pallet wood coat rack. If you have a few pallet boards and need a little extra storage, this could be the perfect, easy project for you!
I was bored one Saturday afternoon, so I decided to throw together a coat rack for my garage. You know, somewhere to store my rain coat and my workshop apron and what-not.
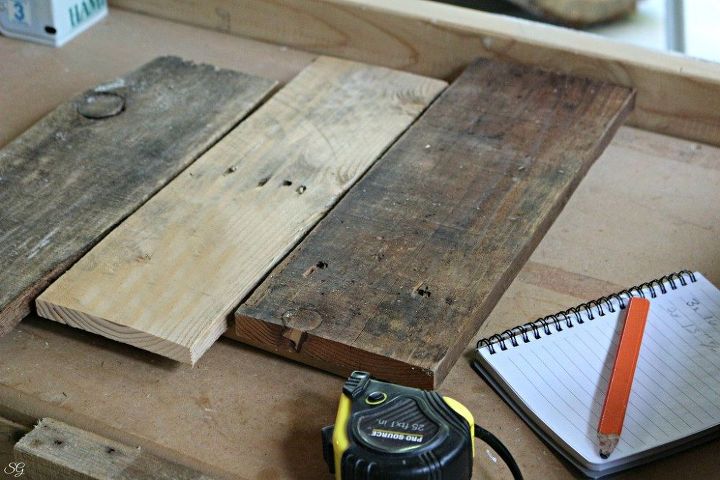
The first thing I did was cut up some pallet wood.
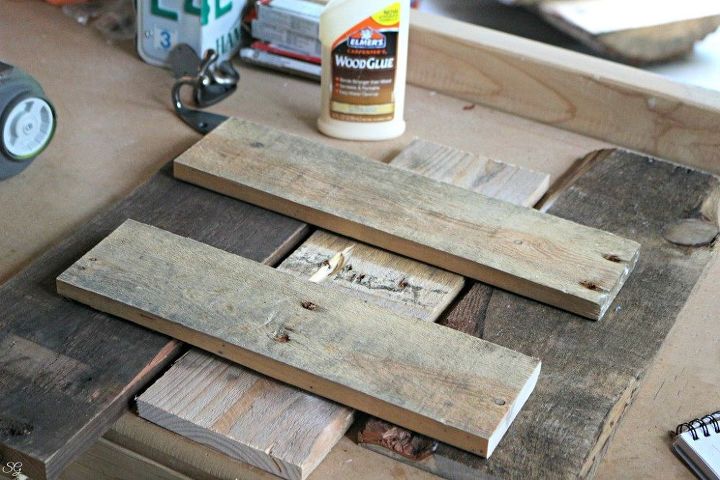
I cut three pieces at 16 inches each. Then I cut two pieces which measured about an inch less than the width across all three pieces.
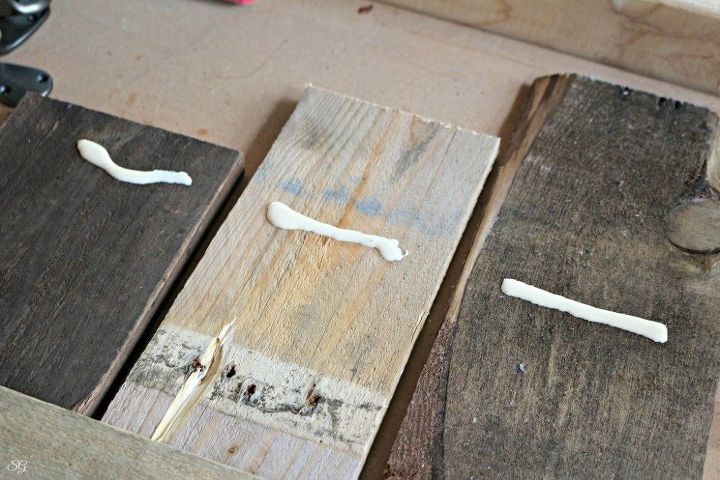
I separated the three boards with a half inch space between each and applied glue to the back of them.
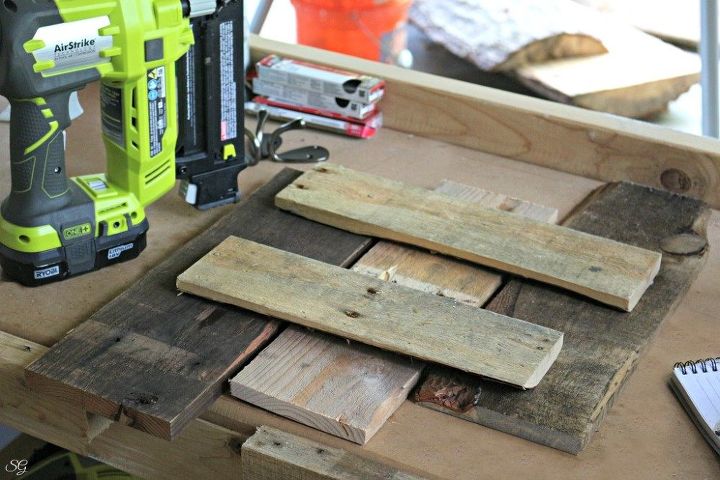
Then I secured the two shorter pieces with the wood glue and 3/4 inch brad nails.
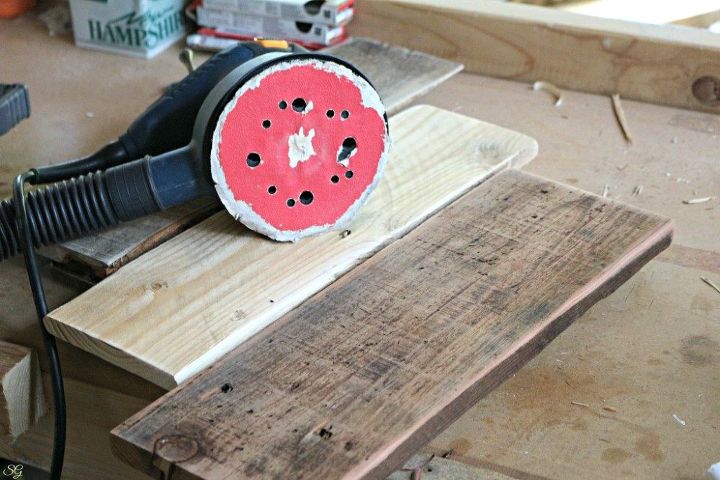
Once the wood glue was dry, I sanded the entire piece, all of the boards front and back with 150 grit sand paper. Actually it was a 150 grit beat up piece of sand paper..so a higher grit may work just fine too.
Sand it to get all of the rough spots and splinters off, make it nice and smooth. You don't want your coat getting splinters in it!
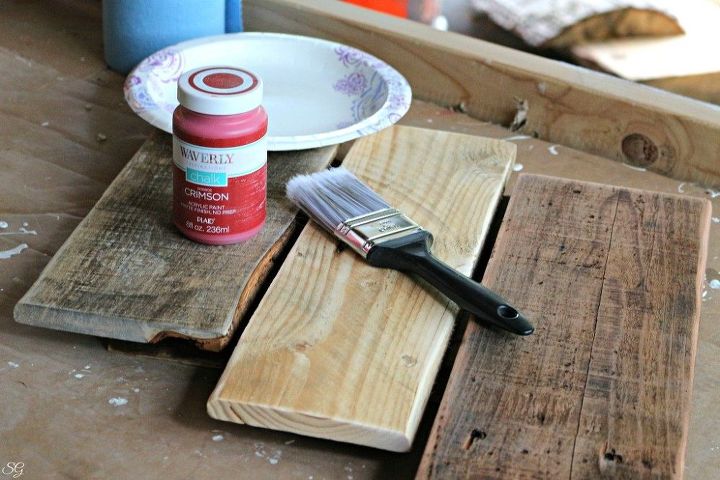
After sanding, it was time to finish the wood. I chose to use red chalk paint I picked up at Walmart. Chalk paint doesn't require much prep - so it works excellent on pallet wood!
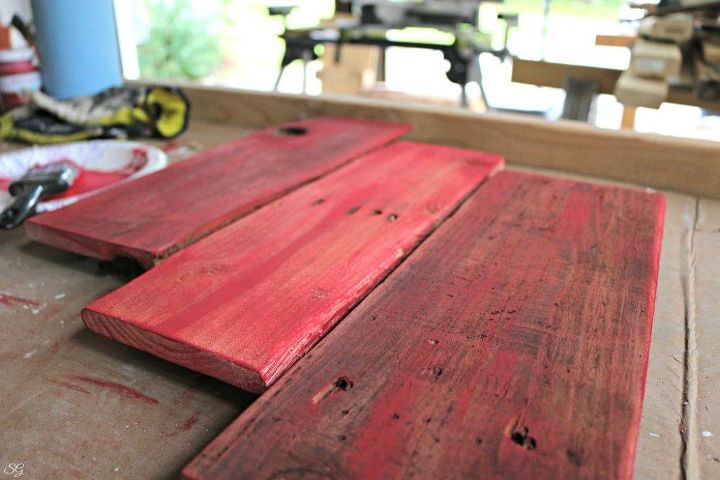
I like how it looks a little like barn wood after it was finished with the chalk paint.
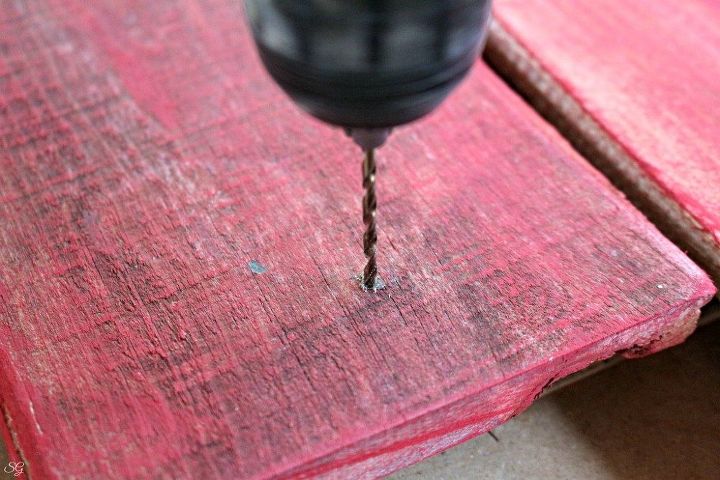
The next step is to place your hooks on the boards wherever you want them. I wanted them lined up across the bottom. Mark the holes in your hooks and pre-drill small pilot holes - don't go all the way through though!
PS: Make sure the length of your screws are less than the width of your pallet boards. If not, just attach a small piece of pallet wood to the back as needed so the screw isn't poking out.
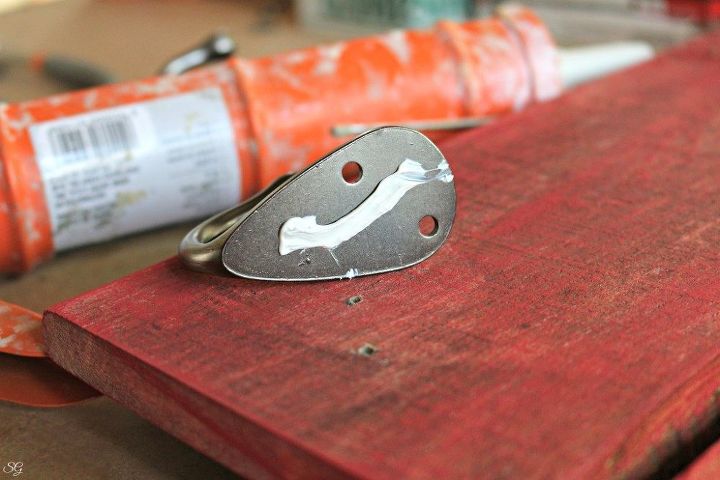
Call it over-kill, because it is. I used liquid nail to help secure the hooks onto the boards. Screw your hooks onto the boards and then we're on to attaching the coat rack to the wall!
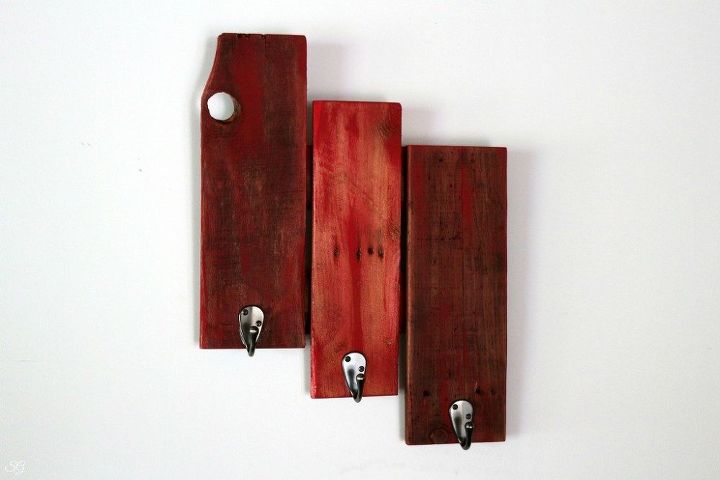
Remember the 1/2 inch gap we left between each board? Drill pilot holes through the gaps and through the backer boards. Mark the wall and install wall anchors (I like the butterfly type - they work best!) Attach your coat rack to the wall and you're done!


Want more details about this and other DIY projects? Check out my blog post!
Comments
Join the conversation
2 of 3 comments
-
Thank you Becky!

-
So nice!! :)


Frequently asked questions
Have a question about this project?