


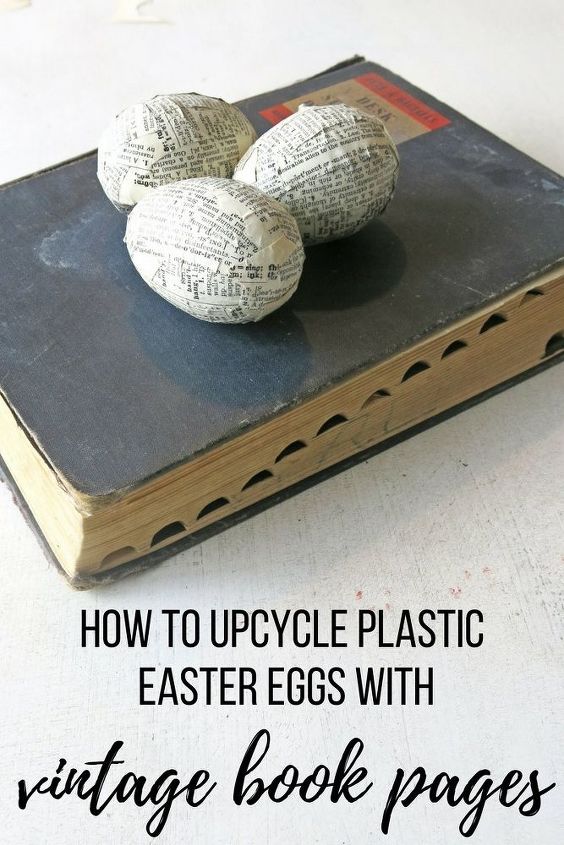
How to Upcycle Plastic Easter Eggs With Vintage Book Pages
If you love this project, grab your quick start DIY guide & subscribe to our blog!
Fun fact: I was born on Easter morning …AND I had a bunny collection/obsession growing up. Needless to say, Easter is probably one of my favorite holidays! I mentioned last week that sometimes decorating your home seasonally can feel like a hassle, but it doesn’t have to be.
Today we’re going to learn how to upcycle plastic Easter eggs using vintage book pages. At the end, I’ll show you how to change that fun farmer’s market crate centerpiece from Spring to Easter in a matter of minutes.
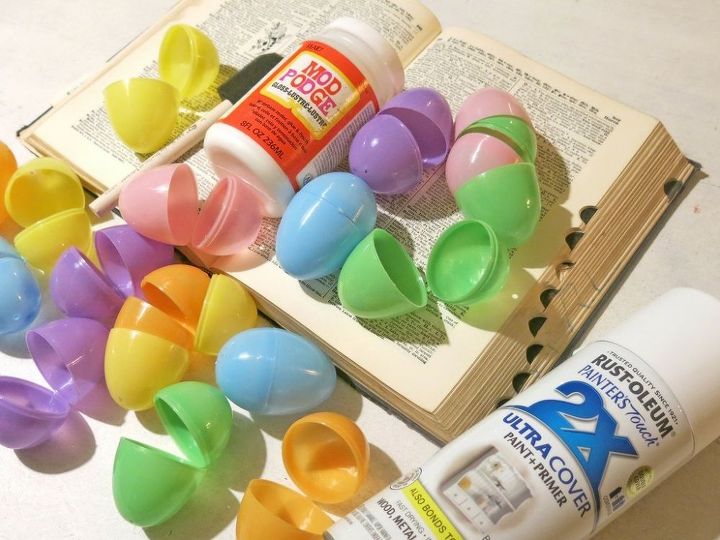
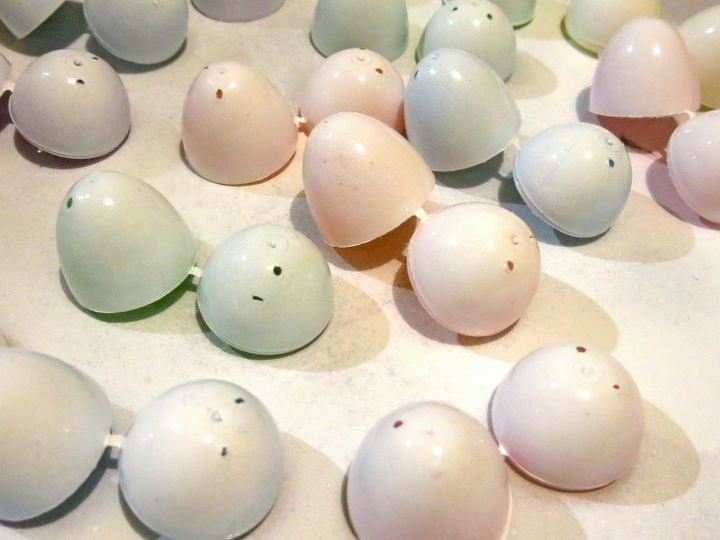
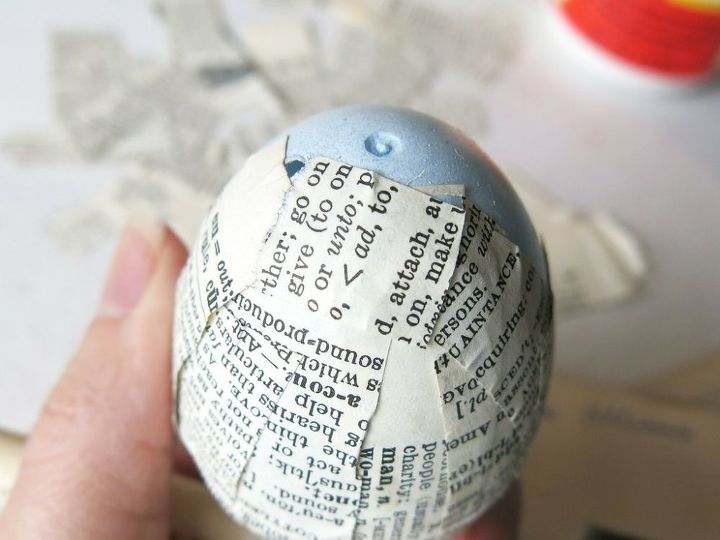
Step 1. Paint plastic Easter eggs.This step may seem kinda silly. Why would you paint the eggs if you’re just going to paint over them? Well, I was worried about the bright colors showing through the paper, especially vintage book pages which are typically thinner. The vintage dictionary pages I ended up using were actually thicker than I thought would be. So, just use your best judgement to determine if you need to do this step depending on the paper you’ll be using.
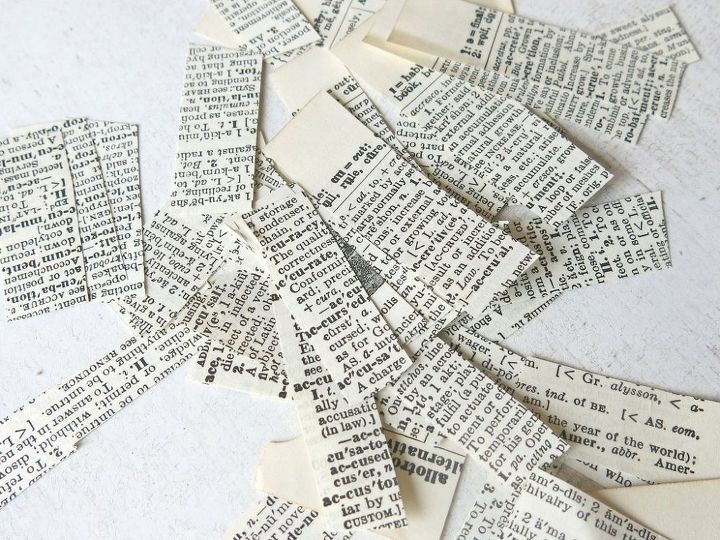
Step 2. Cut up vintage book pages.You will probably only need a page or two for you eggs. I cut up strips about a half inch wide and then cut them on about 1-2 inch pieces. You will also need some smaller little pieces for filling in gaps and the top and bottom of the eggs.
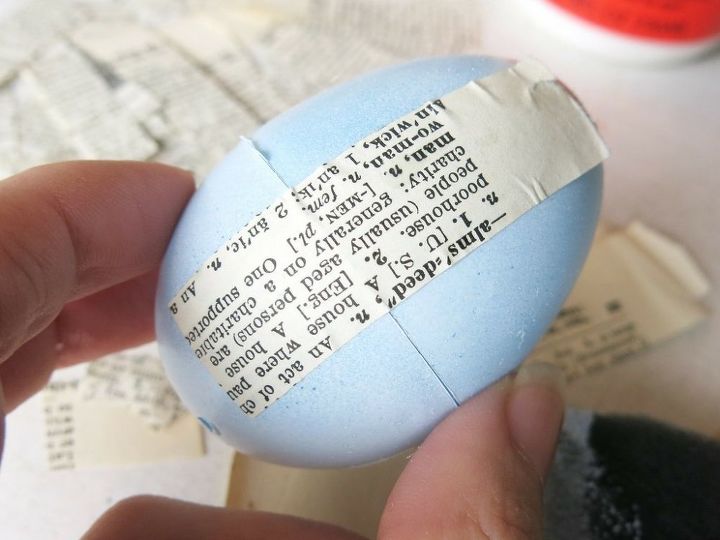
Step 3. Decoupage the vintage book pages.I tried a few different methods for this. I found that the best and most clean way to do this is to coat a thin layer of mod podge on the back side of the piece of paper. Then, you just press the paper onto the egg with the mod podge side down. You may get a few ripples on the paper as it bends around the eggs. Just smooth them out the best you can.
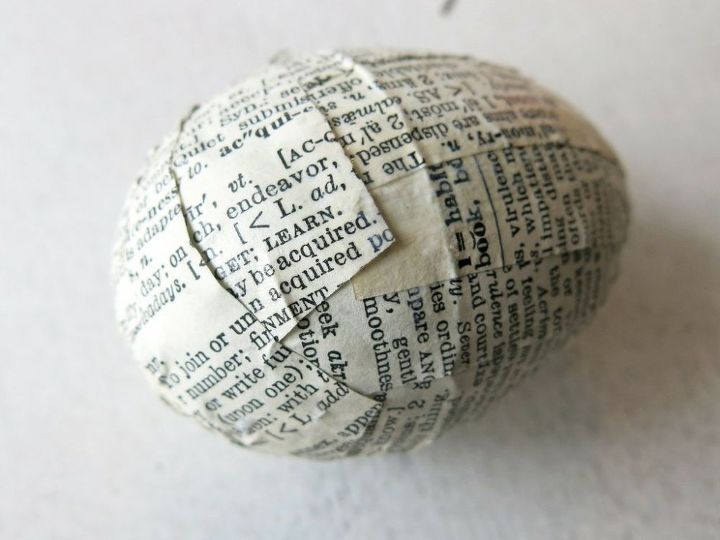
Step 4. Continue adding vintage book pages to eggs.As you get up to the top and bottom of the egg, it works best to use smaller pieces of paper instead of the strips. I usually ripped a few of the strips in half for this part. Continue to add the paper until the entire egg is covered.
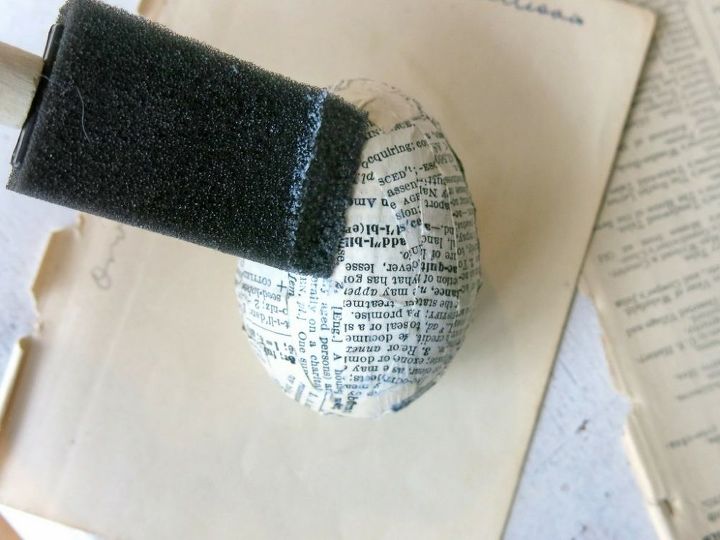
Step 5. Apply a light coat of mod podge.The key here adding a VERY light coat of mod podge over the egg and focusing mostly on the edges of the paper. The vintage book pages can be fragile, so just be careful on this step and keep it light. Also, I would recommend avoiding handling the egg a lot when you’re applying the mod podge. I found that some of the print was coming off onto my fingers the more that I moved the egg around.
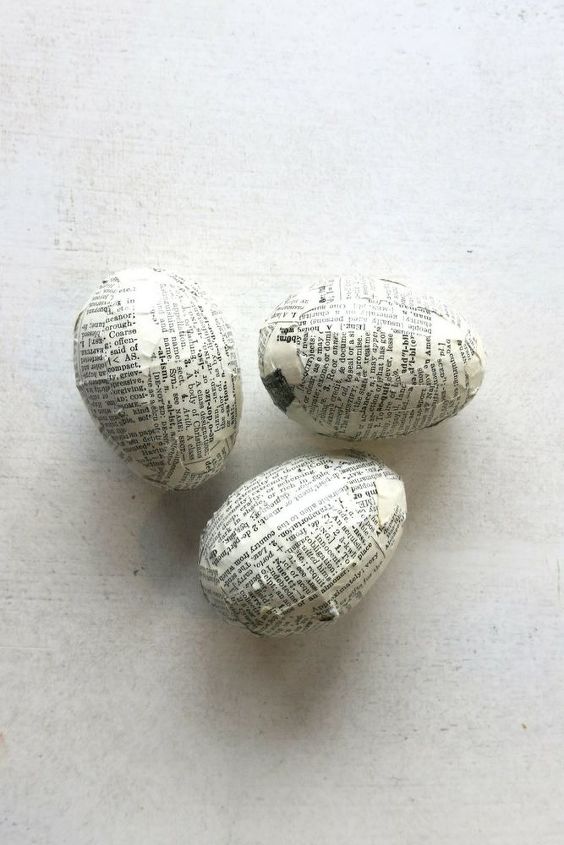
Are you still thinking that decorating for the seasons is a hassle?Not when you can easily upcycle plastic Easter eggs with vintage book pages, right?! I love the rustic and farmhouse feel that these decoupaged Easter eggs have. There are so many uses for them. They would love great in a wreath or simply piled in a pretty wooden dough bowl,

Comments
Join the conversation
-
I would use vintage Christmas wrapping paper and hang them on my tree.
-
I will be doing this....but I want to stain the pages and I will tear them. Very good idea...thanks.


Frequently asked questions
Have a question about this project?