


DIY Chalkboard

by
Tara Marie
We made a few changes to our living room recently in the form of new carpet and a new sectional sofa. In the process, I needed to remove the door that normally would close off the living room to the stairs going up to the dining/sitting area. In the past, we actually liked having that door to either trap corral the kids when they were little in the living room and/or keep the dog out. Now that the kids are older and the dog is gone, we didn't really have much need for the door. And after the carpet and the new sofa was in, I was really loving having that doorway open. So we had this big hollow core door that we were going to have to get rid of. After finishing the bonus room in the basement, I knew that I wanted a large green chalkboard down there for the kids (ok fine, for me to decorate). So I decided to upcycle the door to make a giant green chalkboard.
Materials and supplies:
-hollow core door
-green chalkboard paint
-drop cloth
-paint brush
-chalk
-wood for trim
-stain (optional)
-air nailer and nails
-something to hold chalk (I used a vintage wooden box)
-industrial strength velcro
Here is were we removed the door.
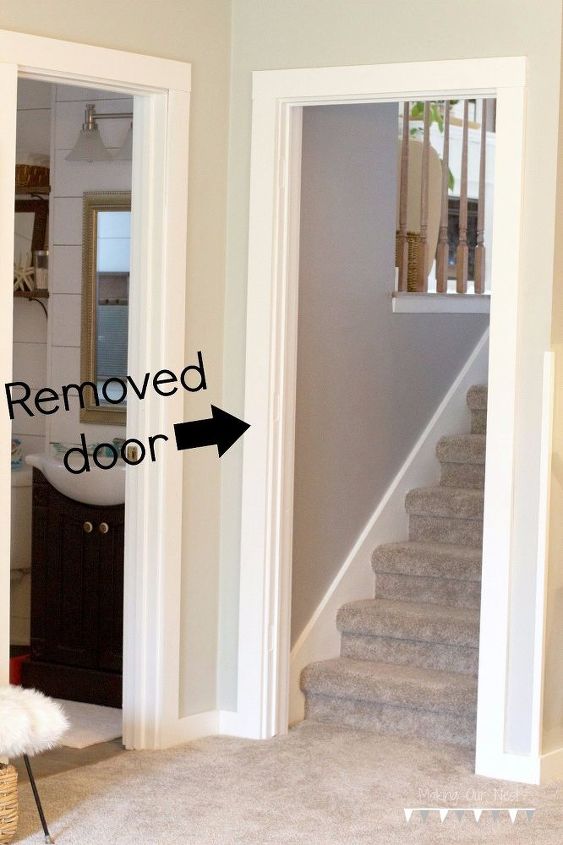
(Believe me, I tried to talk the hubs into some hardwoods or laminate floors down here and he was not having it. He has strong feelings about having carpet in the living room and bedrooms. You pick your battles.)
I probably should have done this all outside but it is a big door and I didn't feel like taking it all the way outside. So I laid down a drop cloth and put the door on top.
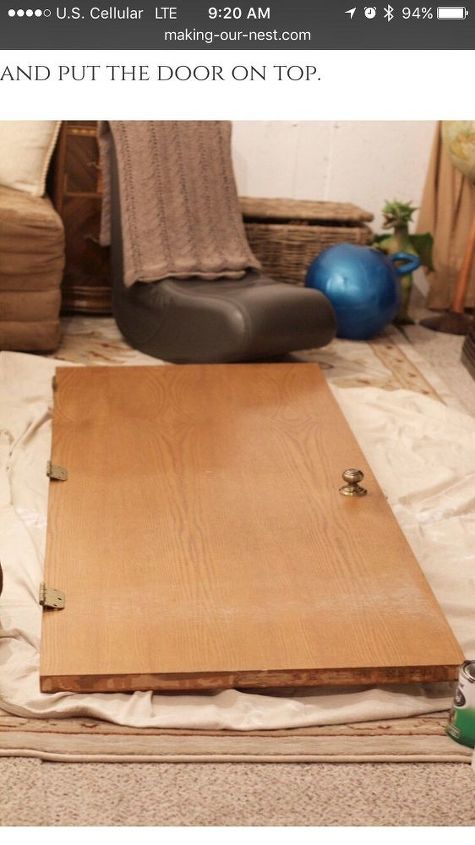
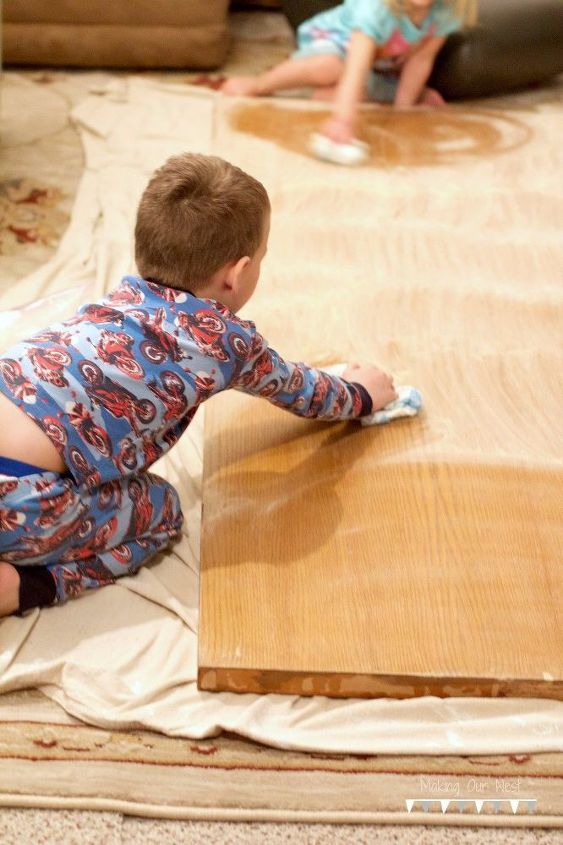
First order of business was to remove all the hardware (hinges and door knob). Next, I gave the door a light sanding. Then I recruited the kids to wipe the door down for me.
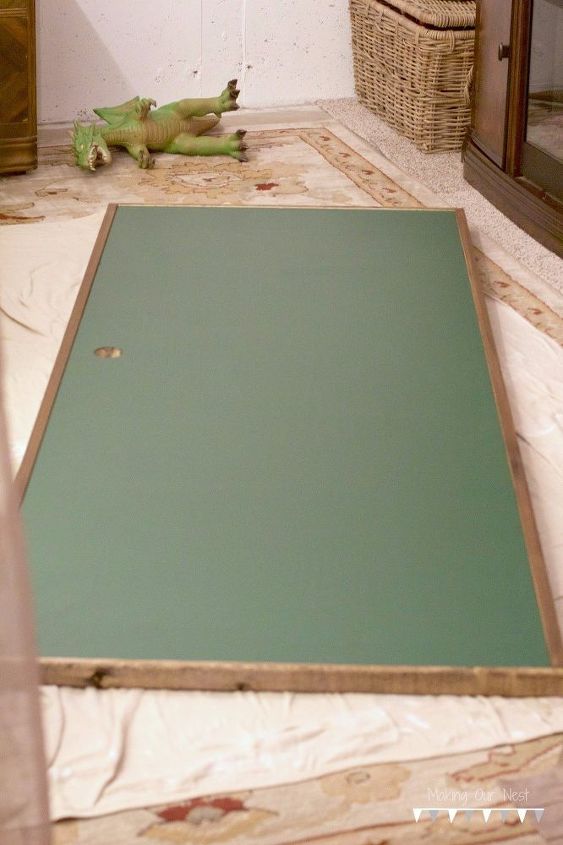
Once the door was wiped down, it was time to paint. I used Rustoleum green chalkboard paint.
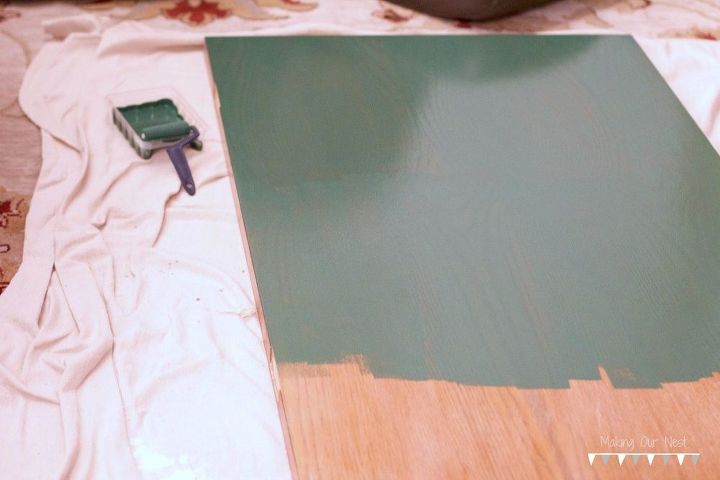
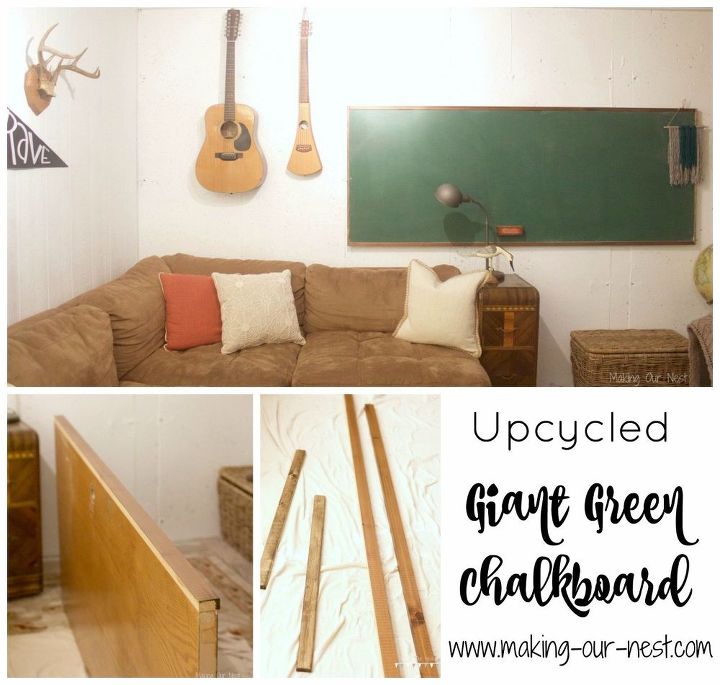
I ended up giving it 2 coats of the green chalkboard paint. I let it dry for about 12 hours and then got to work on my frame. I used some scrap wood from the garage and stained them first with Minwax Grey stain and then Minwax Jacobean stain after I cut them down to size.
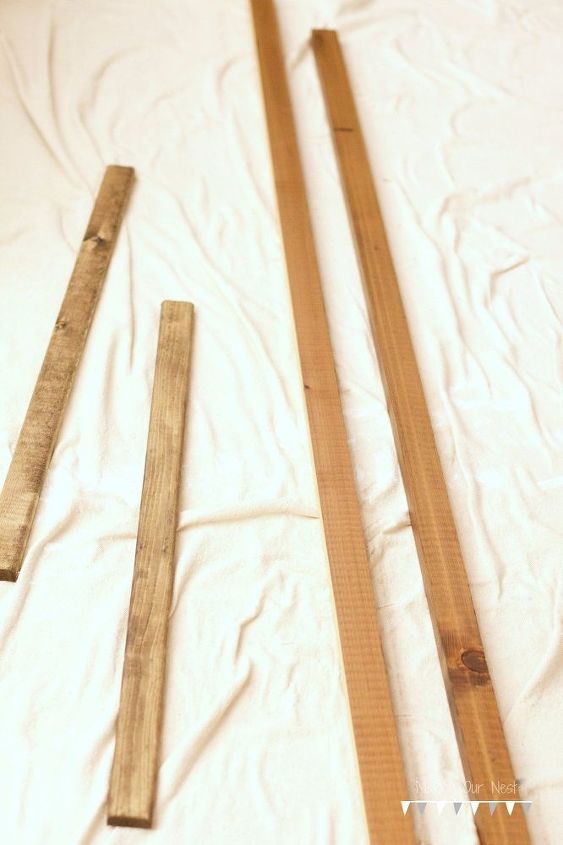
(The longer pieces are a different type of wood than the shorter pieces. That did not deter me. I figured it would look fine once it was on the chalkboard.)
Then I attached the frame to the sides of the door with my air nailer.
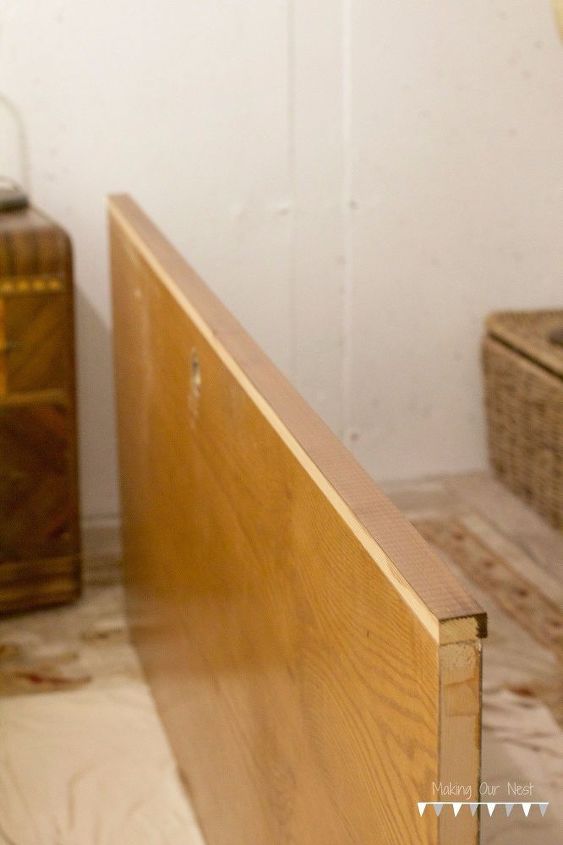
(This is the view from the back of the chalkboard.)
Once all the frame pieces were on, it looked like this.
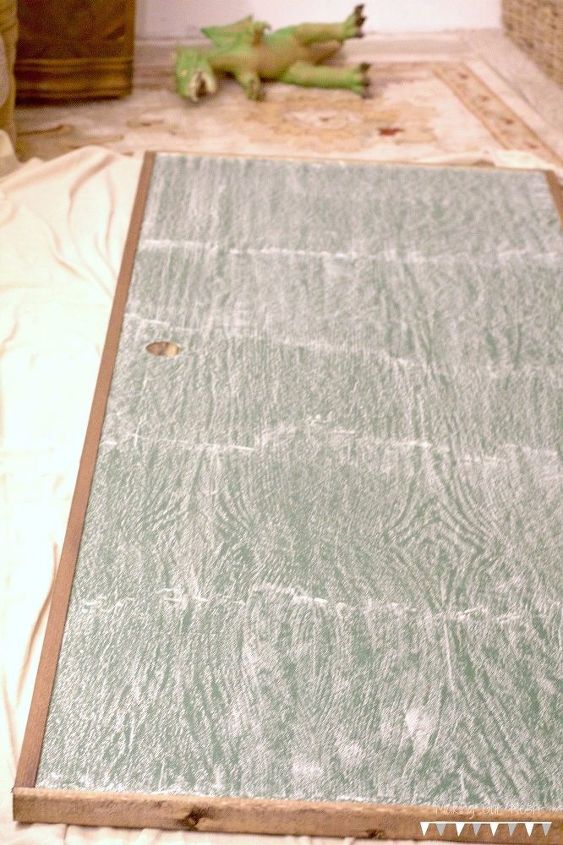
Then it was time to prime the paint with chalk. You rub chalk over the whole board with the side of the chalk. This ensures that anything you write on the chalkboard is not permanently "ghosted" on the chalkboard. So don't skip this dusty but necessary step;)
I had the kids wipe off the chalk for me. I had to figure out how to cover that whole from the door knob. I decided to use a little vintage box that my MIL gave me. I attached this to the door with some velcro.

This now holds our chalk. It even has a cover that slides over the top to close the box. It is just a bit too narrow to fully cover the opening but its was good enough for me.
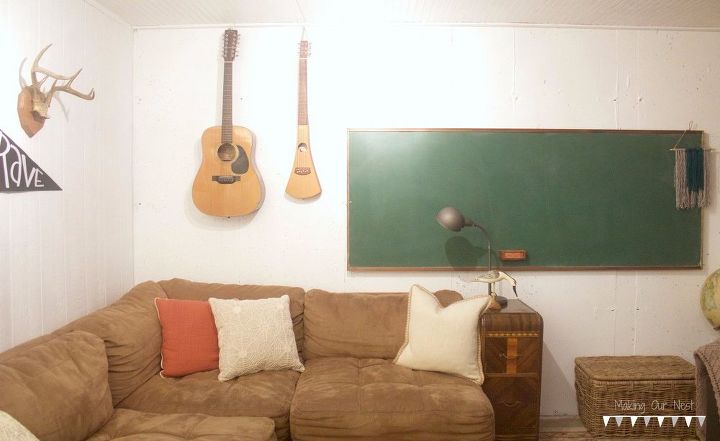
Finally, I hung this on the concrete wall with industrial strength hook and loop (aka velcro).
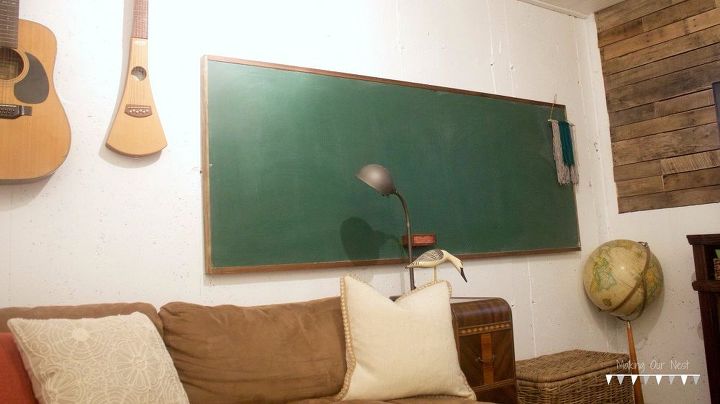
The kids love it! They have both individually thanked me for making them a huge chalkboard!
You can find more posts on our bonus room on the blog.
Just a few more things to do and this room will be finished!
This project only cost me the price of the paint (about $10) because I had everything else on hand. It took me about 10 hours to complete (however I think you are supposed to allow for the paint to dry for 24 hours before you prime it with your chalk).
Want more details about this and other DIY projects? Check out my blog post!
Comments
Join the conversation
2 comments
-
Such a great idea! Looks wonderful :)
-
What a great idea! Love the retro look it lends to the space!


Frequently asked questions
Have a question about this project?
This is awesome!! I’ve been looking for chalkboard ideas. This is the “one”!! I do have a question. My entire house has concrete walls. Ugh! What exactly did you use to hang it? Weight? Size? I’ve even bought a hammer drill and tried to hang items. It’s been a nightmare. Once awhile back I thought I had the perfect place to hide ( protect) my pistol. Used a 10 pound command hook, let it hang solo for 2 days. Thankfully when I put my pistol on it I also attached a cord to the trigger guard. 2 days later the hook fell off. I’d have lost my pistol in between the walls.